[Creative Treasure Box EP11] Tumbling Stairs Challenge: A Simple but Profound Toy!

![[Creative Treasure Box EP11] Tumbling Stairs Challenge: A Simple but Profound Toy!](/content/images/size/w2000/2026/01/429421.jpg)
Hello everyone, I'm Teacher Sloth! In this series, Teacher Sloth will share some block creations, some may be complex mechanical designs, while others may be simple model creations, so that every time you click on an article, it's like opening a "Creative Treasure Box," always full of unexpected surprises!
With advances in manufacturing, toys have become increasingly elaborate. Some dazzle with bright lights and music, while others can even transform and dance – it's a real explosion of variety. However, I, Teacher Sloth, actually prefer simple and unadorned toys. Their straightforward design, coupled with their entertainment value, sparks the creativity for DIY projects.
Today, I want to share a classic childhood toy with you: the Tumbling Toy. This toy consists of just a staircase and a little figure, yet the figure can somersault down the steps one by one, flipping over with each descent. Overall, it's a very soothing and enjoyable little toy!
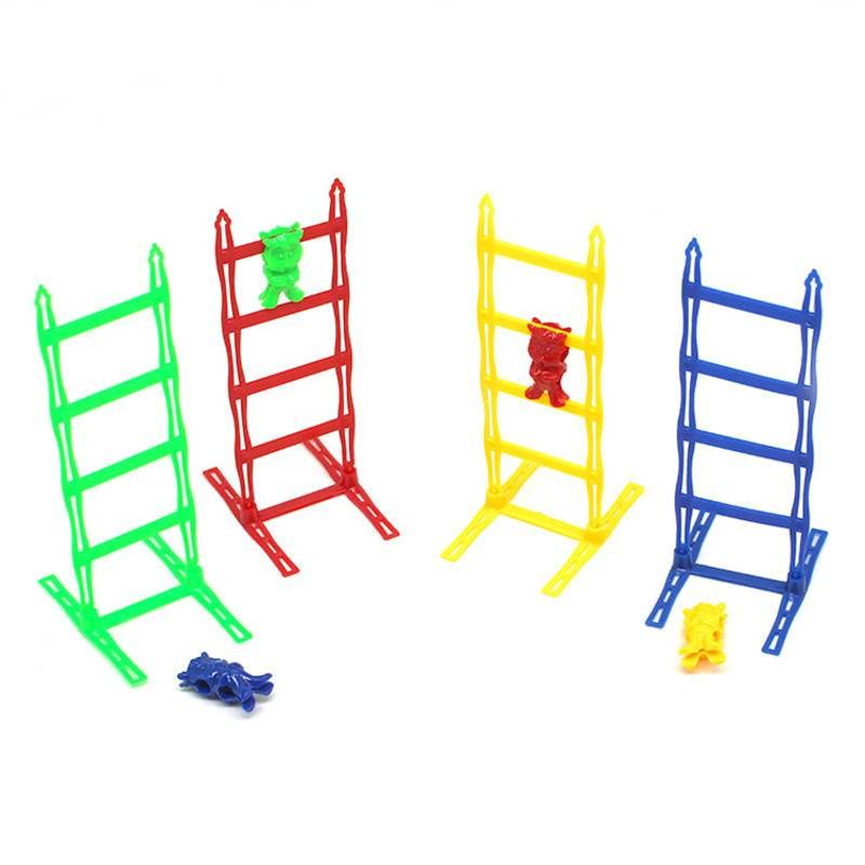
Today we're going to use Gigo blocks and the principles of gravity to create our very own tumbling toy!
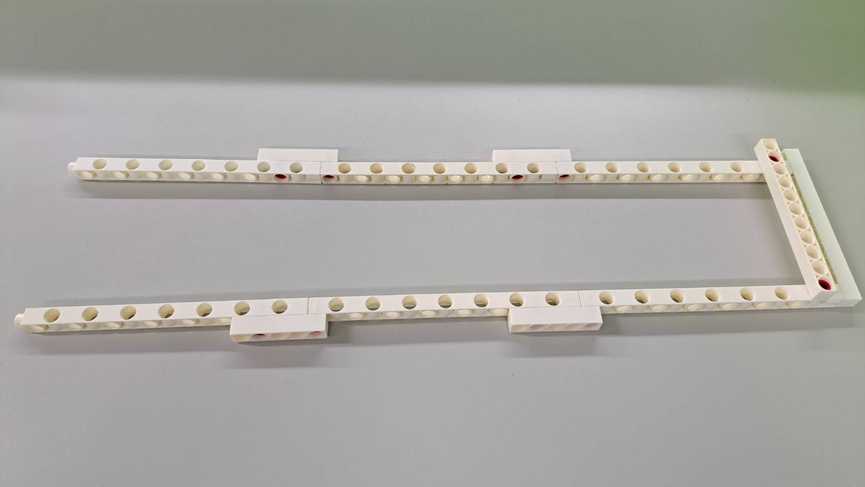
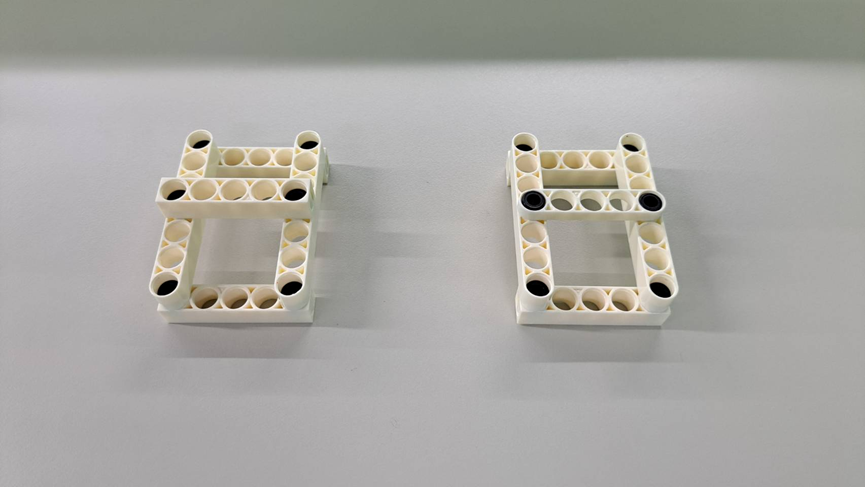
★ Parts Preparation
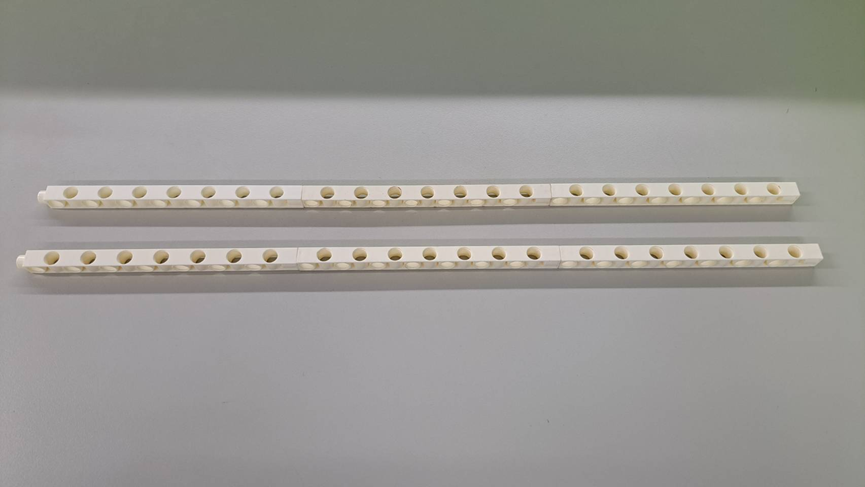
Below are the parts you'll need for this model. You can choose your own colors.

★Assembly Steps
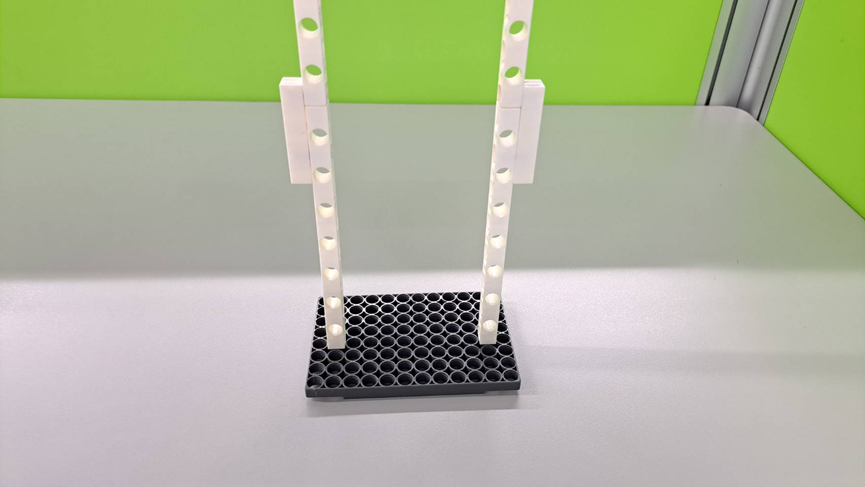
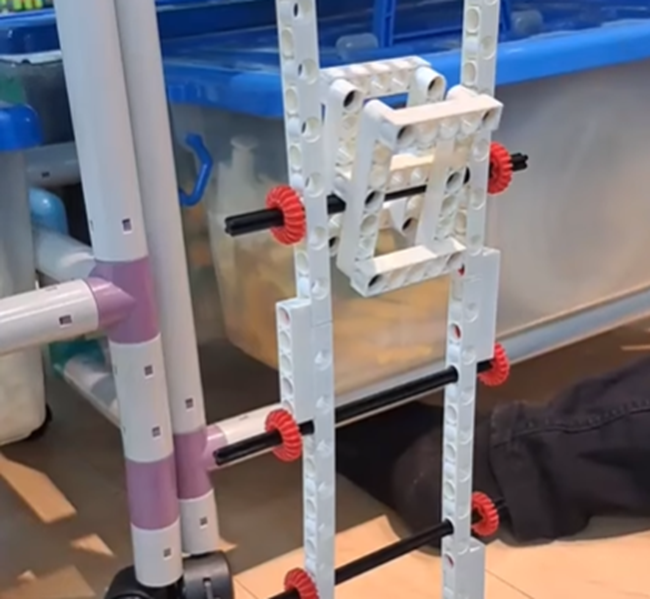
Tower
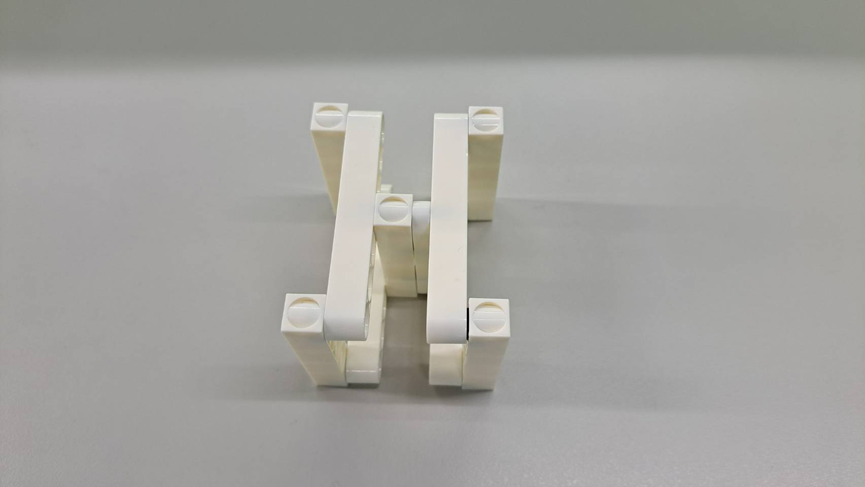
1. First, we connect three C-15 HOLE DUAL ROD together, and use C-5 HOLE ROD to connect and reinforce each rod, for a total of two groups.
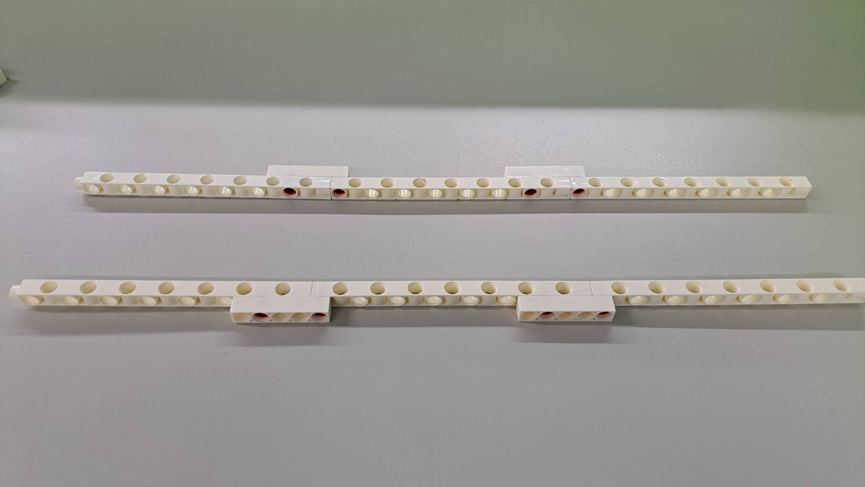
2. Then we connect the two brackets with the C-11 HOLE ROD. Be sure to place it above the bracket so as not to affect the subsequent model movement.
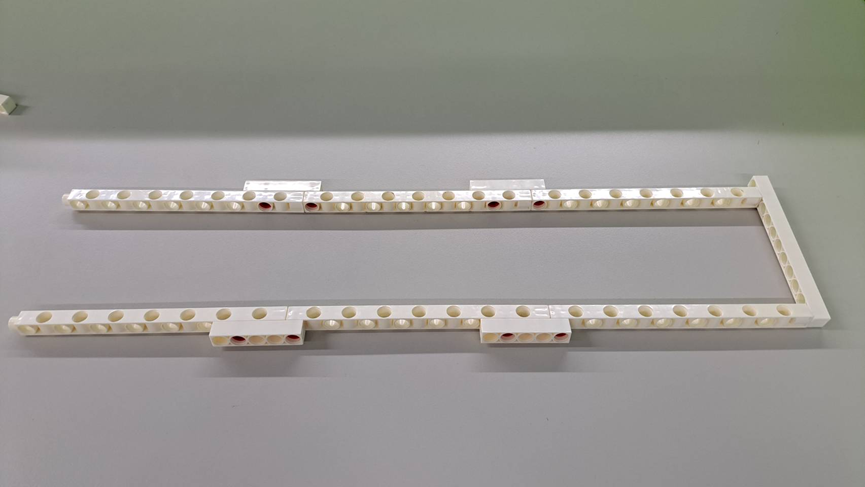
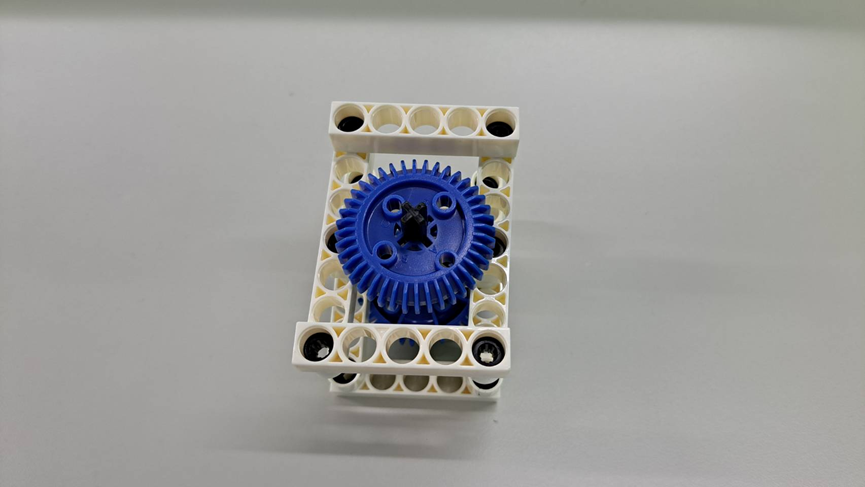
3. Next, place the finished tower on the C-BASE GRID.
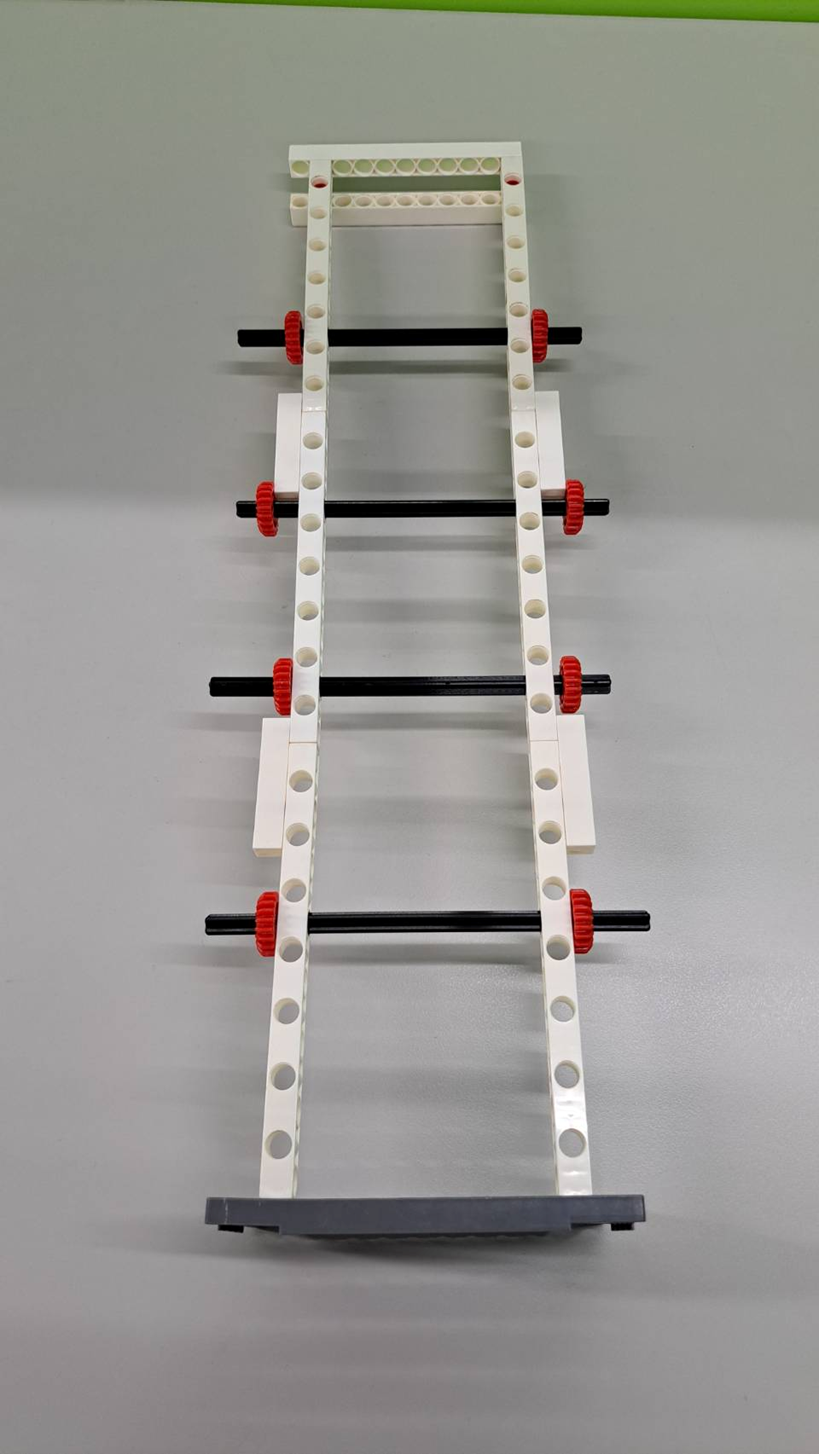
4. After completion, we will start making the stairs. We use four C-150mm AXLE as the stairs. The best effect is to have at least 7~9 cm (7-9 grids) between each staircase!
Tumbling Toy
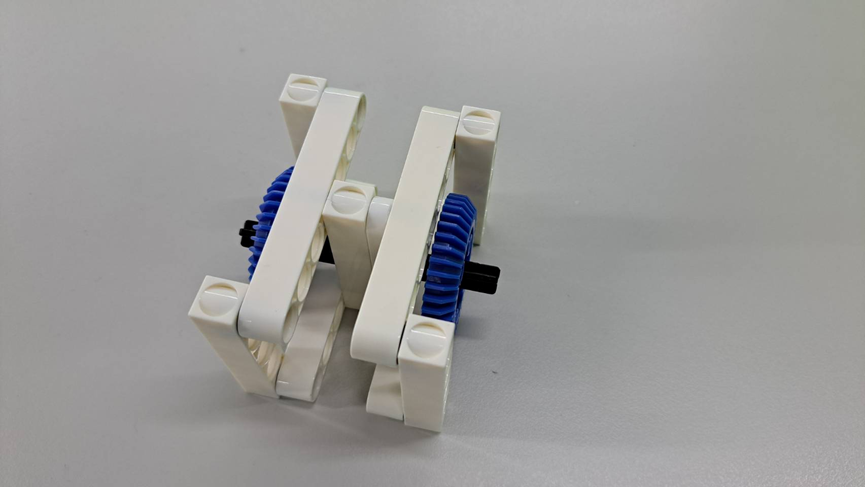
1. Let's start building the tumbling toy. We'll take four C-7 HOLE ROUND ROD and divide them into two pairs. Then, connect the top and bottom of each pair using a C-5 HOLE ROD in the middle as shown.
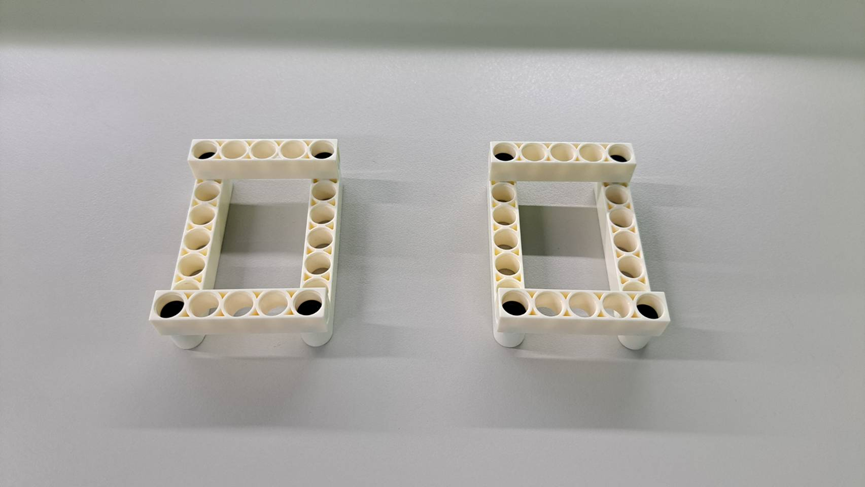
2. Flip step 1 over, connect one with a C-5 HOLE ROD in the middle, and connect the other with a C-5 HOLE PROLATE ROD in the middle.
3. Connect the C-5 HOLE ROD and the C-5 HOLE PROLATE ROD to make them into one.
4. Finally, we pass the C-70mm AXLE and two C-40T GEAR through the middle hole to increase the counterweight of the tumbling toy machine.
★ How to Play
Give it a try! Place the tumbling toy on the highest step and watch it flip its way down to the bottom, one step at a time!
★ Tips and Tricks
You might fail a few times when you first finish building it, but don't get discouraged! We just need to make a few small adjustments.
First, after placing the tumbling toy, don't push it hard. Too much force will cause it to become unbalanced, hit the next step, and fly off.
Instead, gently give it a small push after placing it. Let gravity do the work and pull it down naturally. This will give you a much higher chance of success!
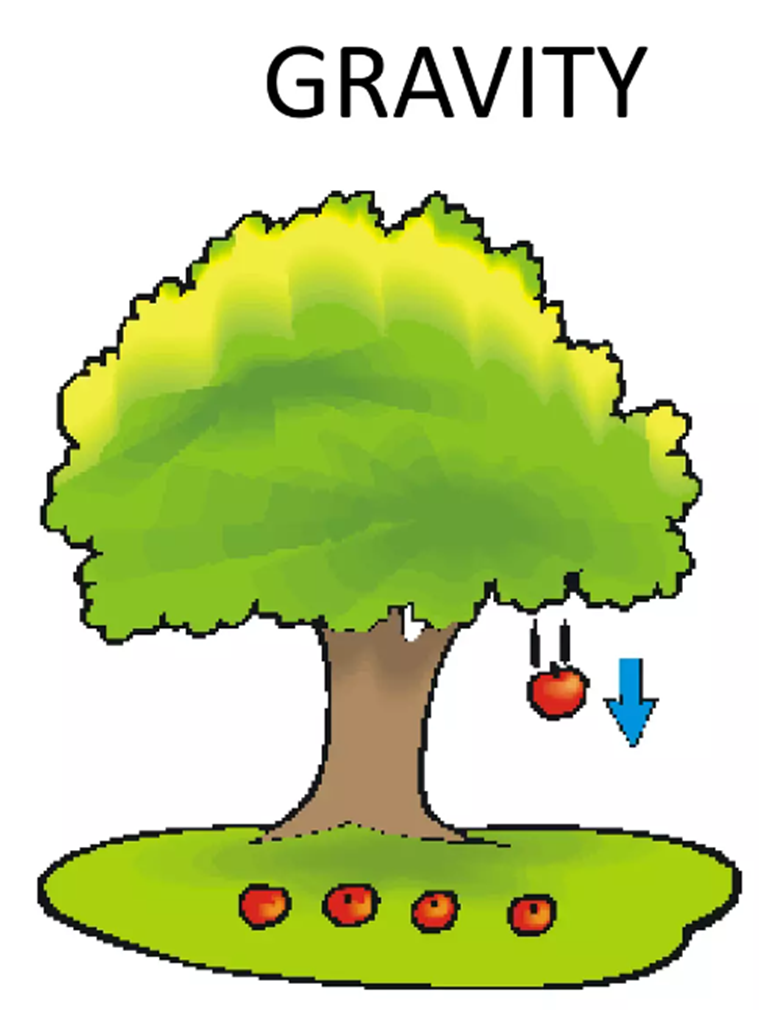
★ Scientific Principle
The scientific principle we're using here is "gravity."
Gravity is the force of attraction that the Earth exerts on objects. Because the Earth has a very large mass, the gravity it produces is also very strong, which is why we feel it so intensely. This is why we're always drawn towards the Earth and don't float off into space.
Gravity has a wide range of everyday applications, from the well-known story of Newton's apple to water flowing downhill and even weighing ourselves on a scale.
In this model, as one side of the tumbling toy falls downwards, the other side follows due to gravity. When it's halfway through its rotation, it hits the next step, causing it to fall downwards in the opposite direction. This action repeats continuously, making it look like it's tumbling down the stairs!
★ Postscript
This seemingly simple model actually contains some profound scientific principles! Through repeated testing, you'll discover how factors like the amount of force you apply, the balance of its center of gravity, and its weight all influence gravity's effect. So, why not keep track of the results and the changes you make each time? Step by step, you can figure out the most successful way to make it work. You could even try building a taller staircase to challenge it to tumble down even more steps!
◆References:
Gravity: https://en.wikipedia.org/wiki/Gravity
◆ Curriculum:
- 3-5-ETS1-3
Plan and carry out fair tests in which variables are controlled and failure points are considered to identify aspects of a model or prototype that can be improved.
- 3-5-ETS1-1
Define a simple design problem reflecting a need or a want that includes specified criteria for success and constraints on materials, time, or cost. - 3-5-ETS1-2
Generate and compare multiple possible solutions to a problem based on how well each is likely to meet the criteria and constraints of the problem.
Please sign in to vote.