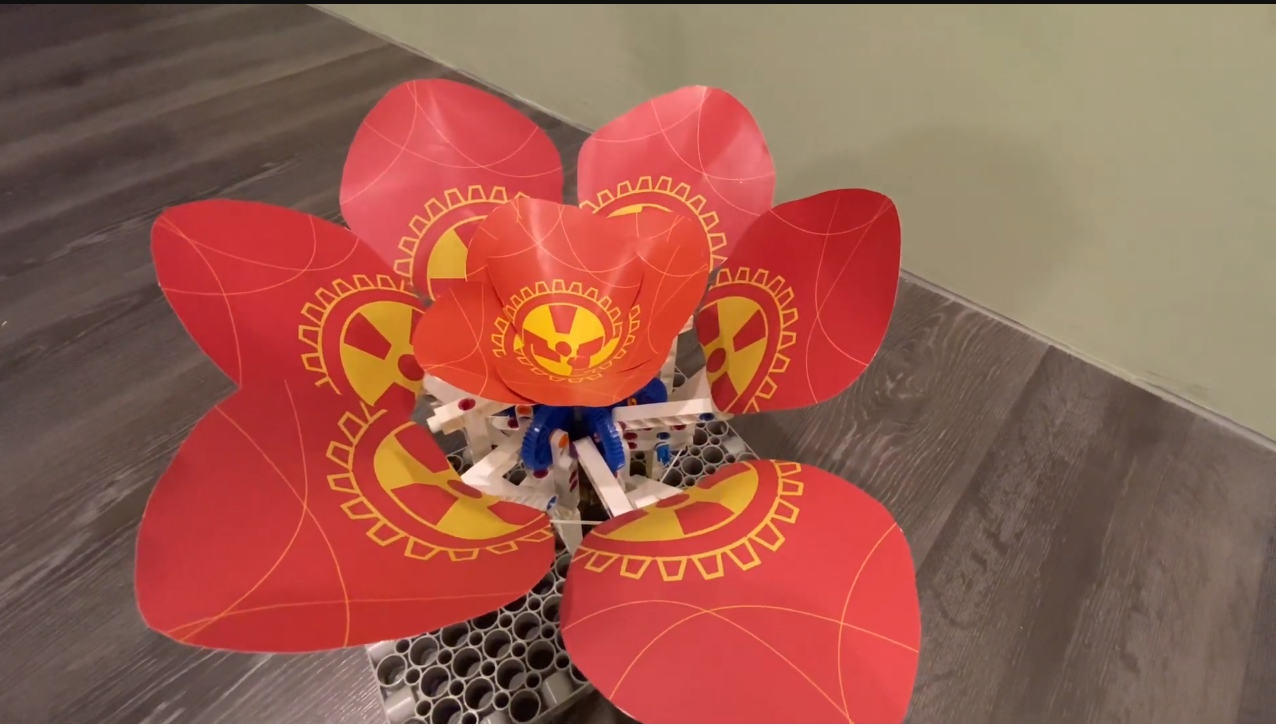
【Flower Blooming in Prosperity】Mechanism Flower Making
Hello everyone, I'm Samuel. This is my first time writing a blog, and I'm a bit nervous. I mainly want to share with you how to make a flower mechanism that can open and close. I will divide the steps into four parts, from the center axis to the petals to the assembly on the large base plate to the final writing of the program to make it run. I hope you can gain something.
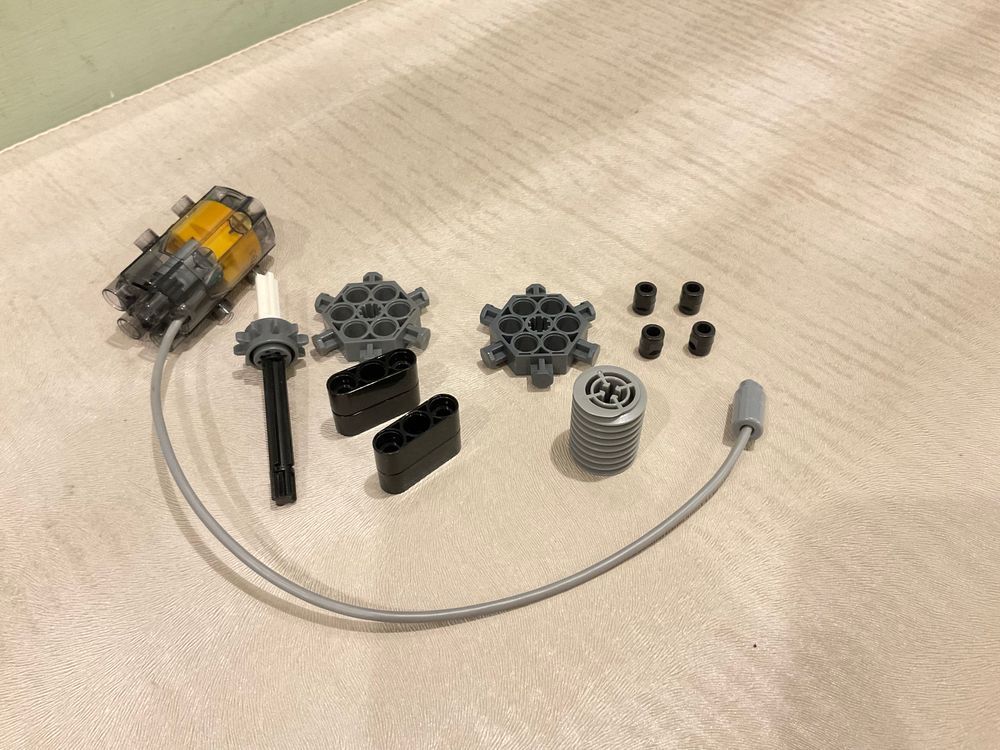
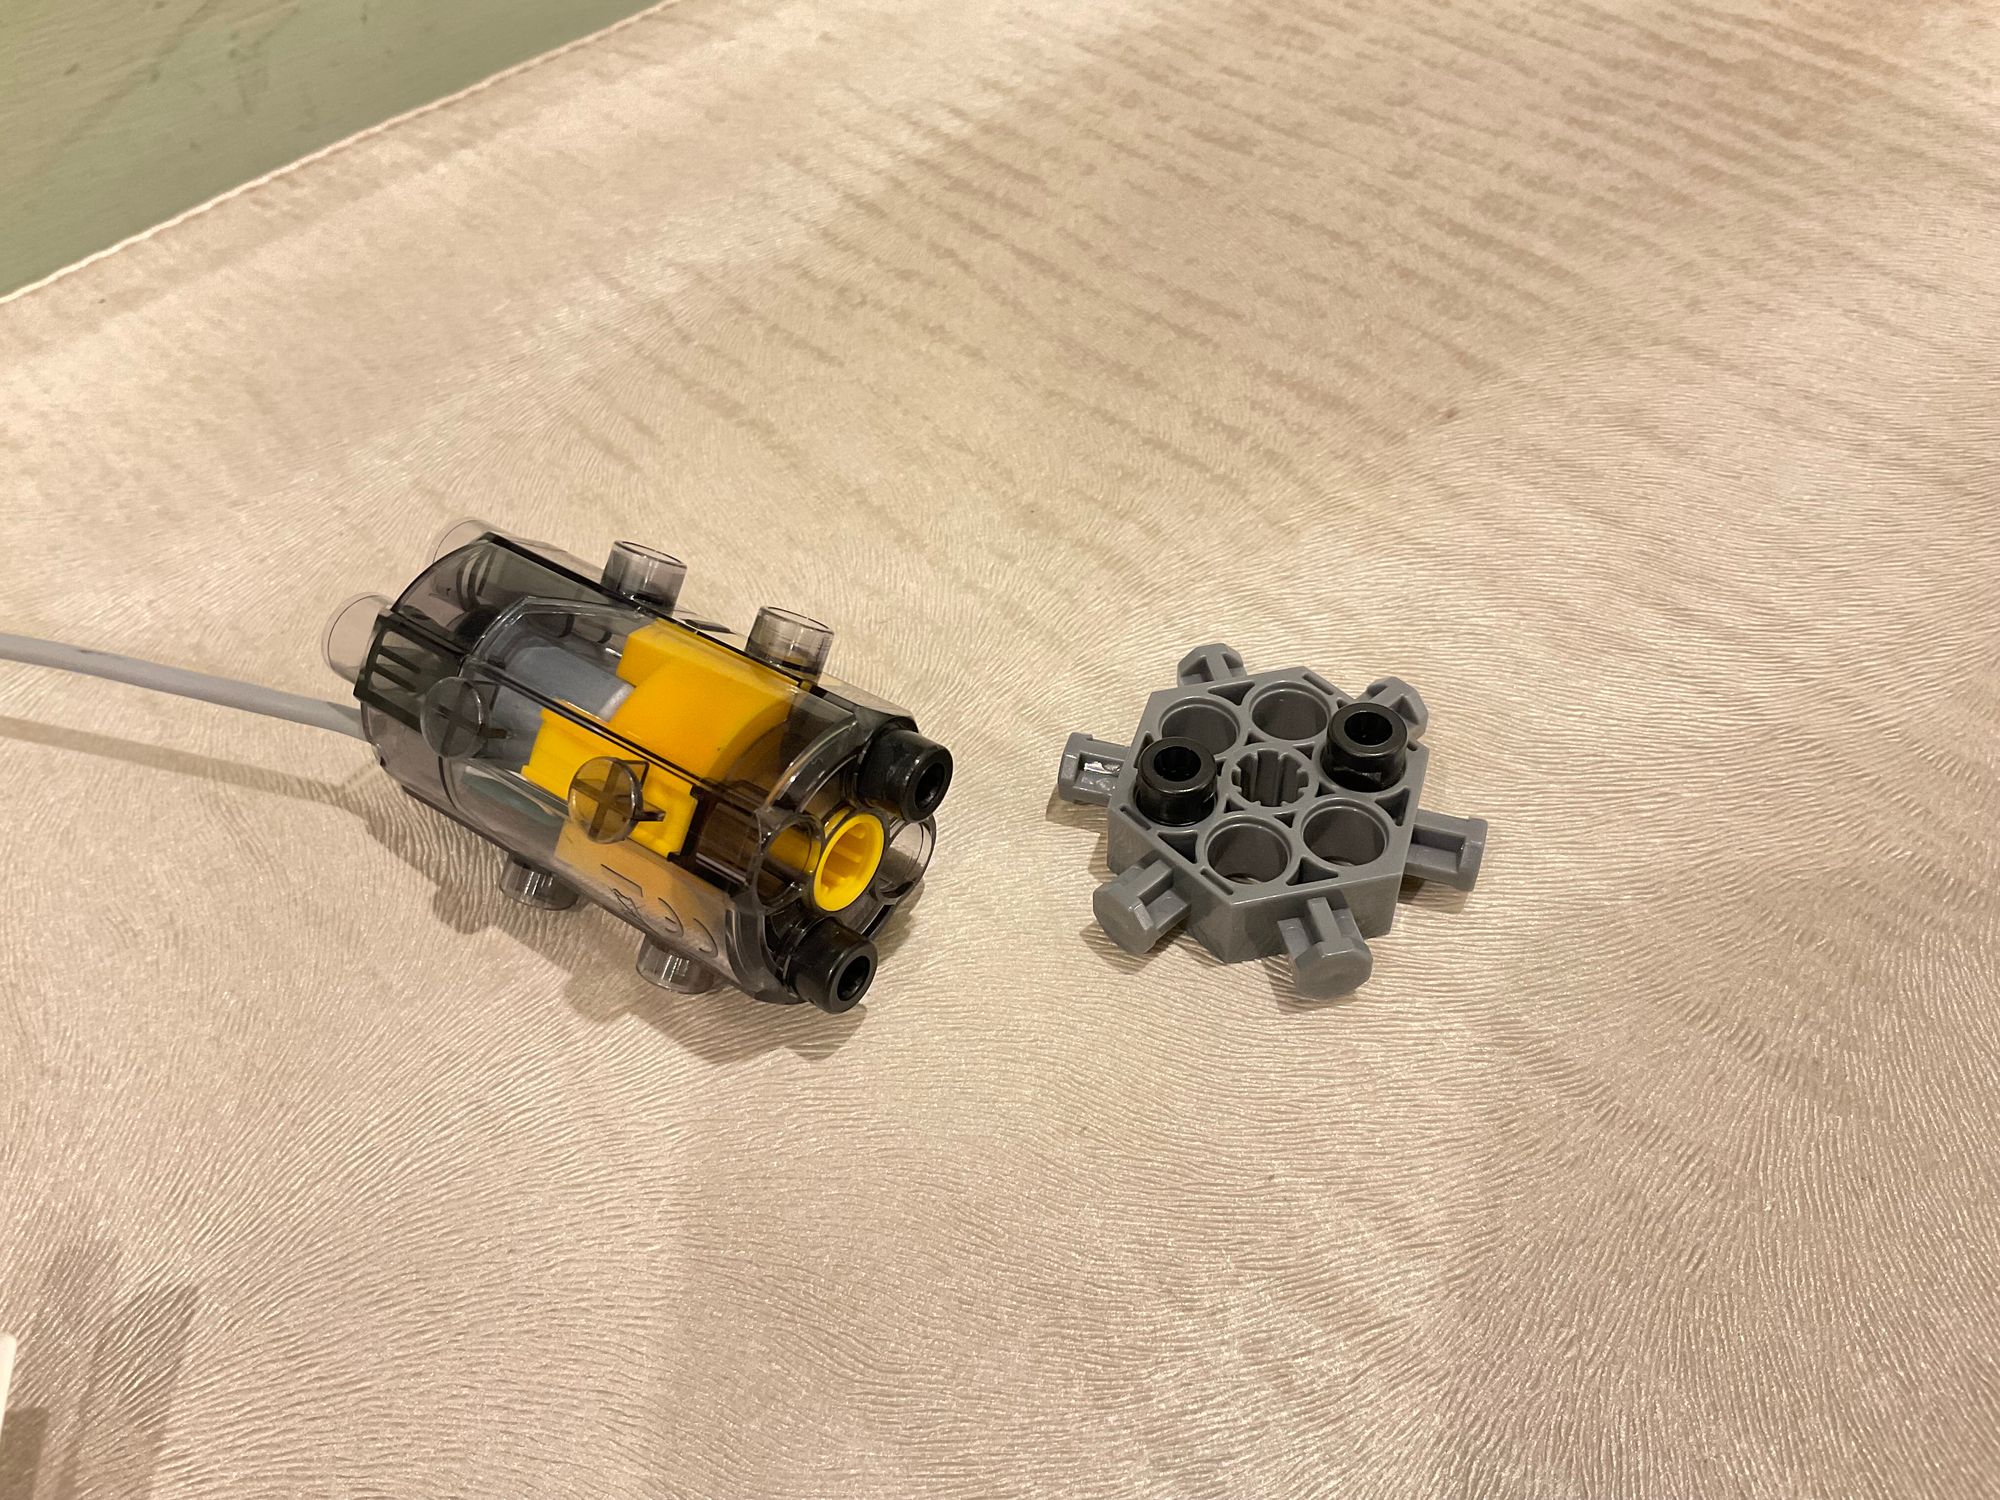
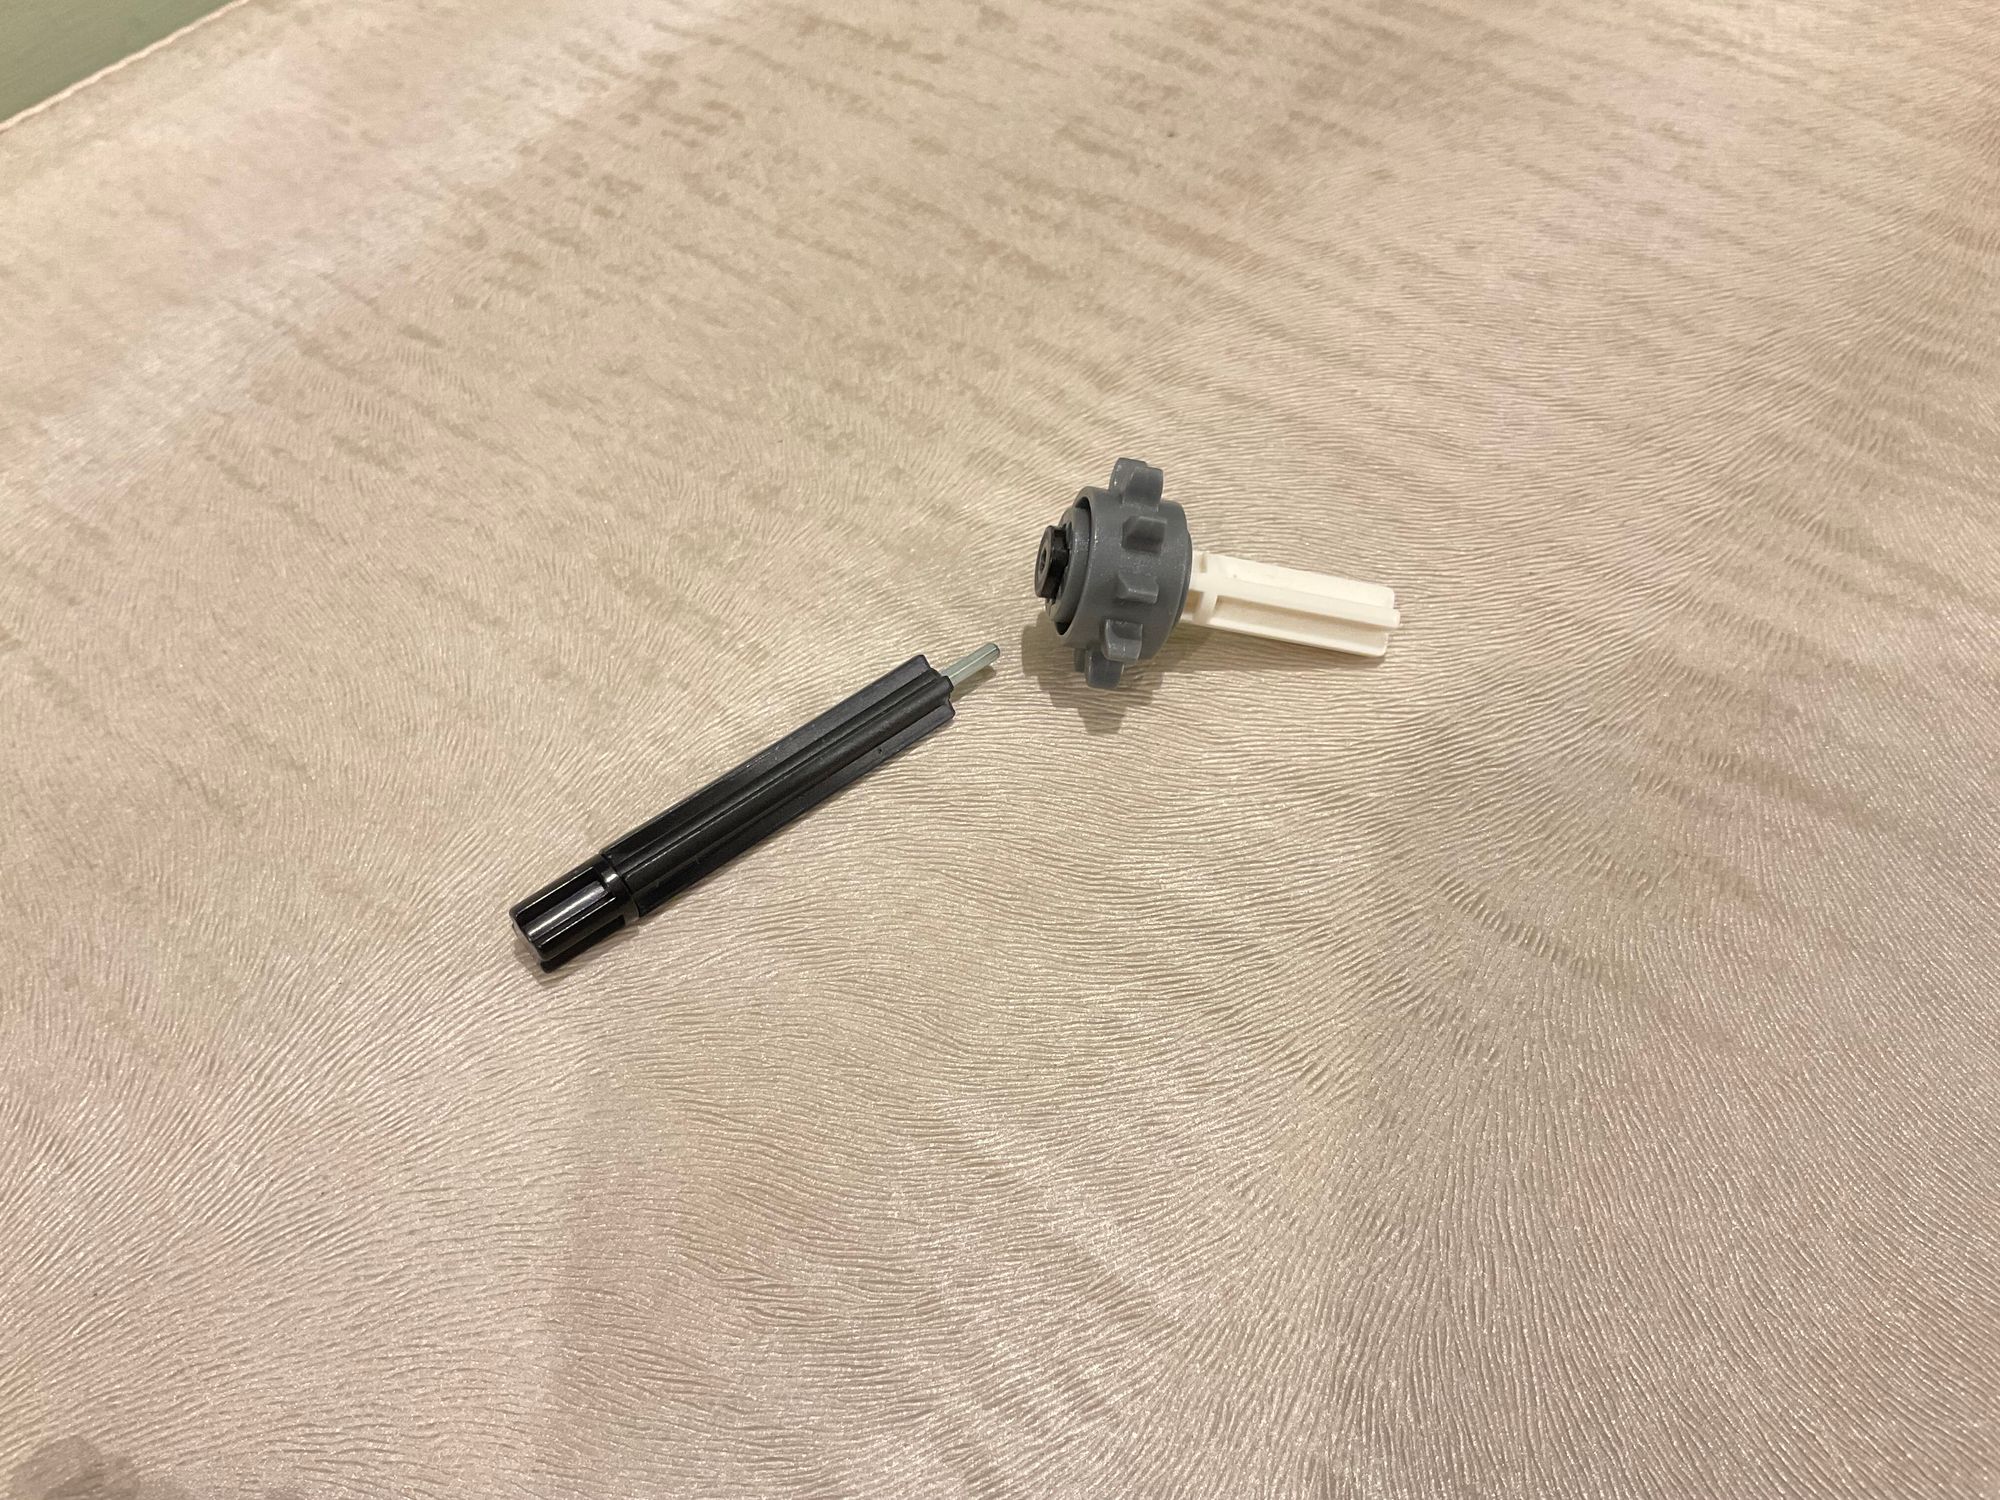
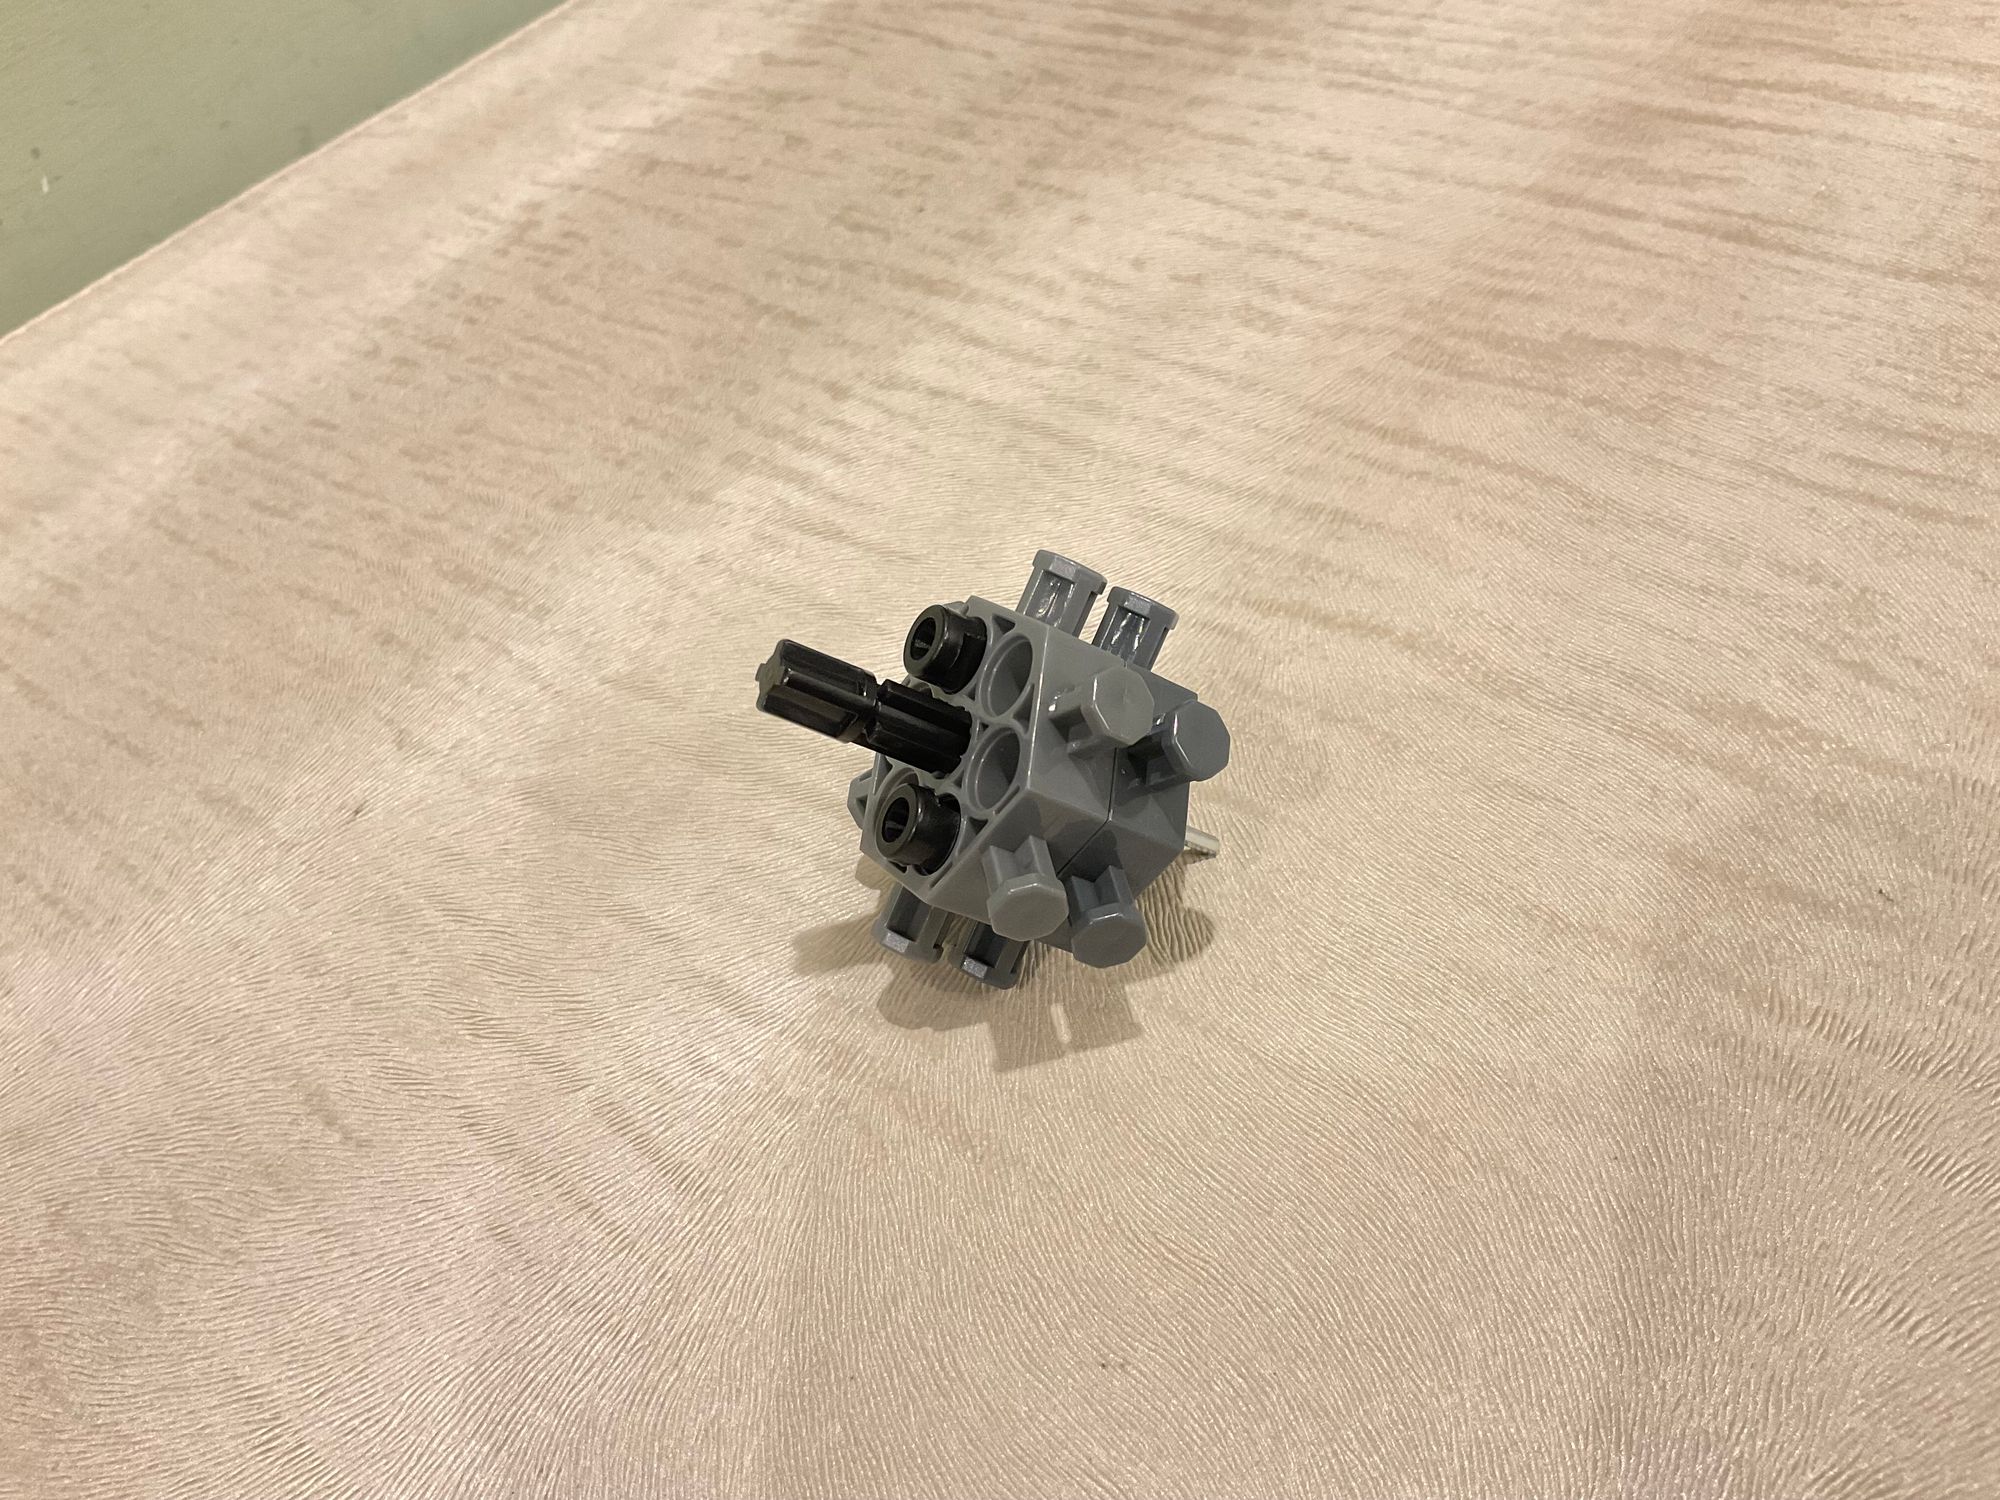
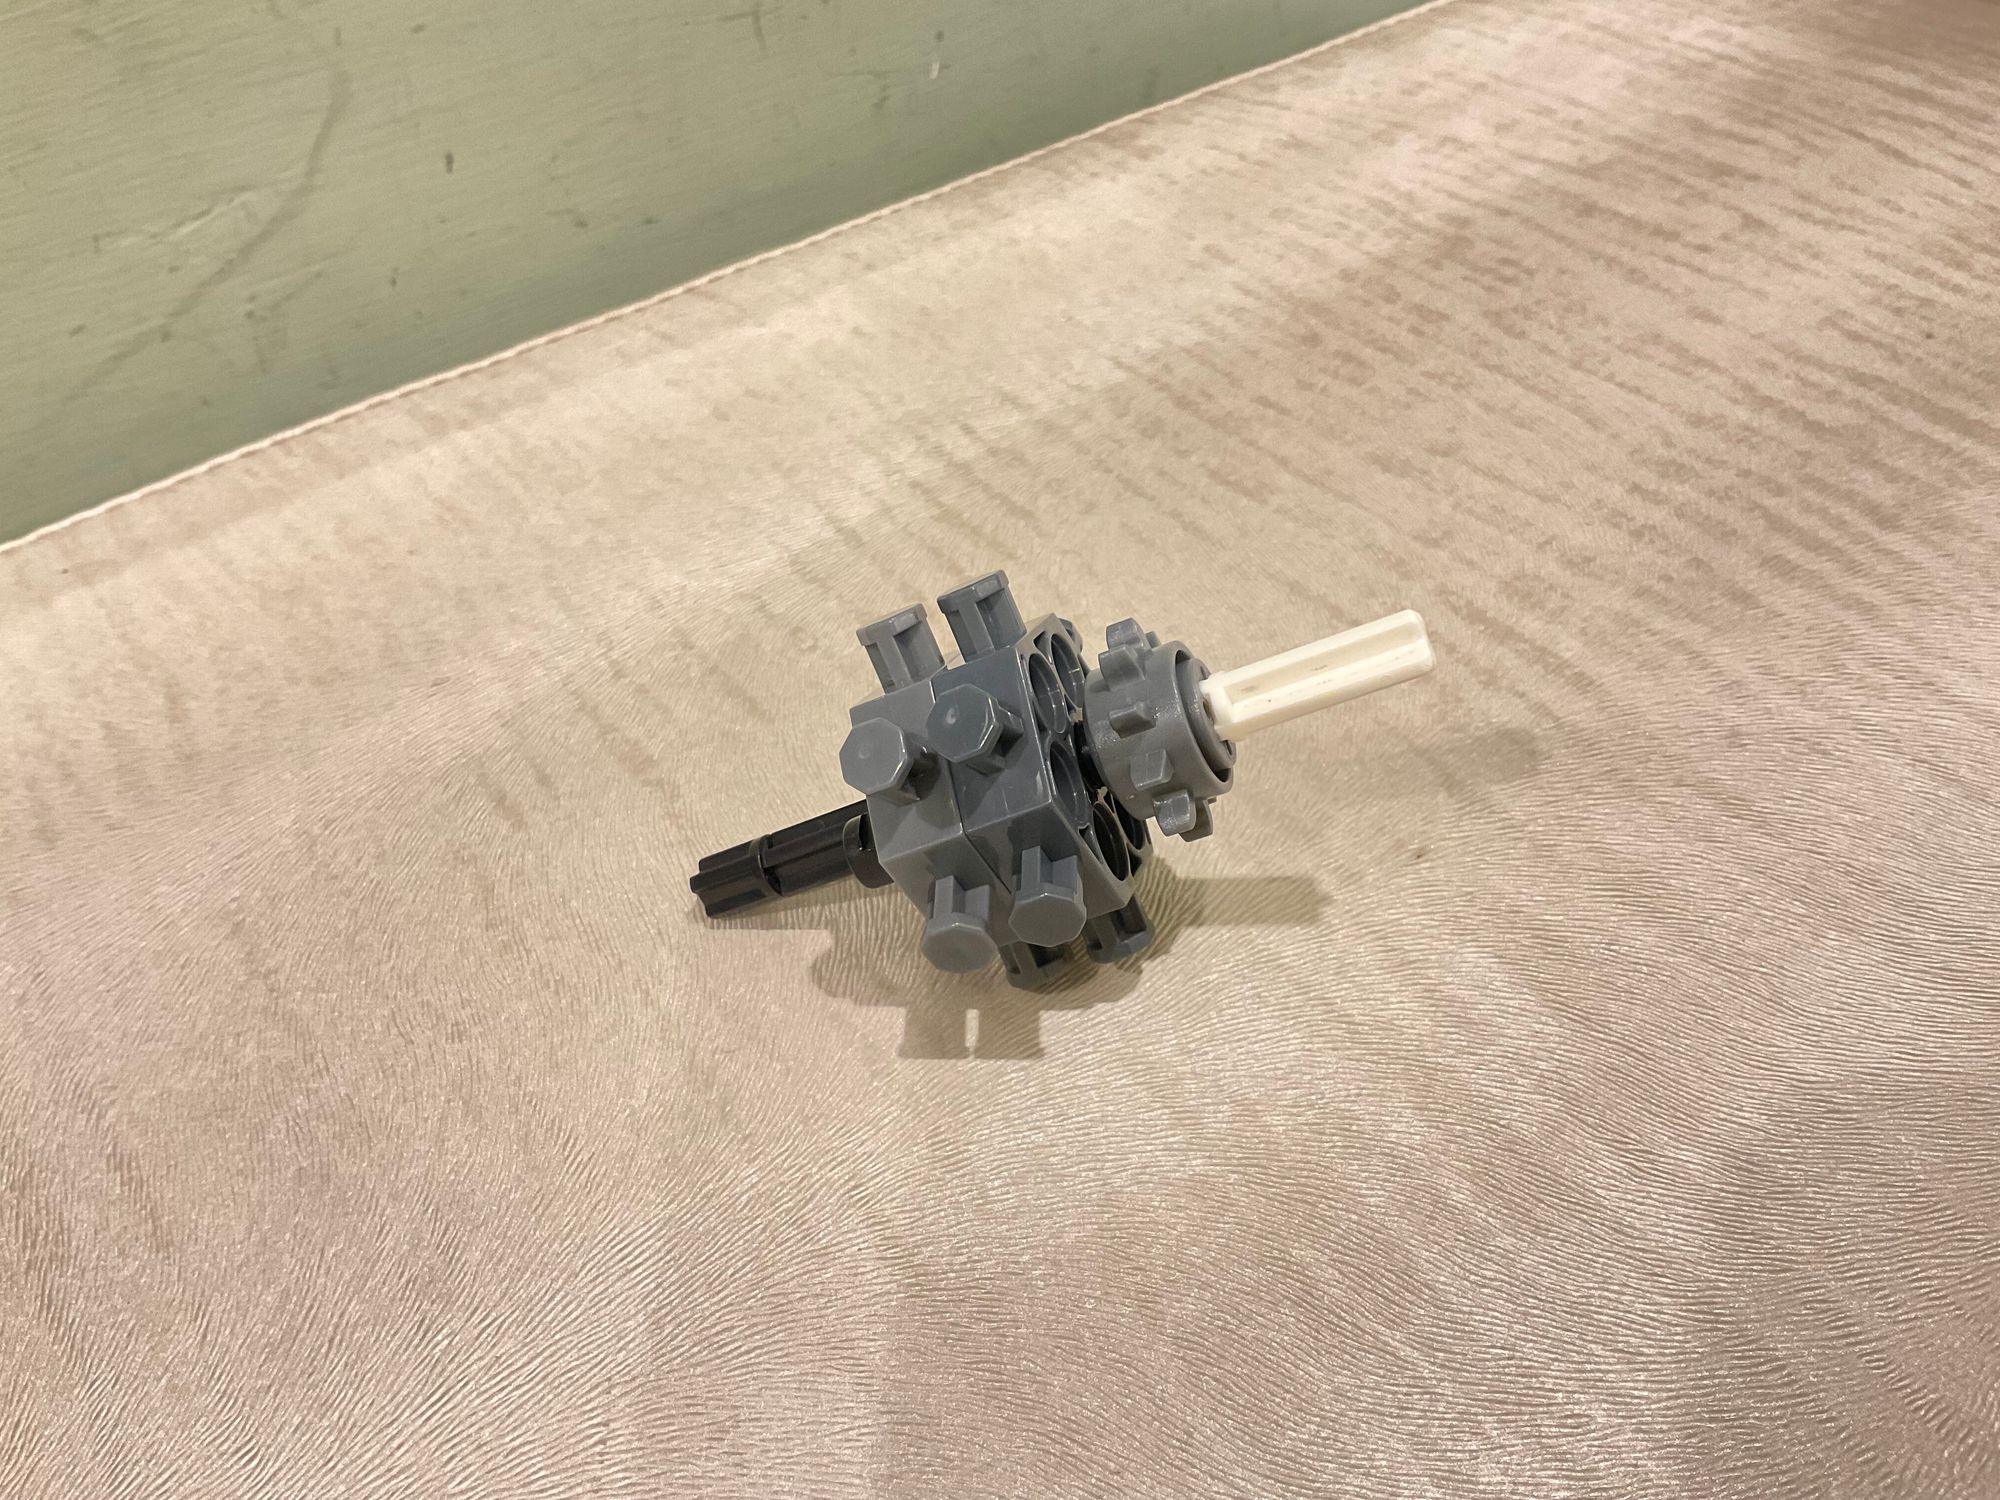
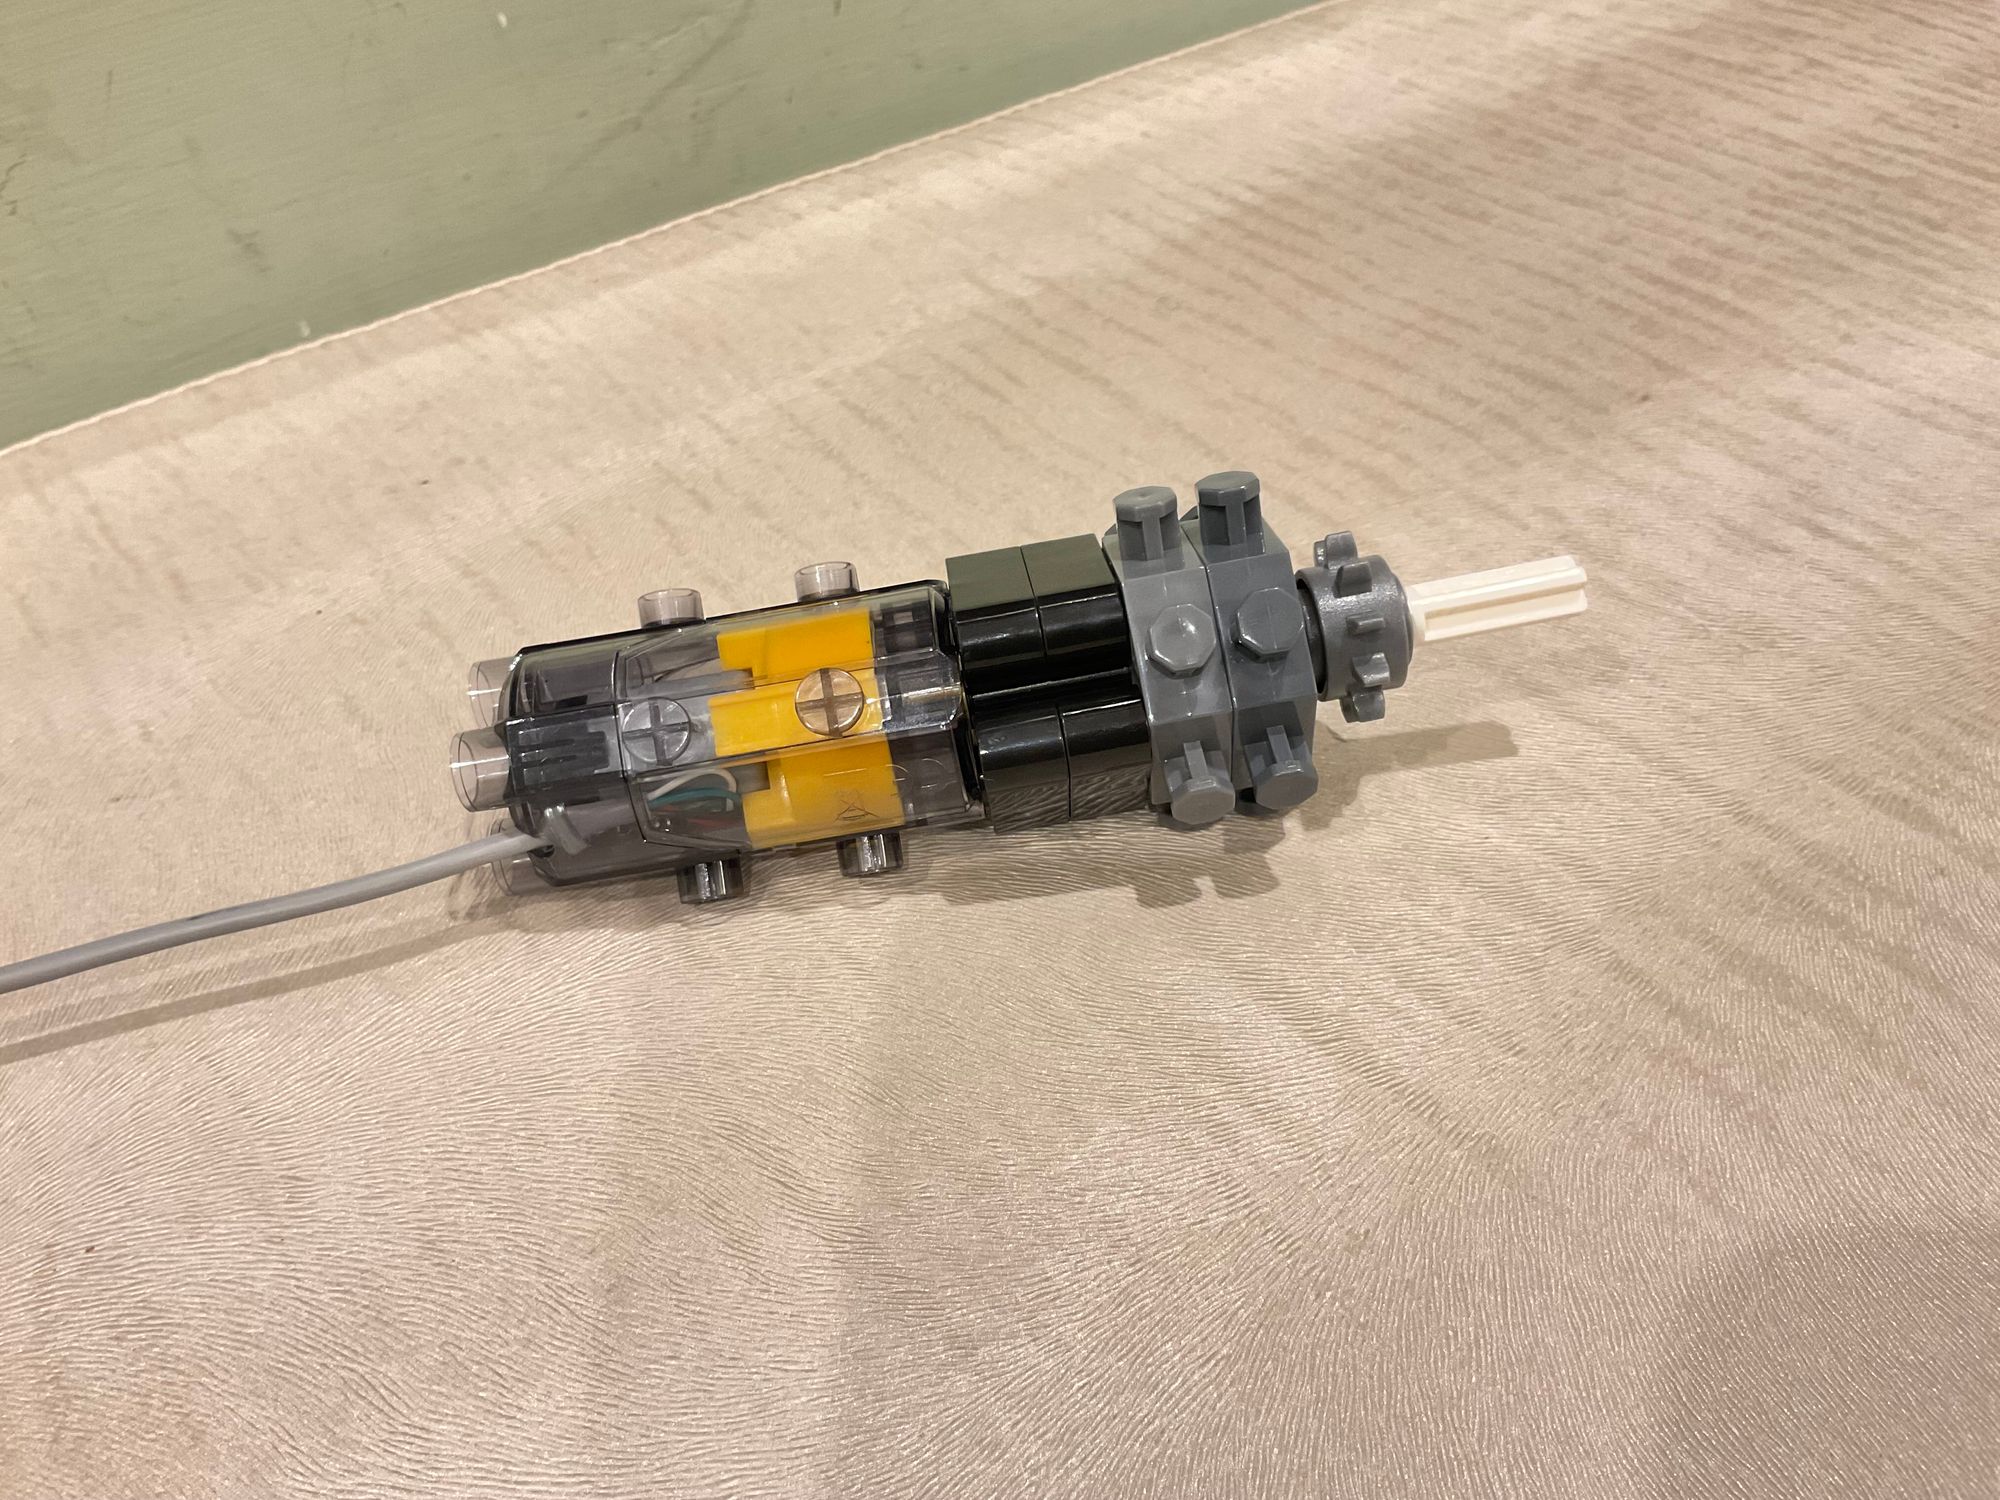
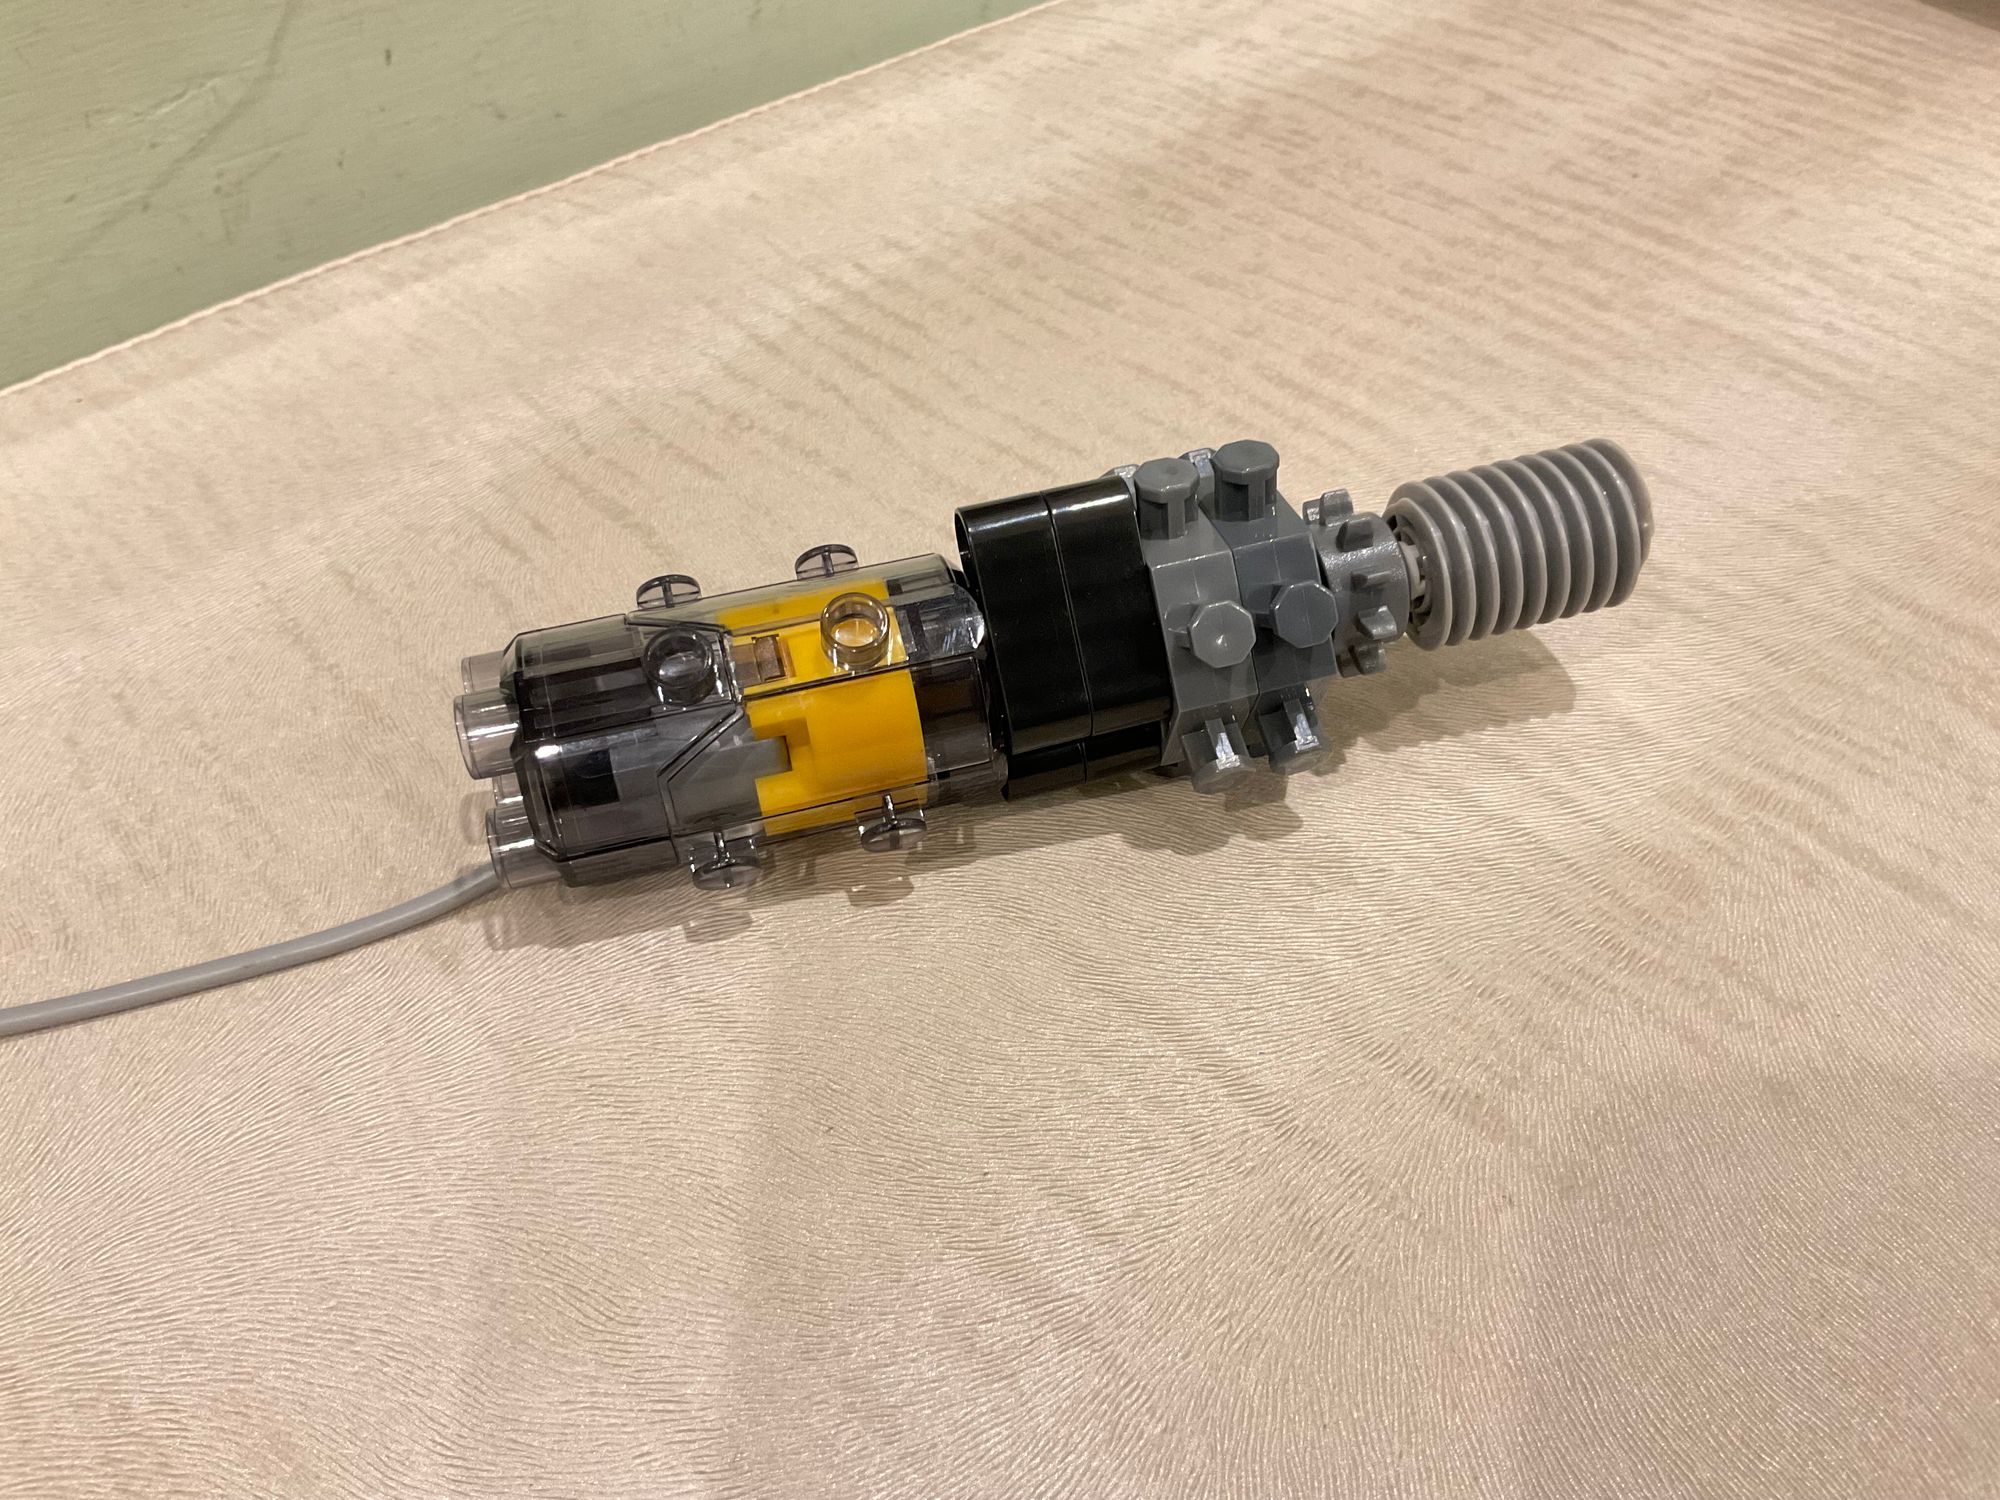
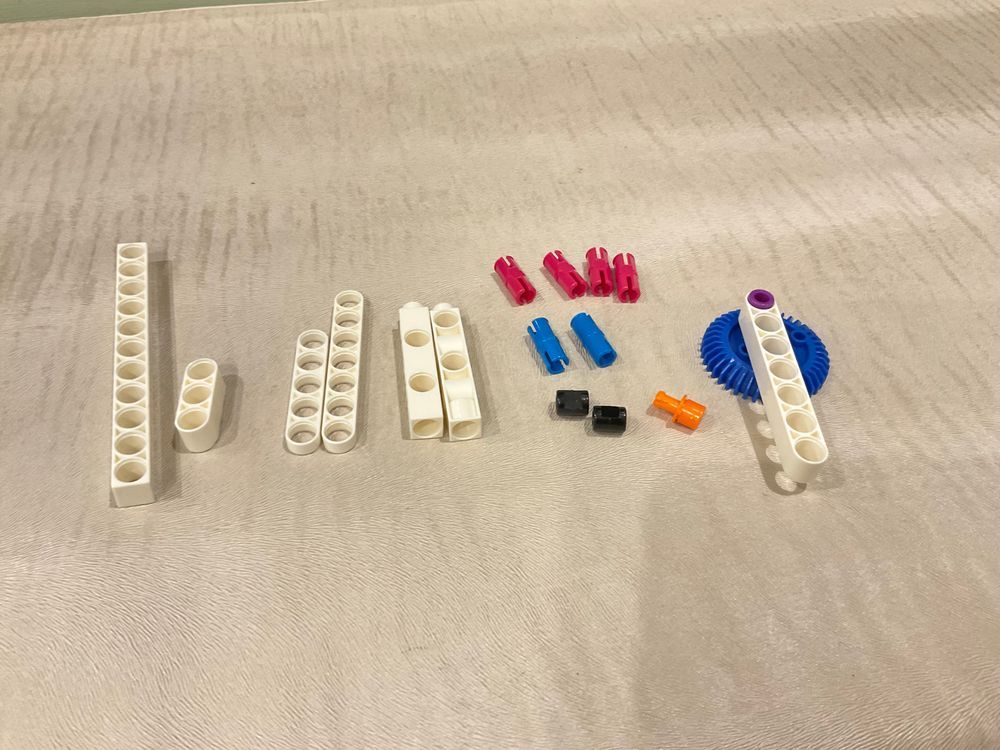
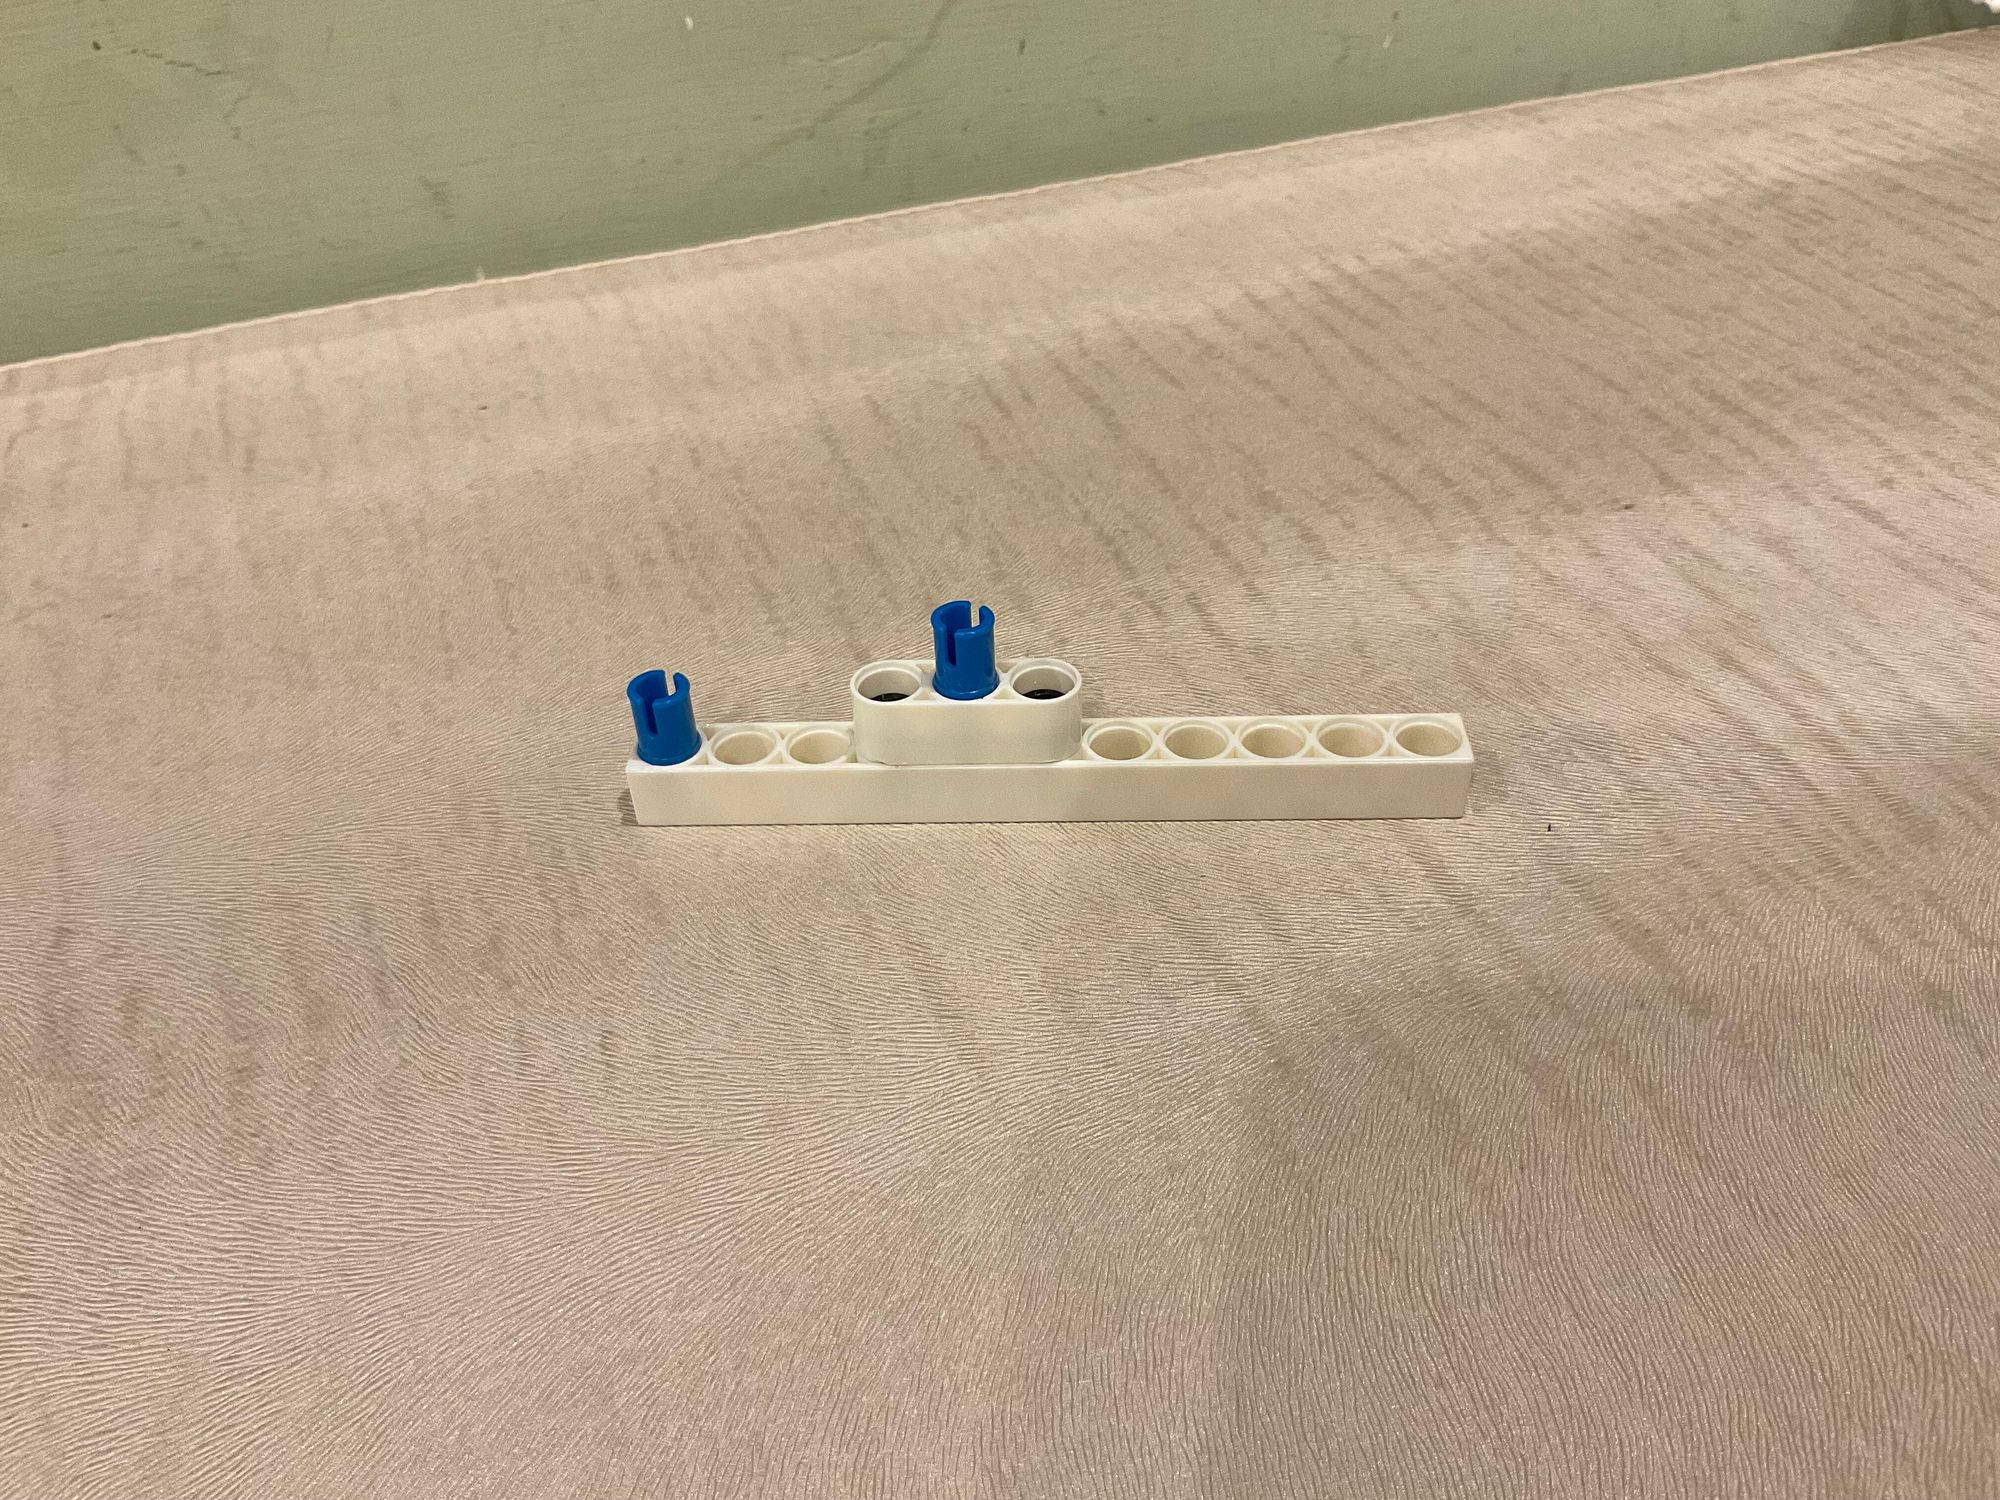
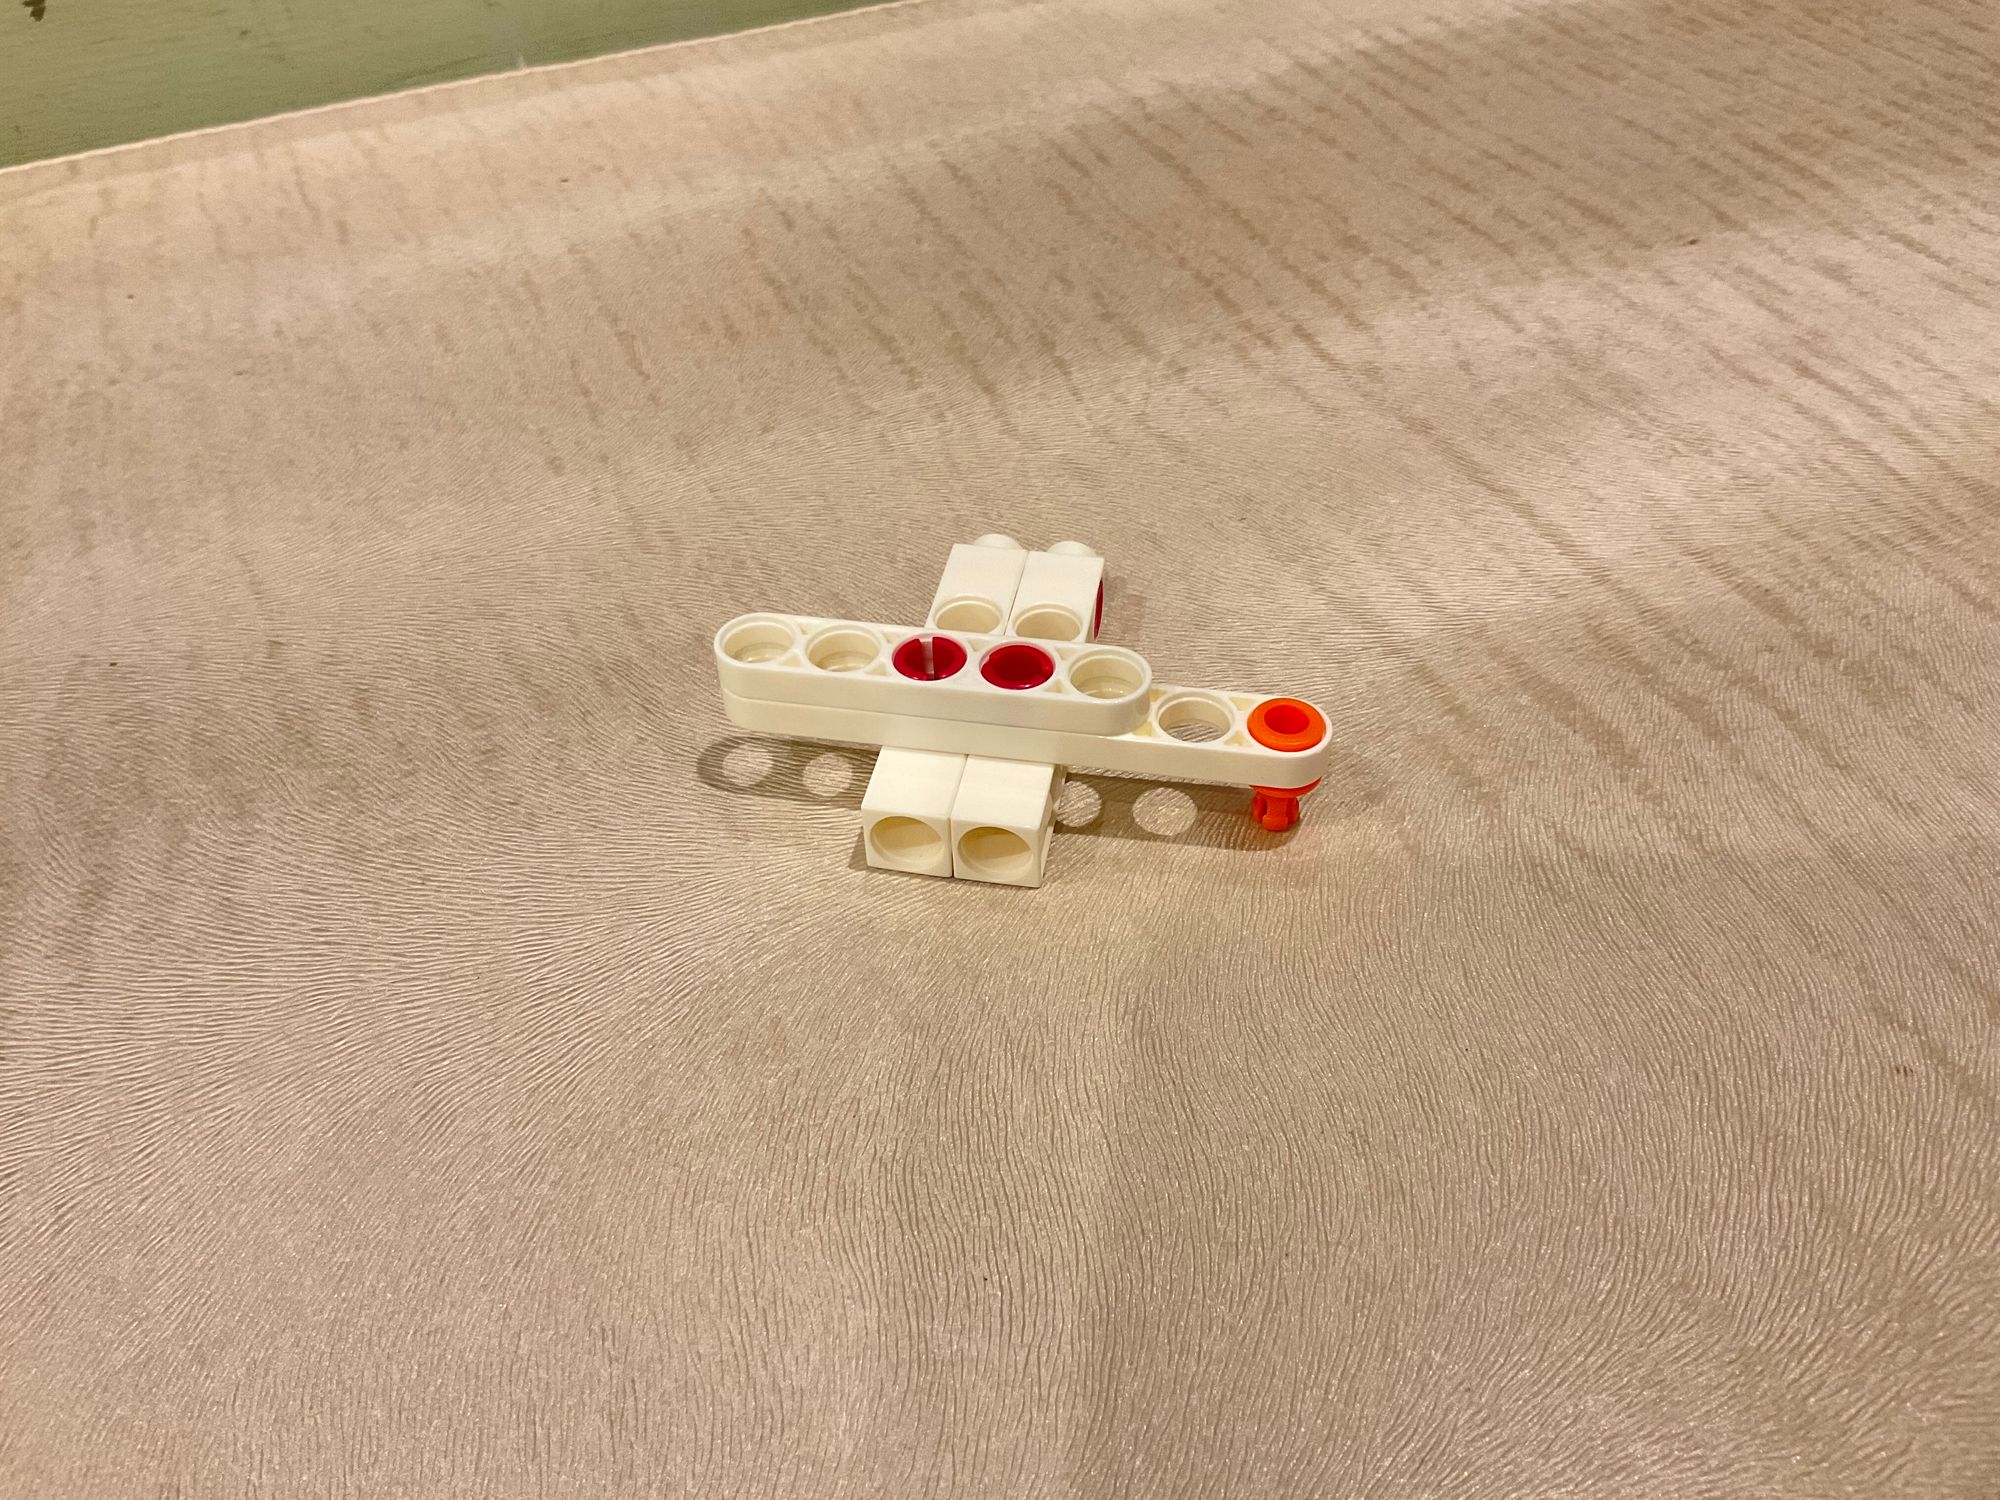
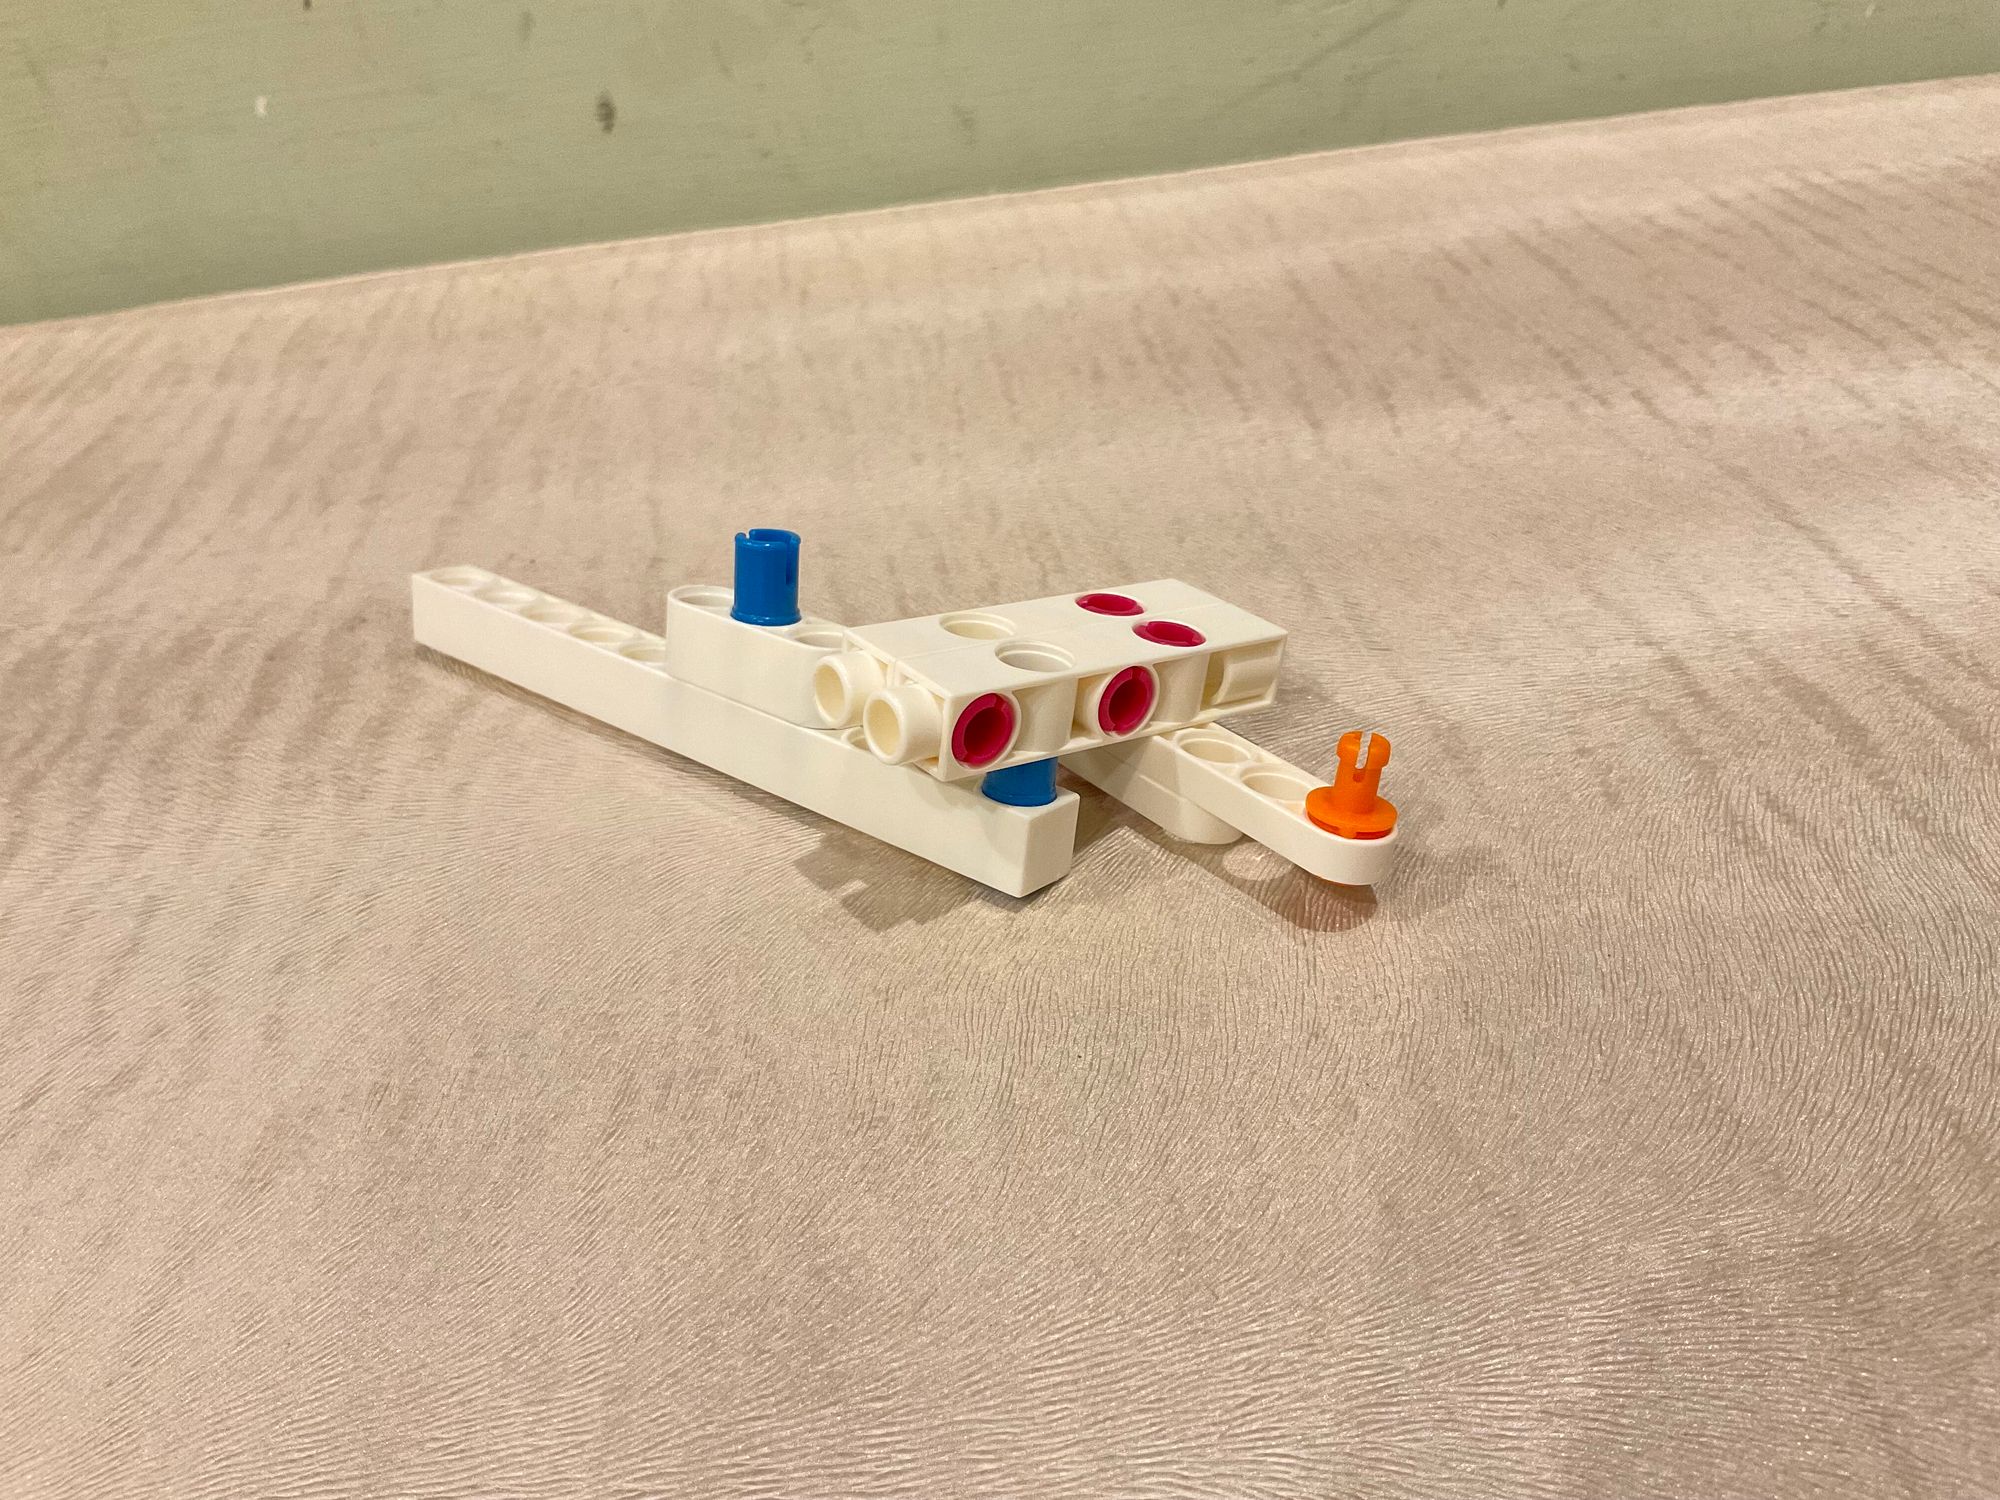
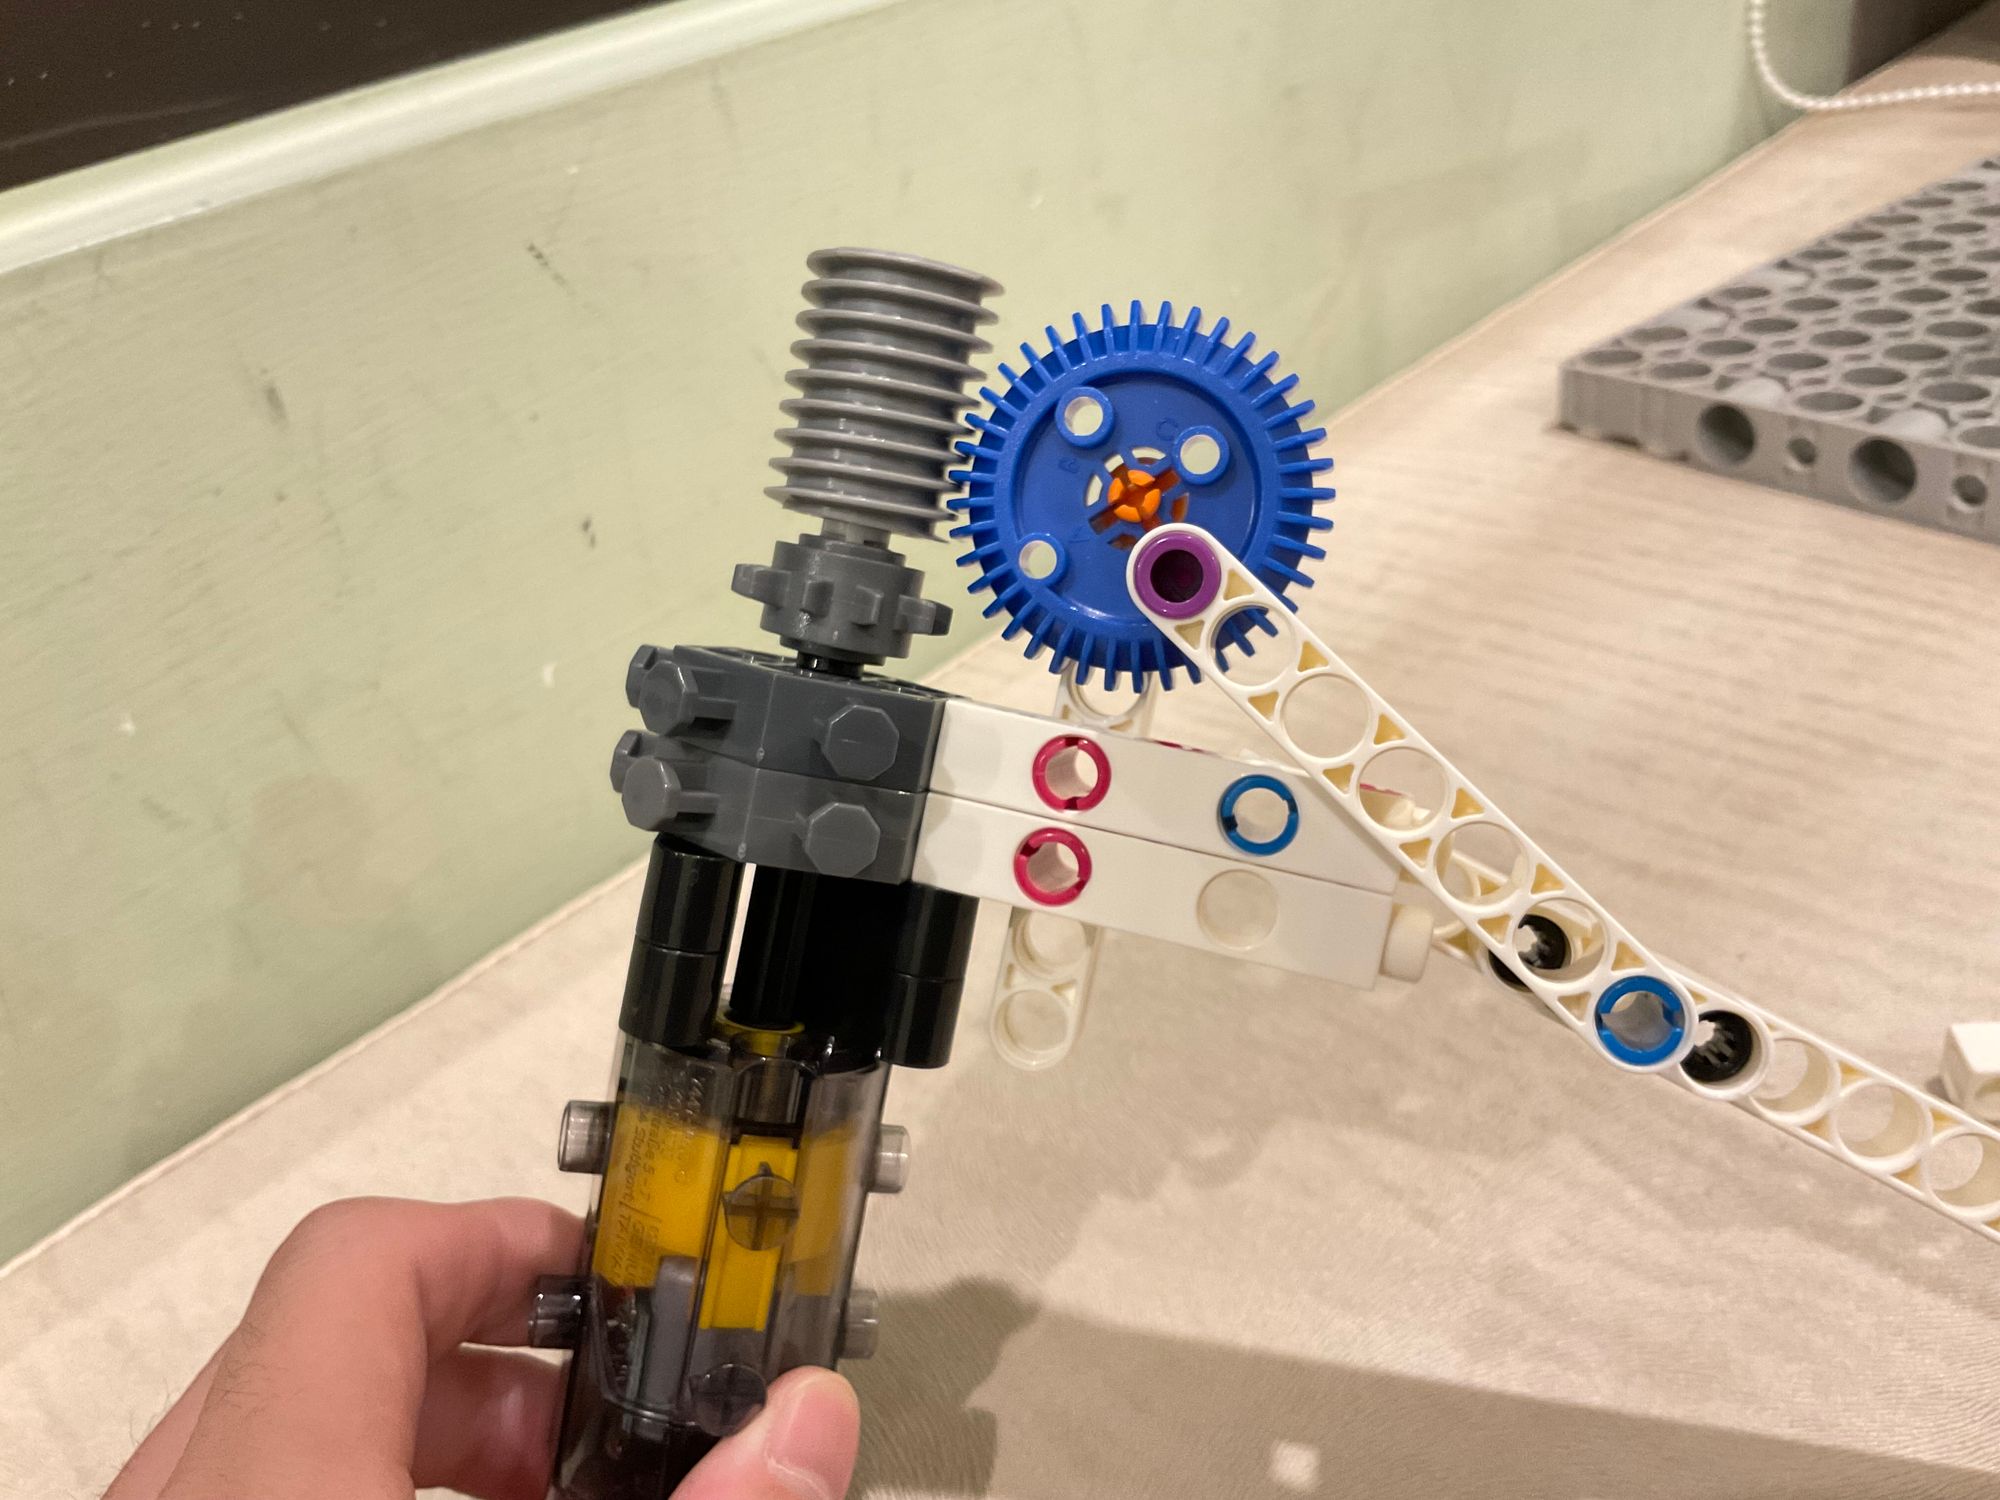
Step 1: Assemble the center axis
All components you need is down below
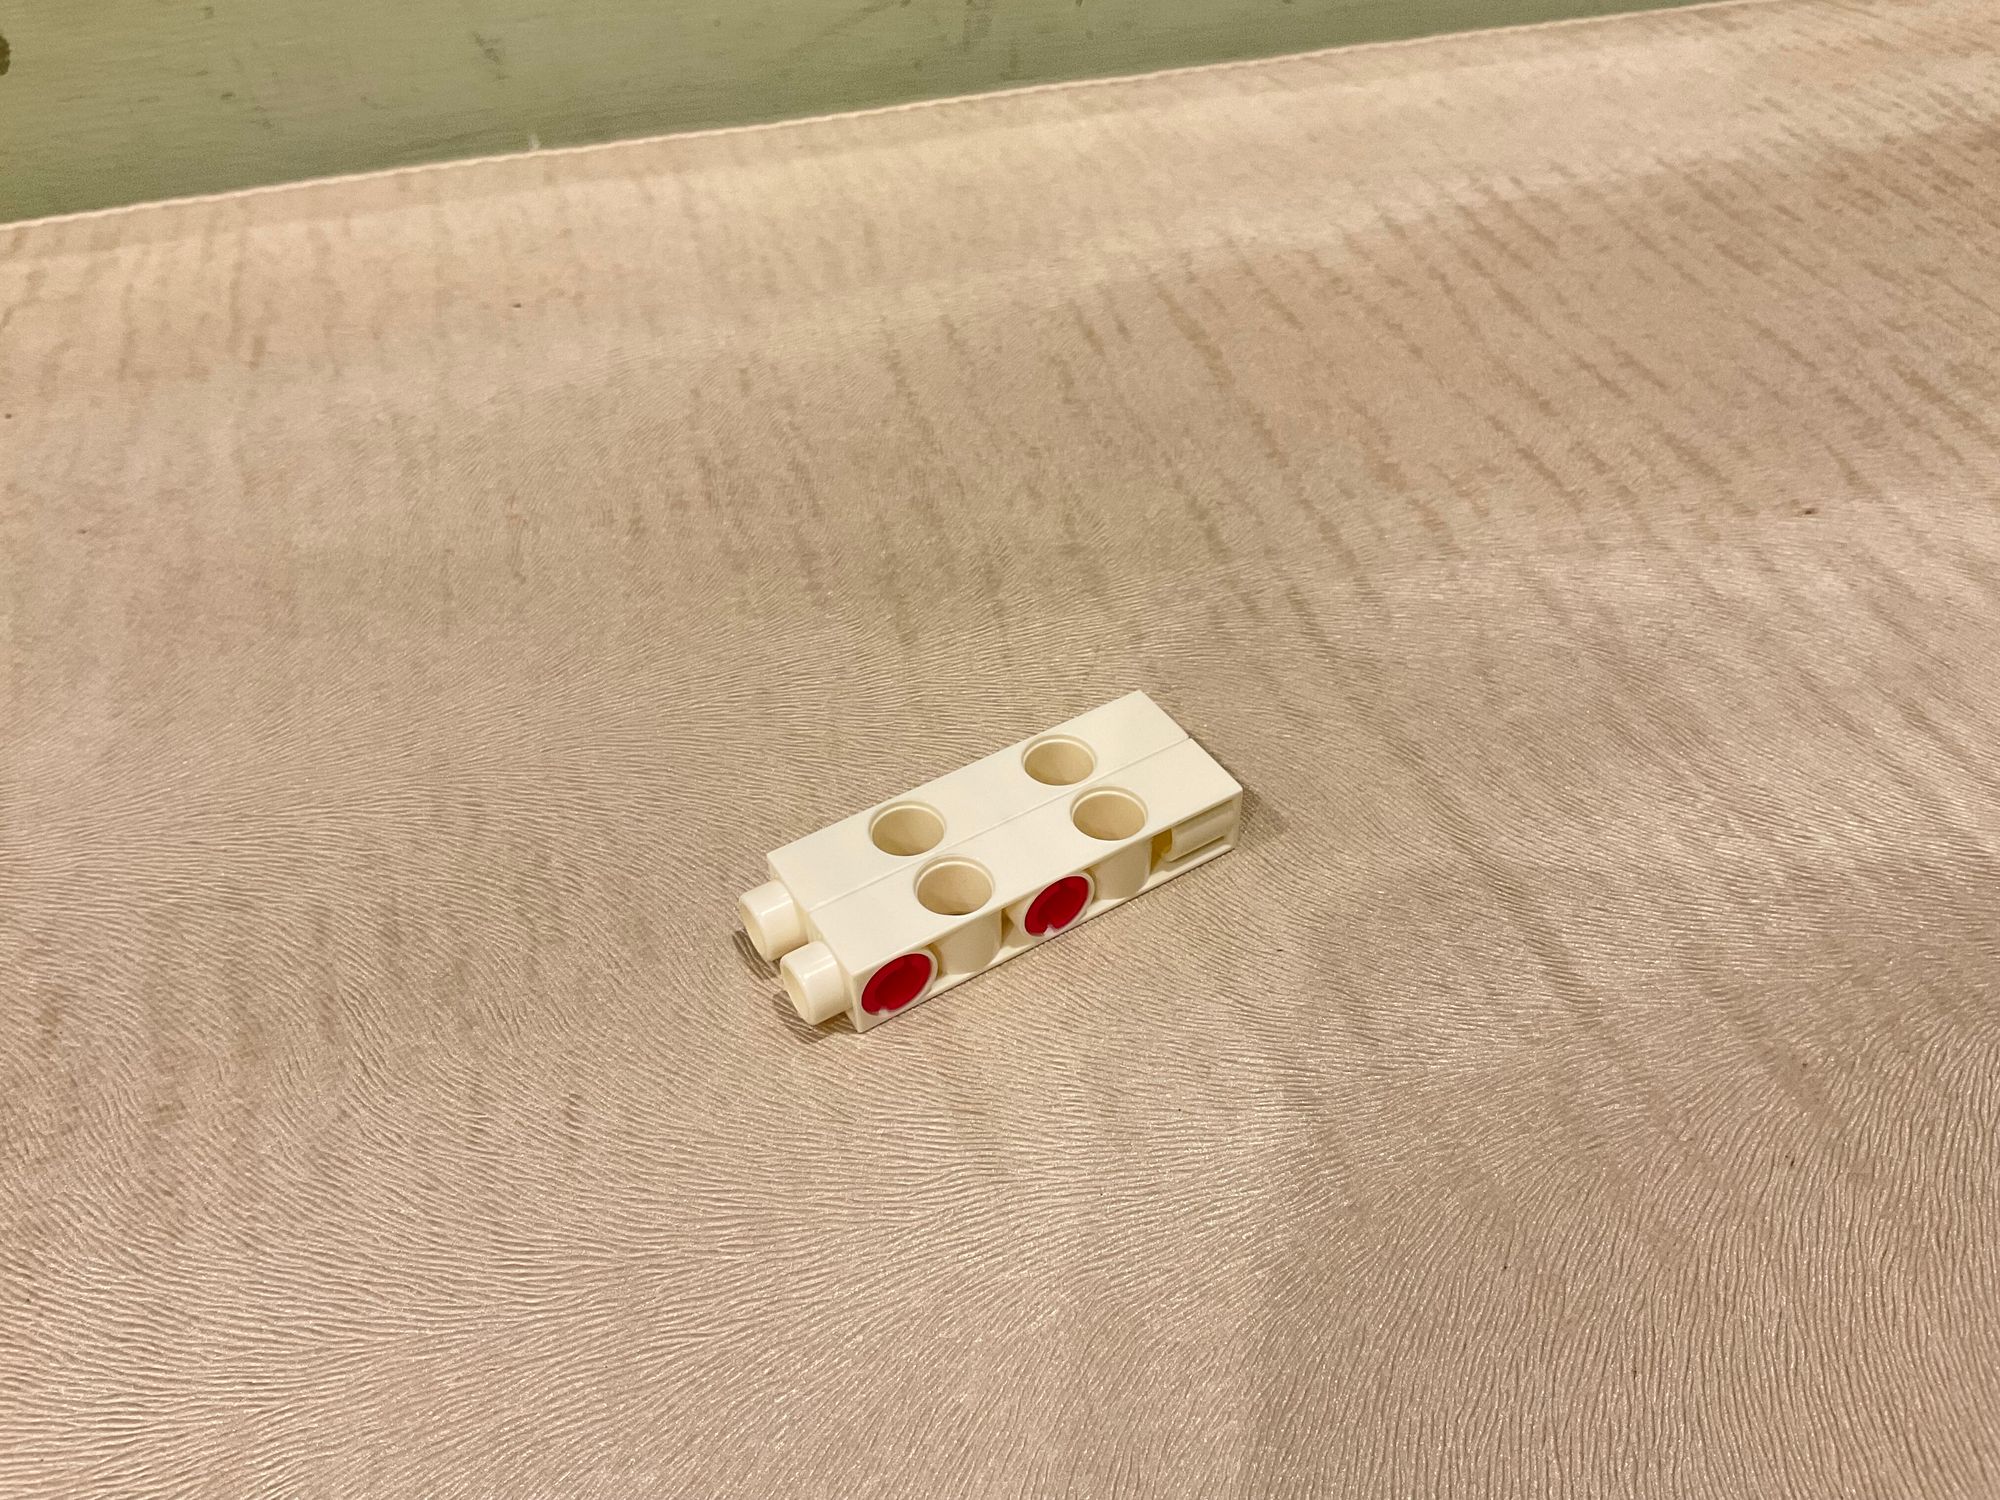
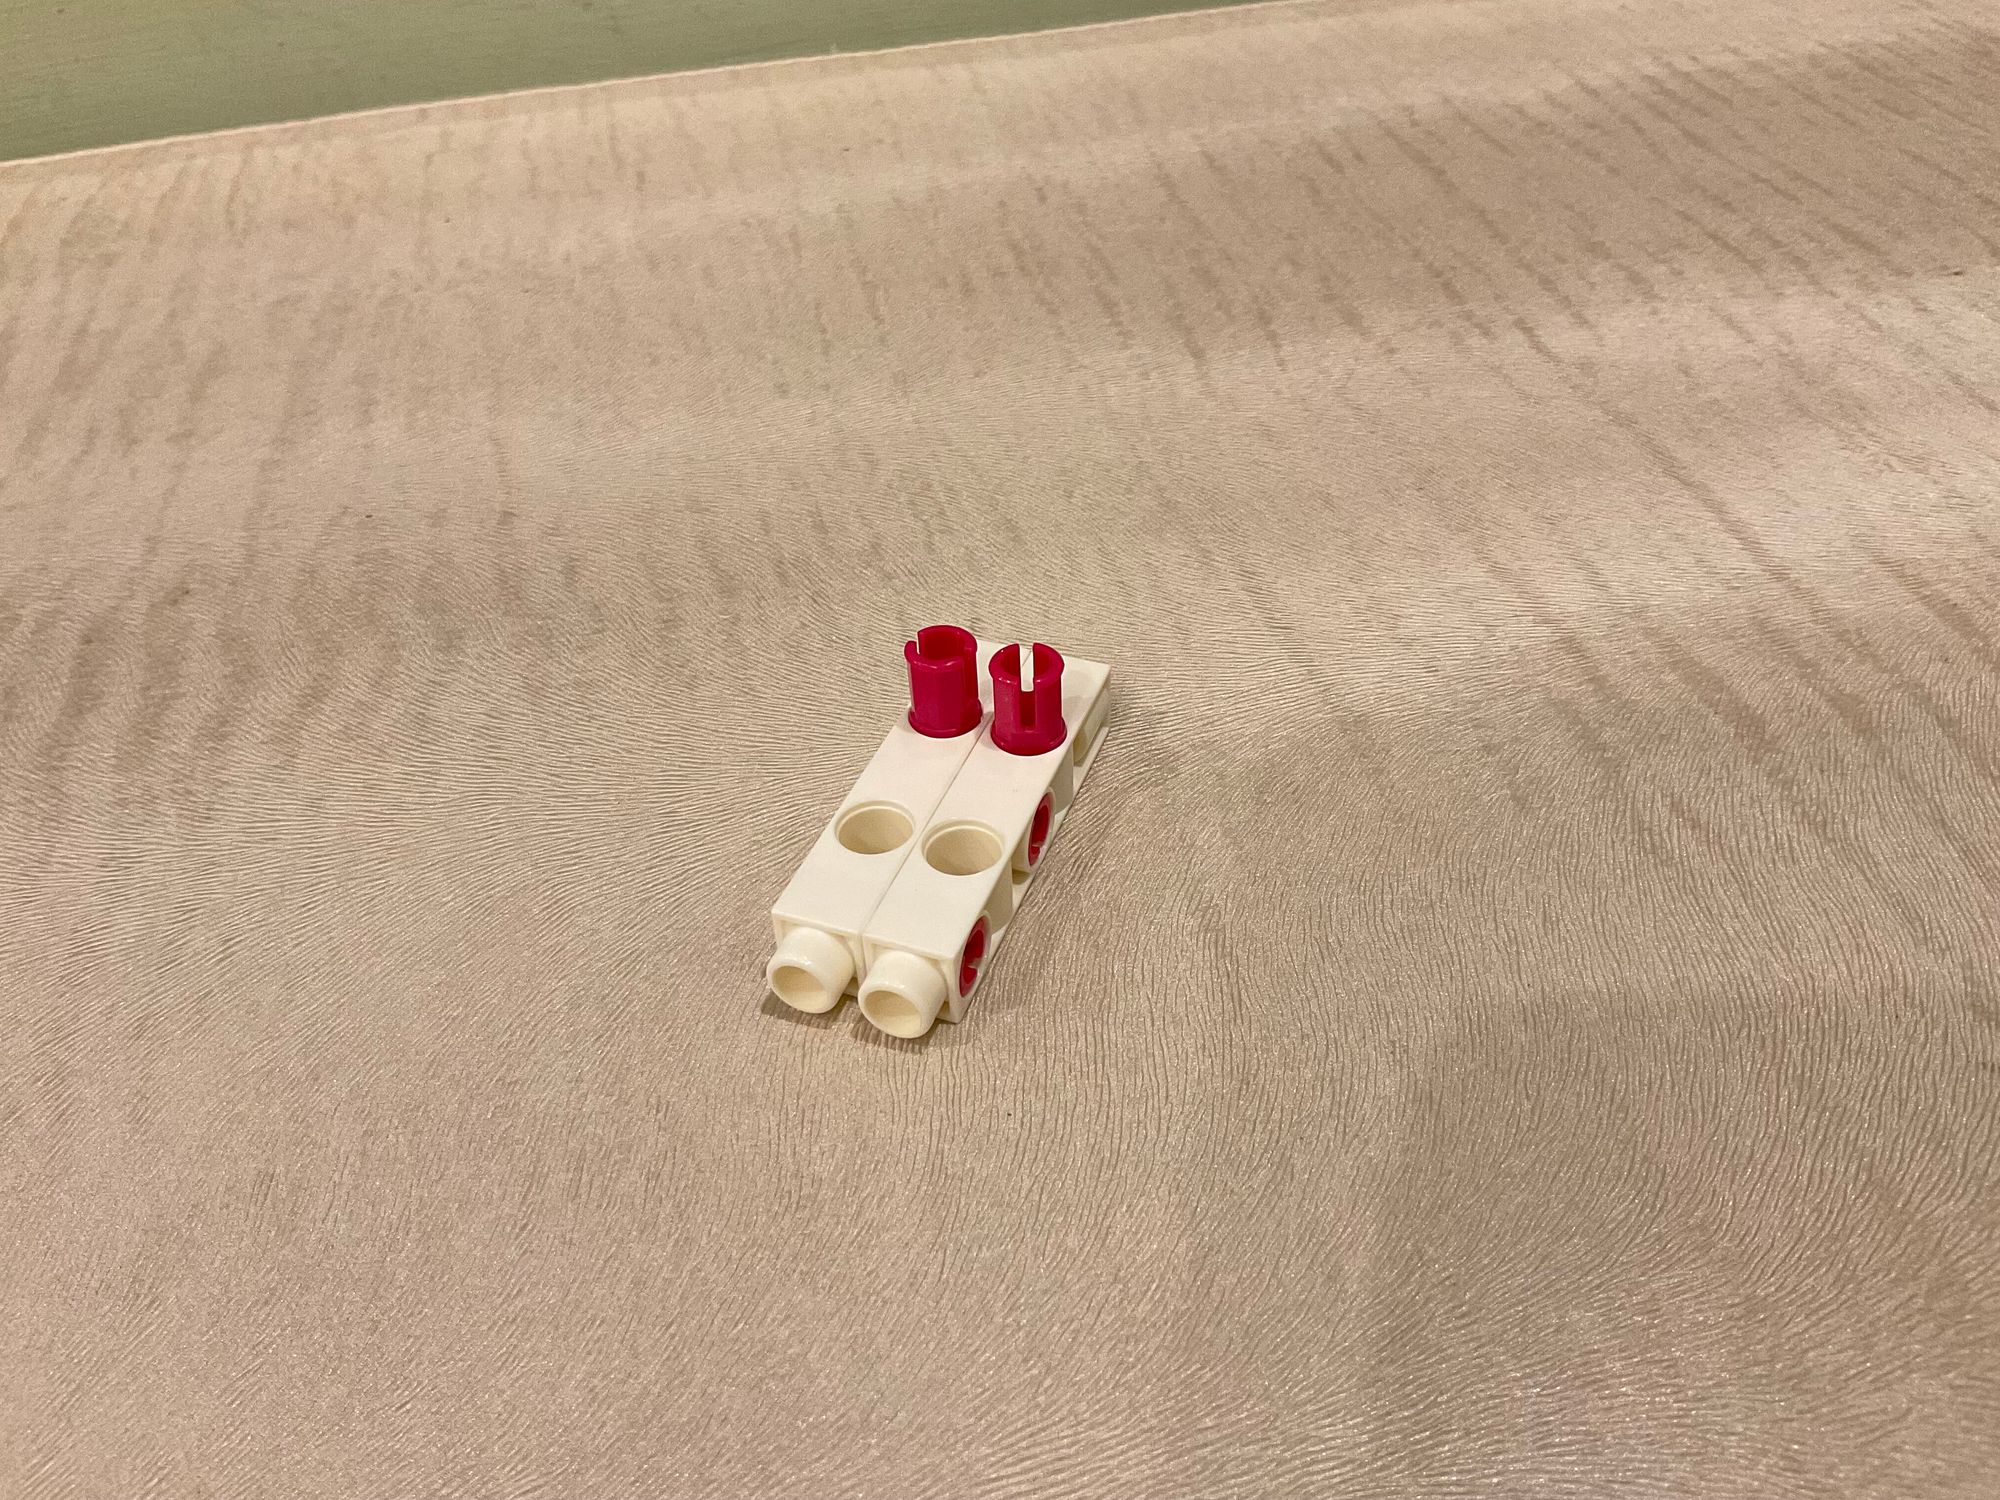
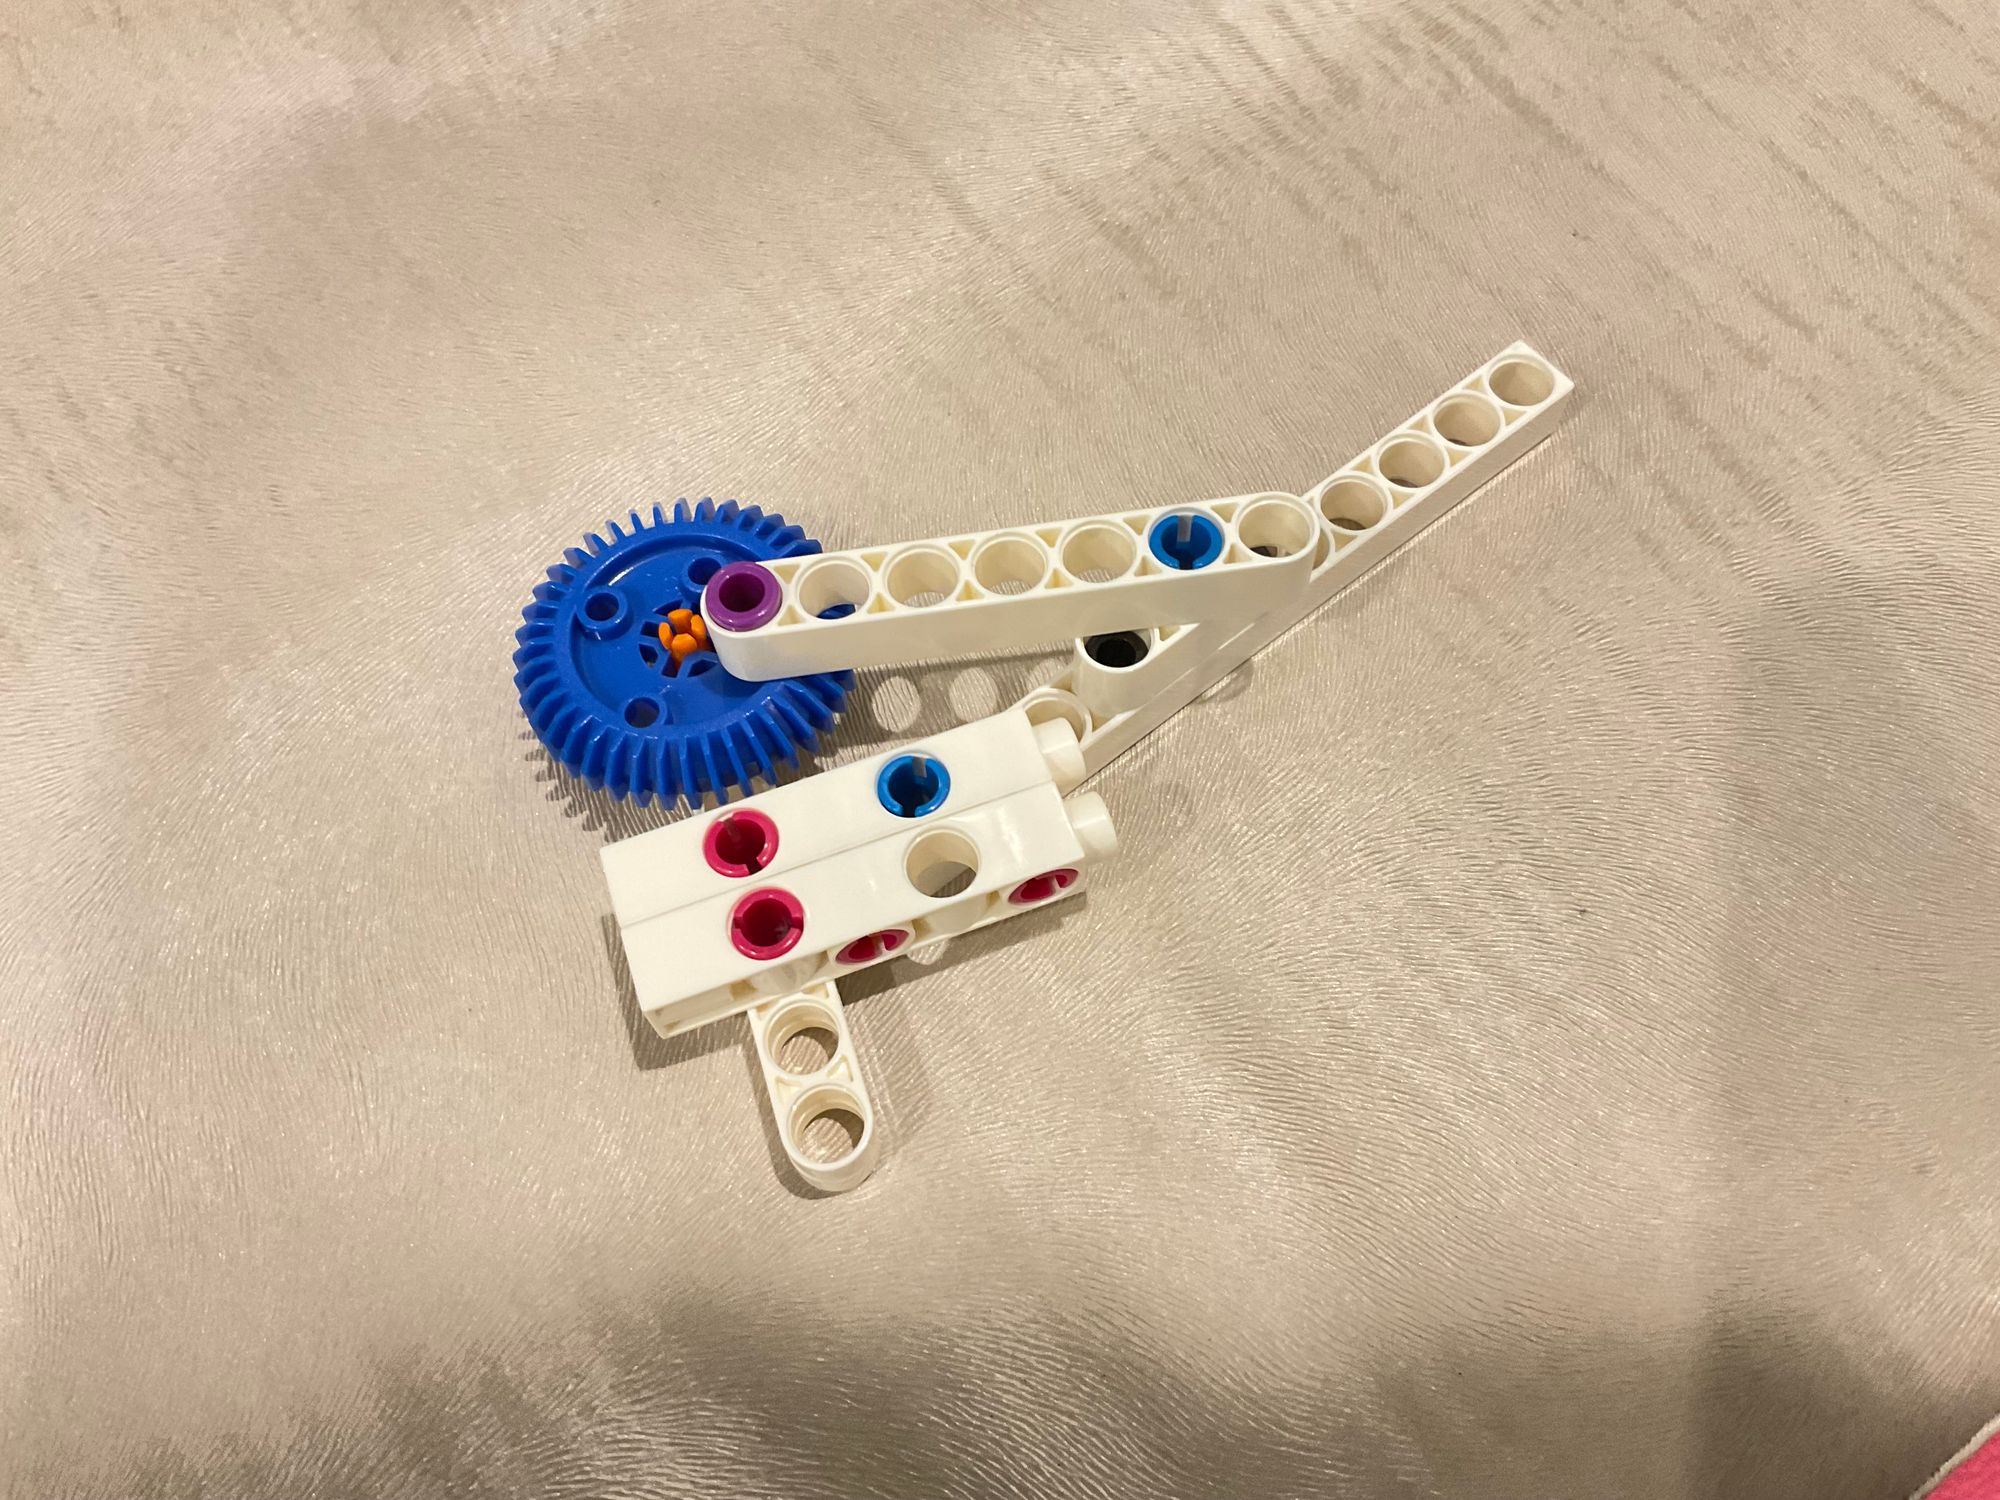
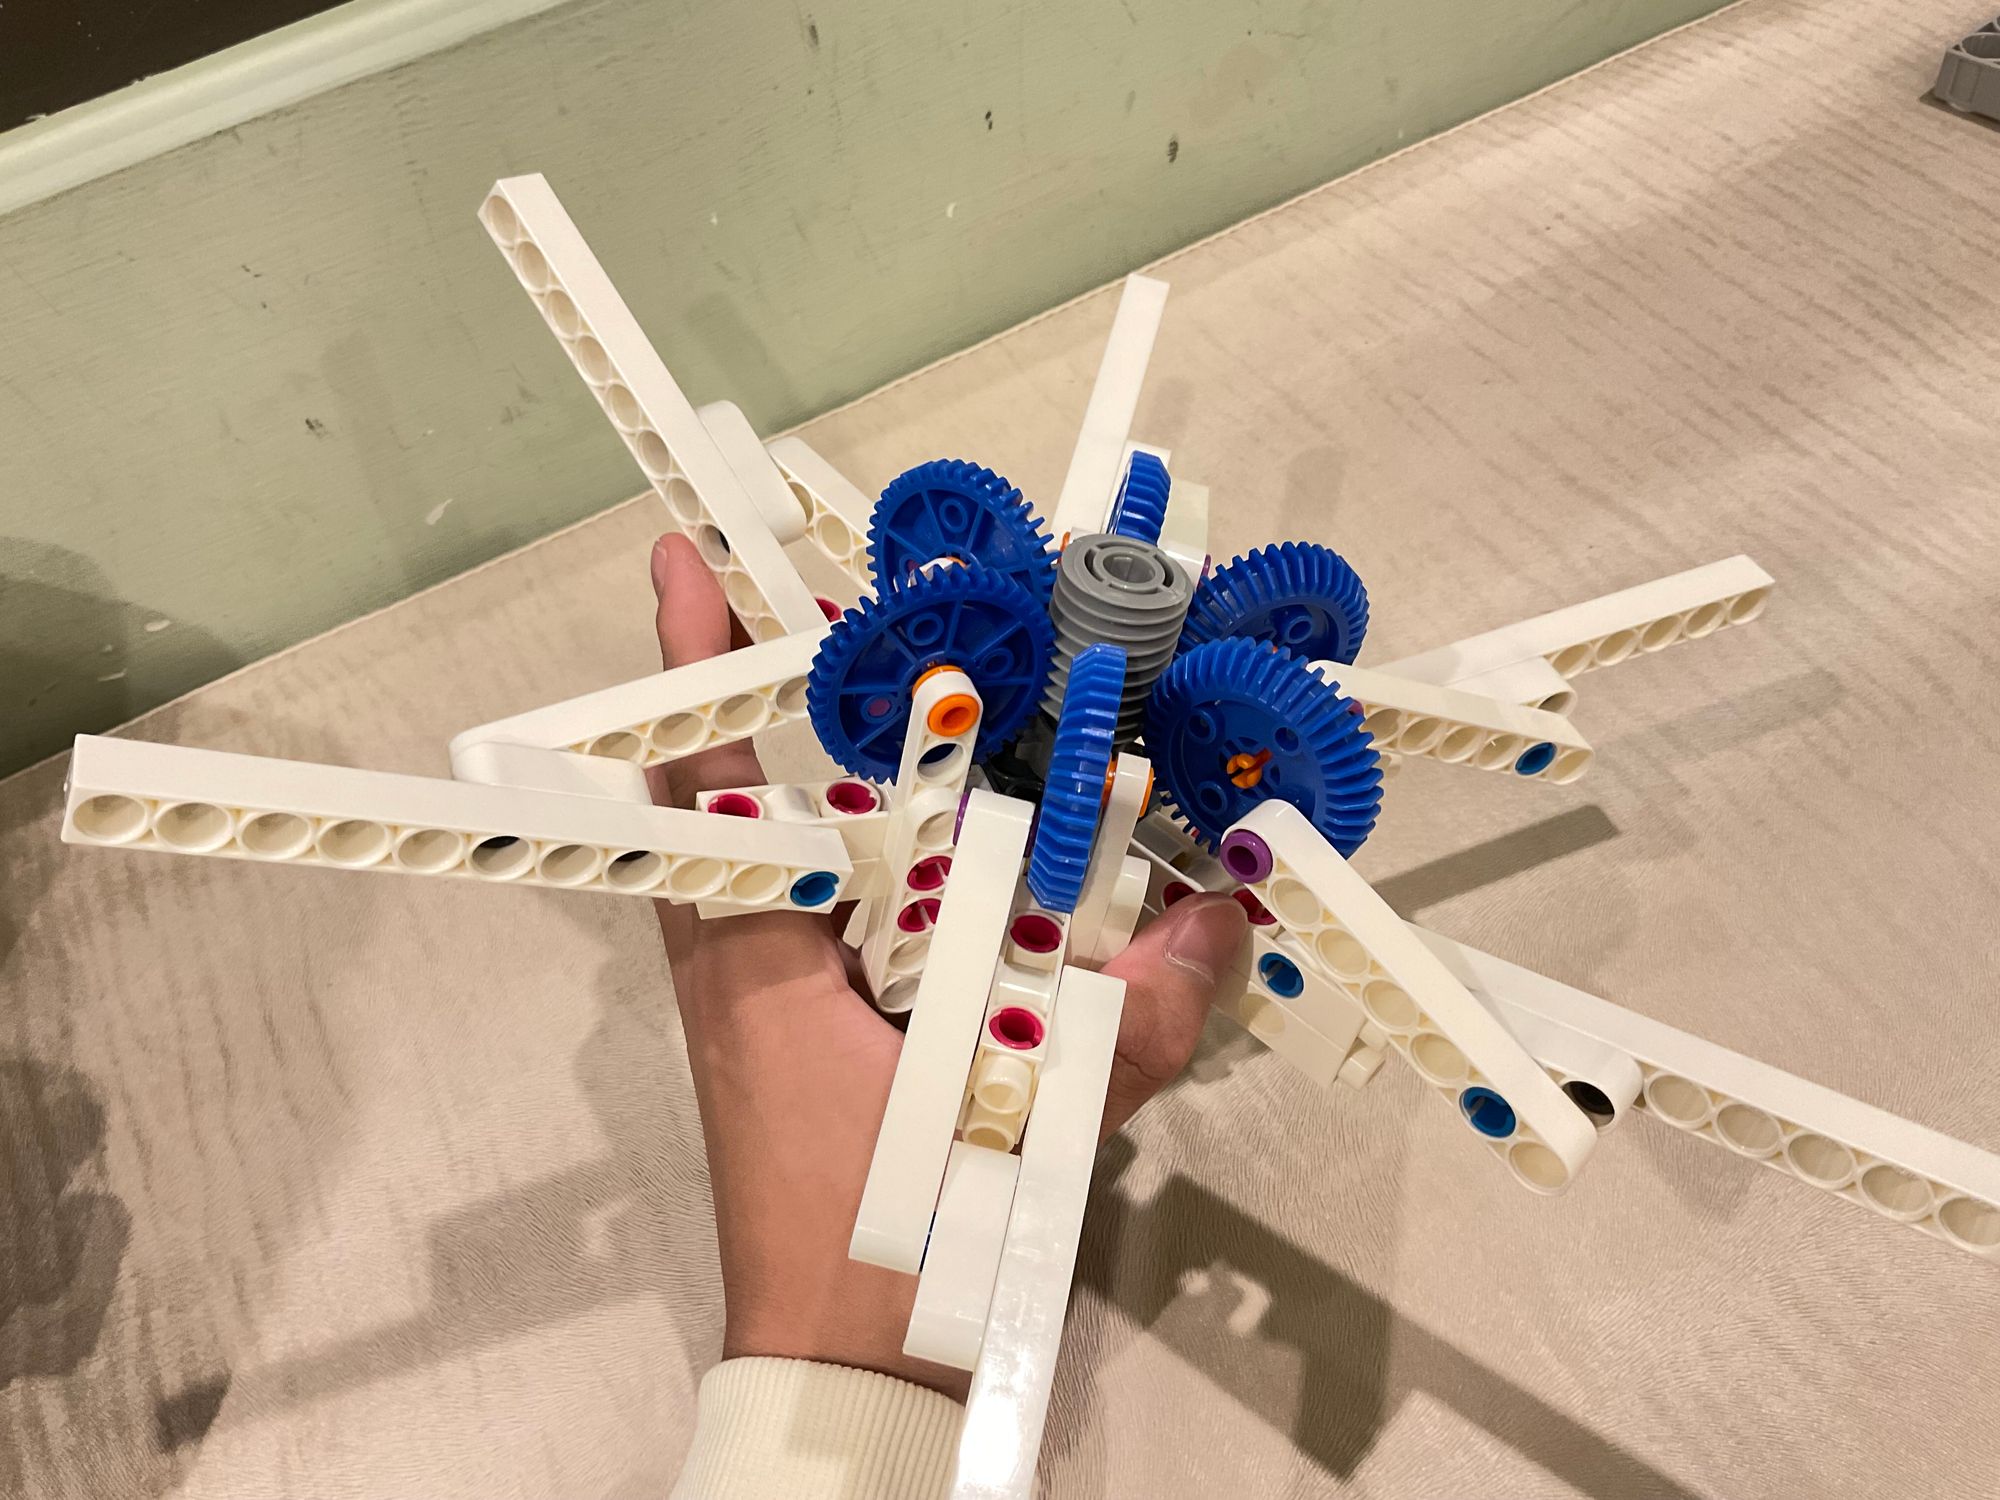
Step 2: Assemble the flower petal gear mechanism
Six flower petals are needed, so please prepare six sets of the following components.


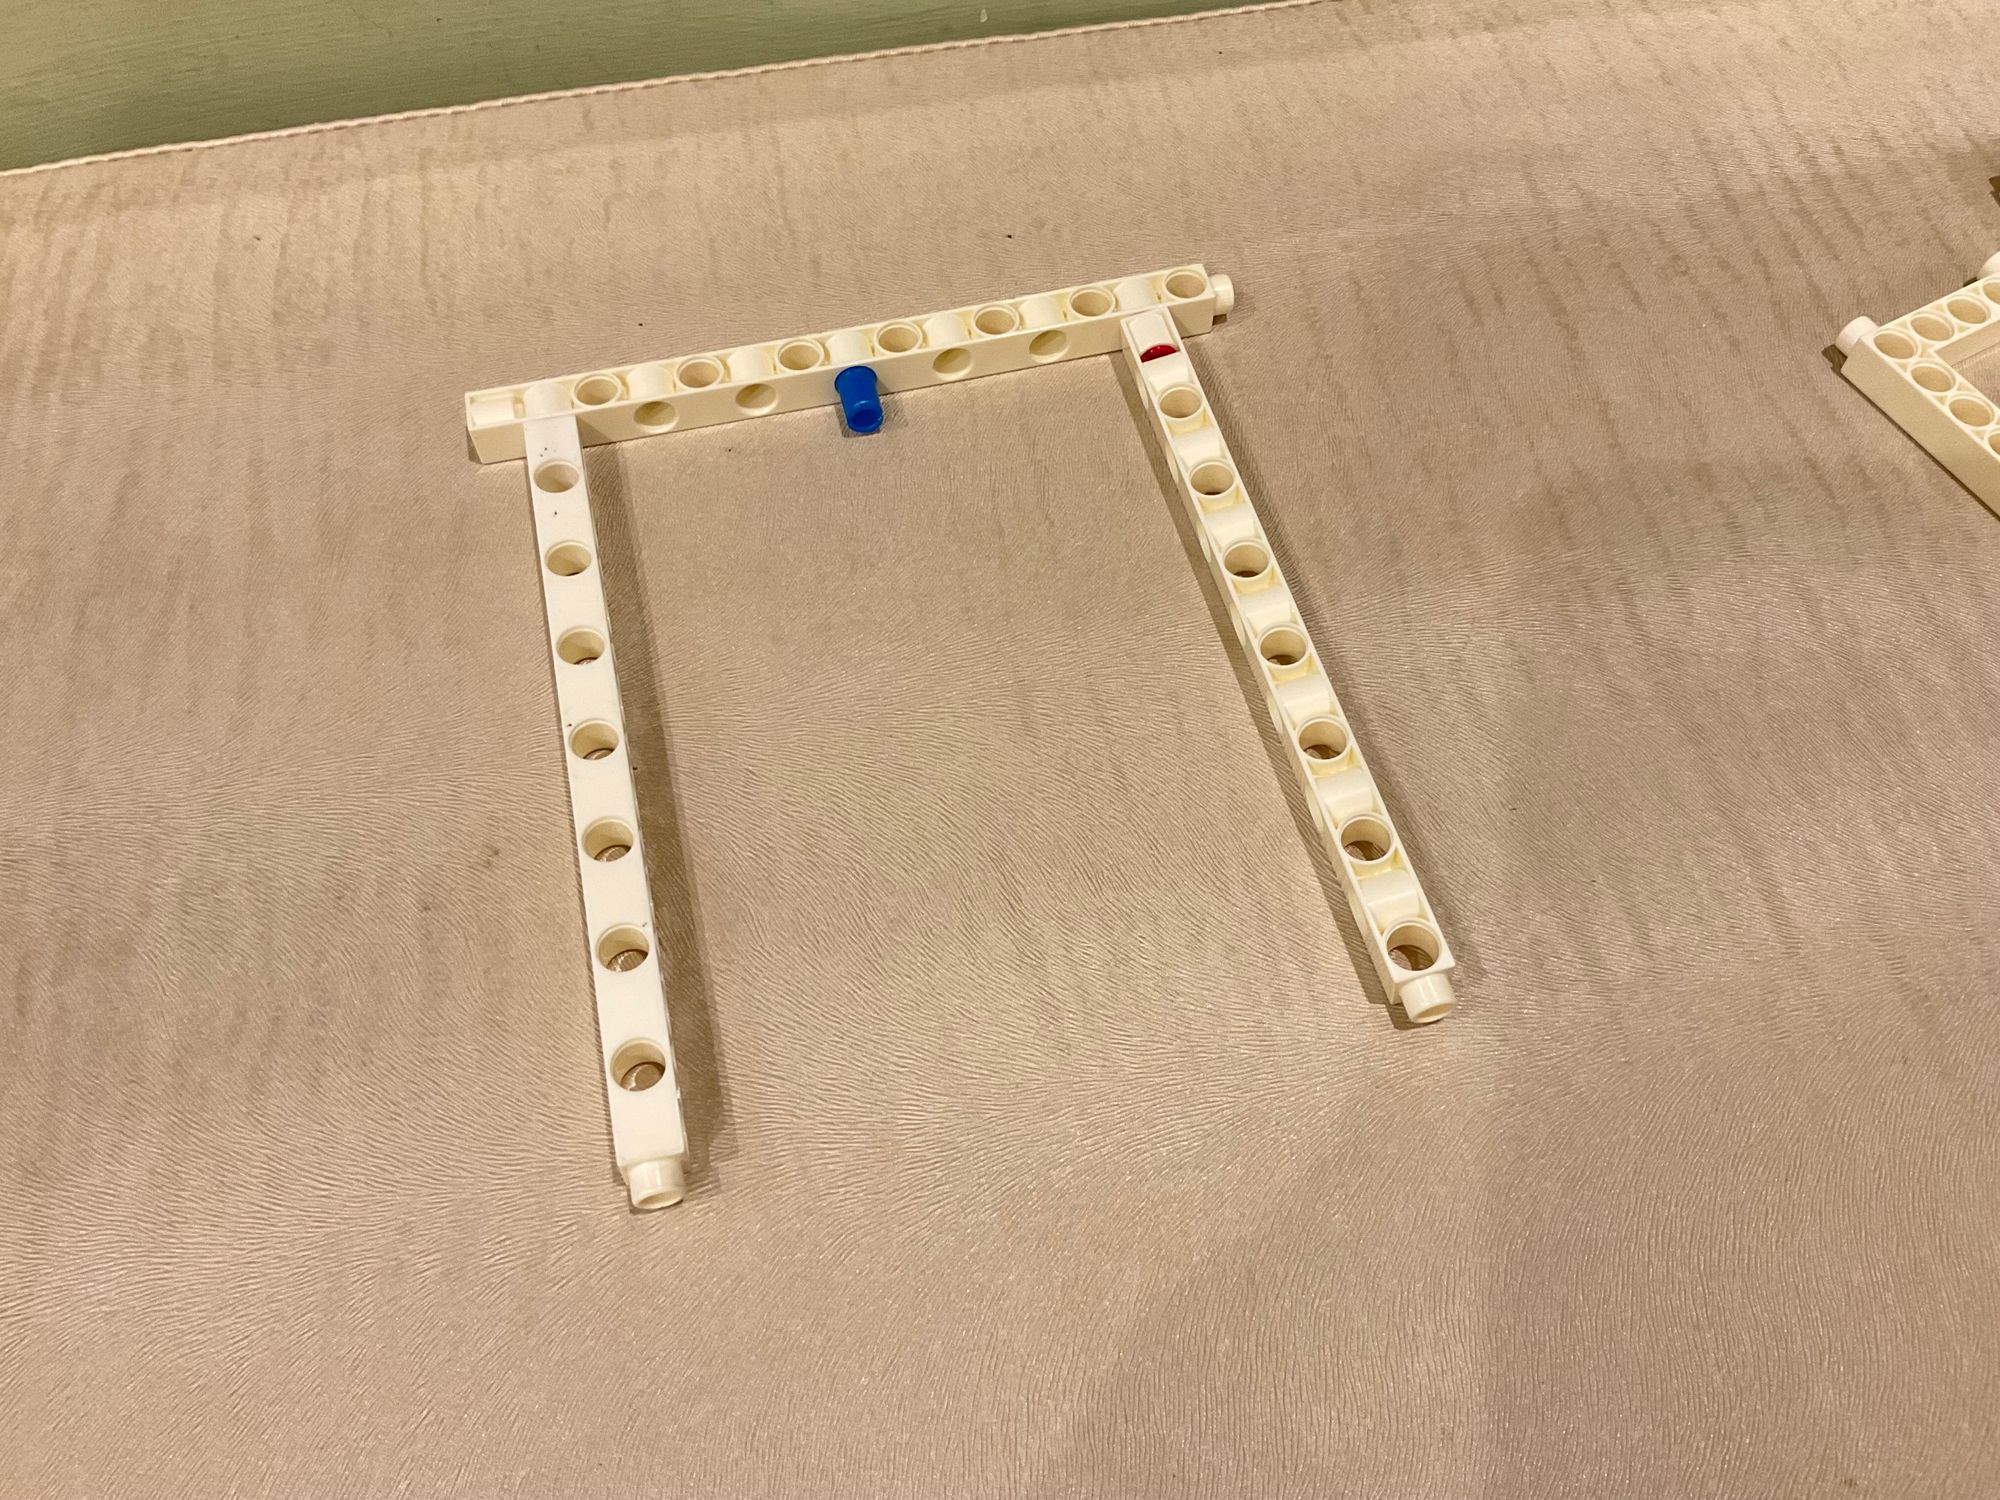
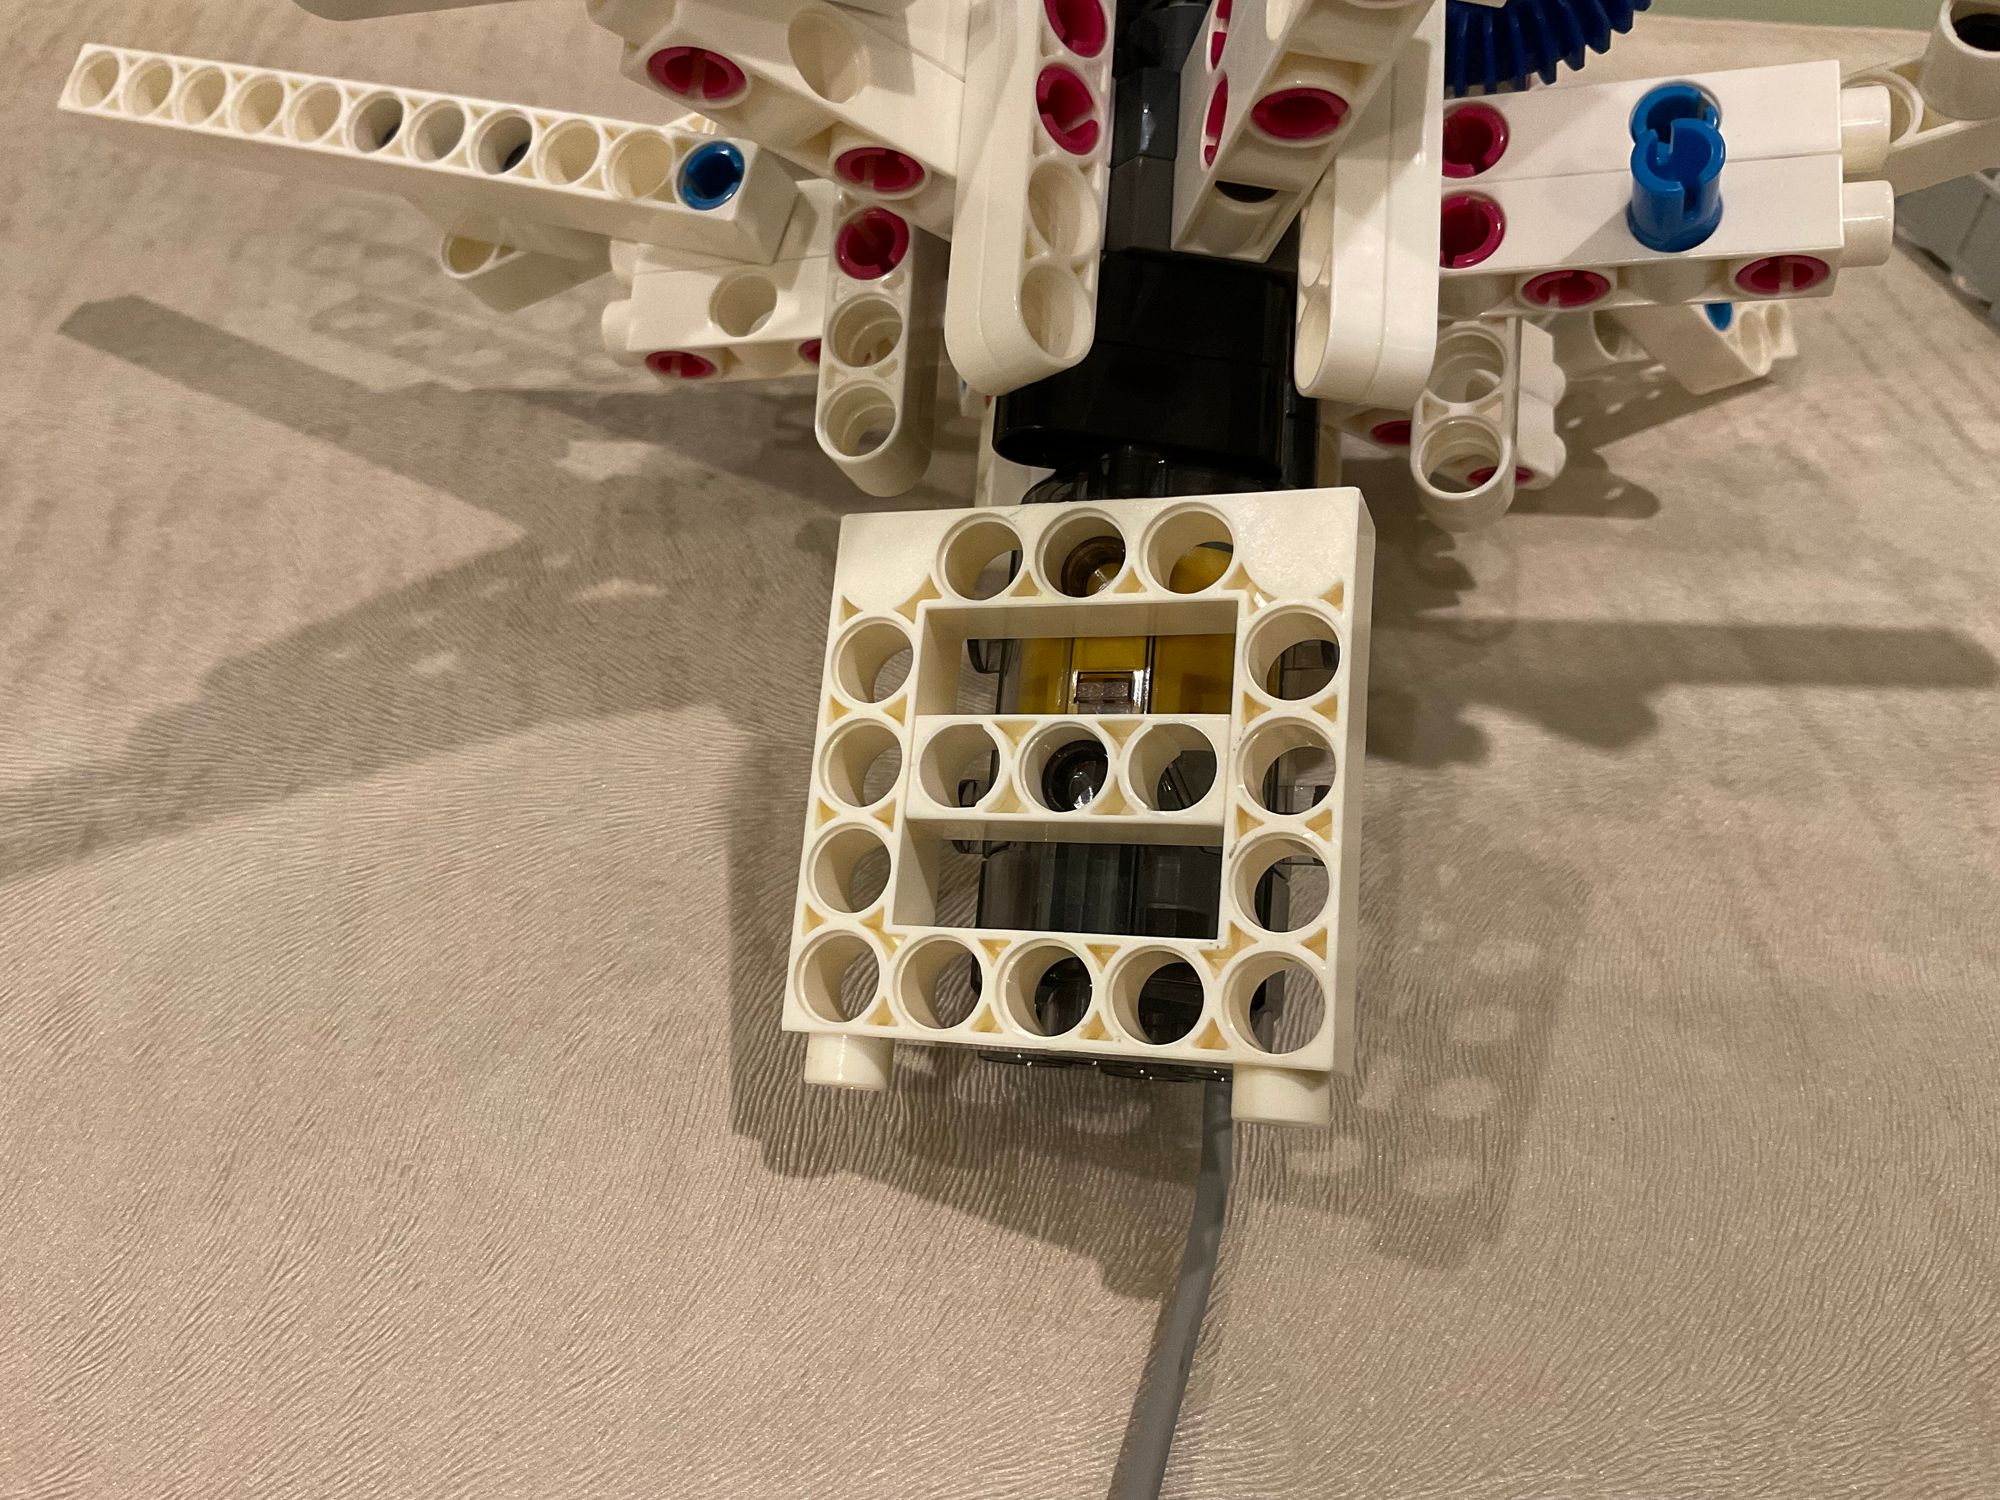
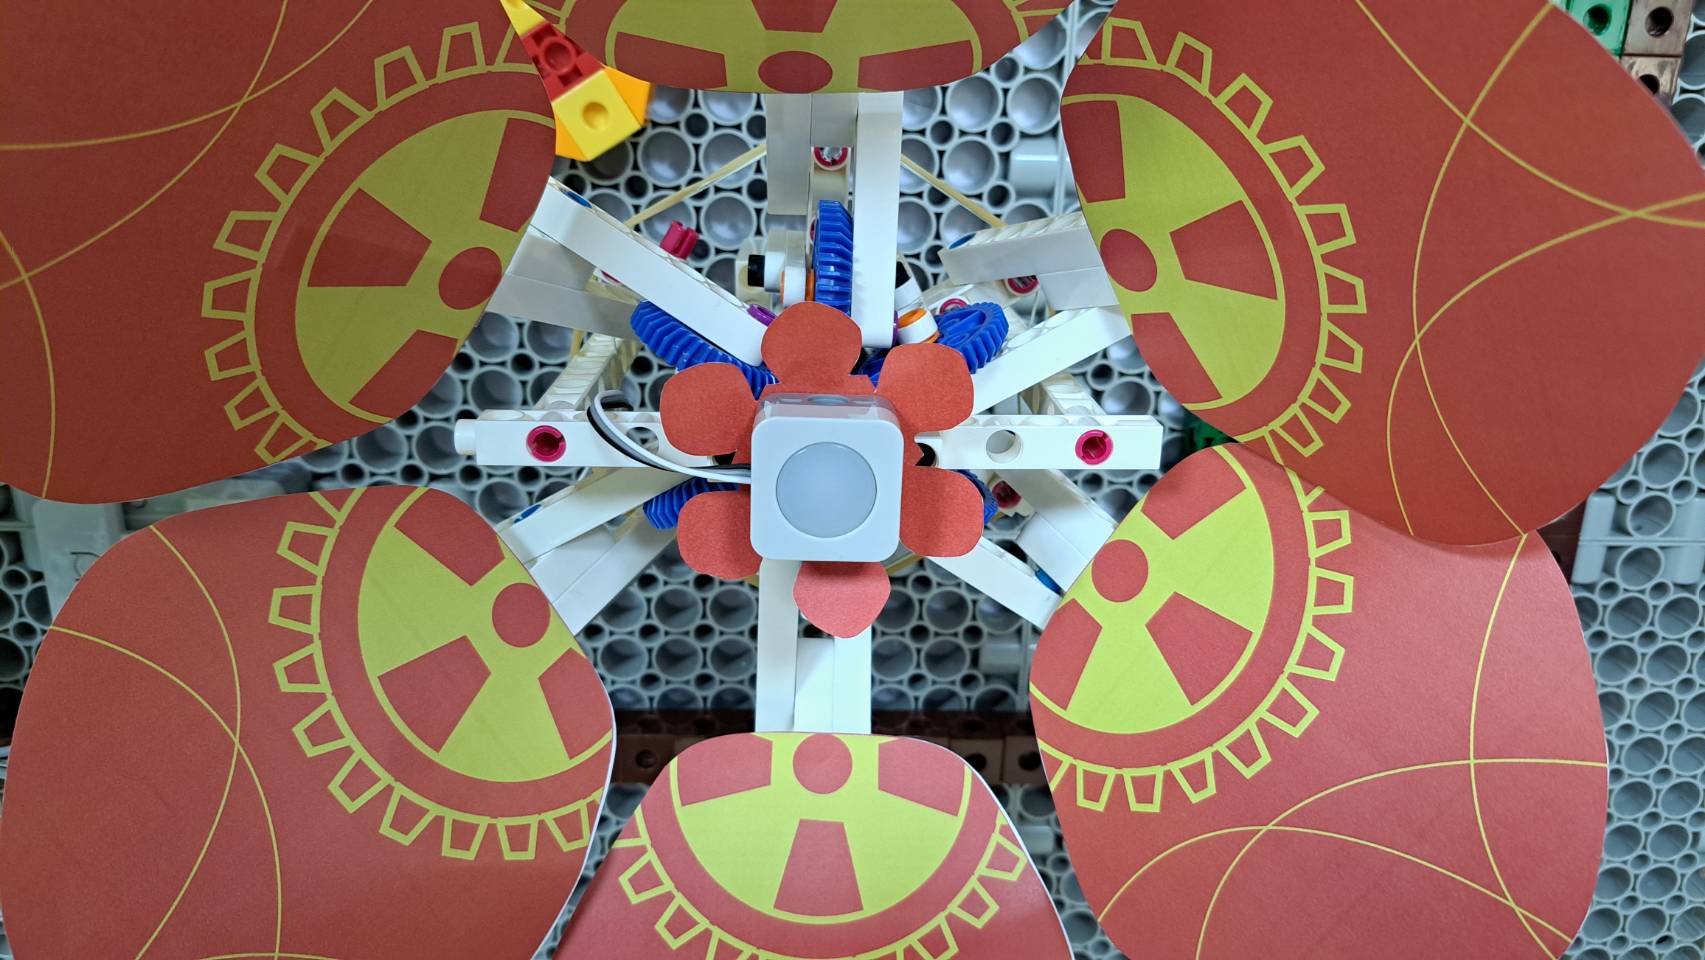
Step 3: Assemble on the large base plate

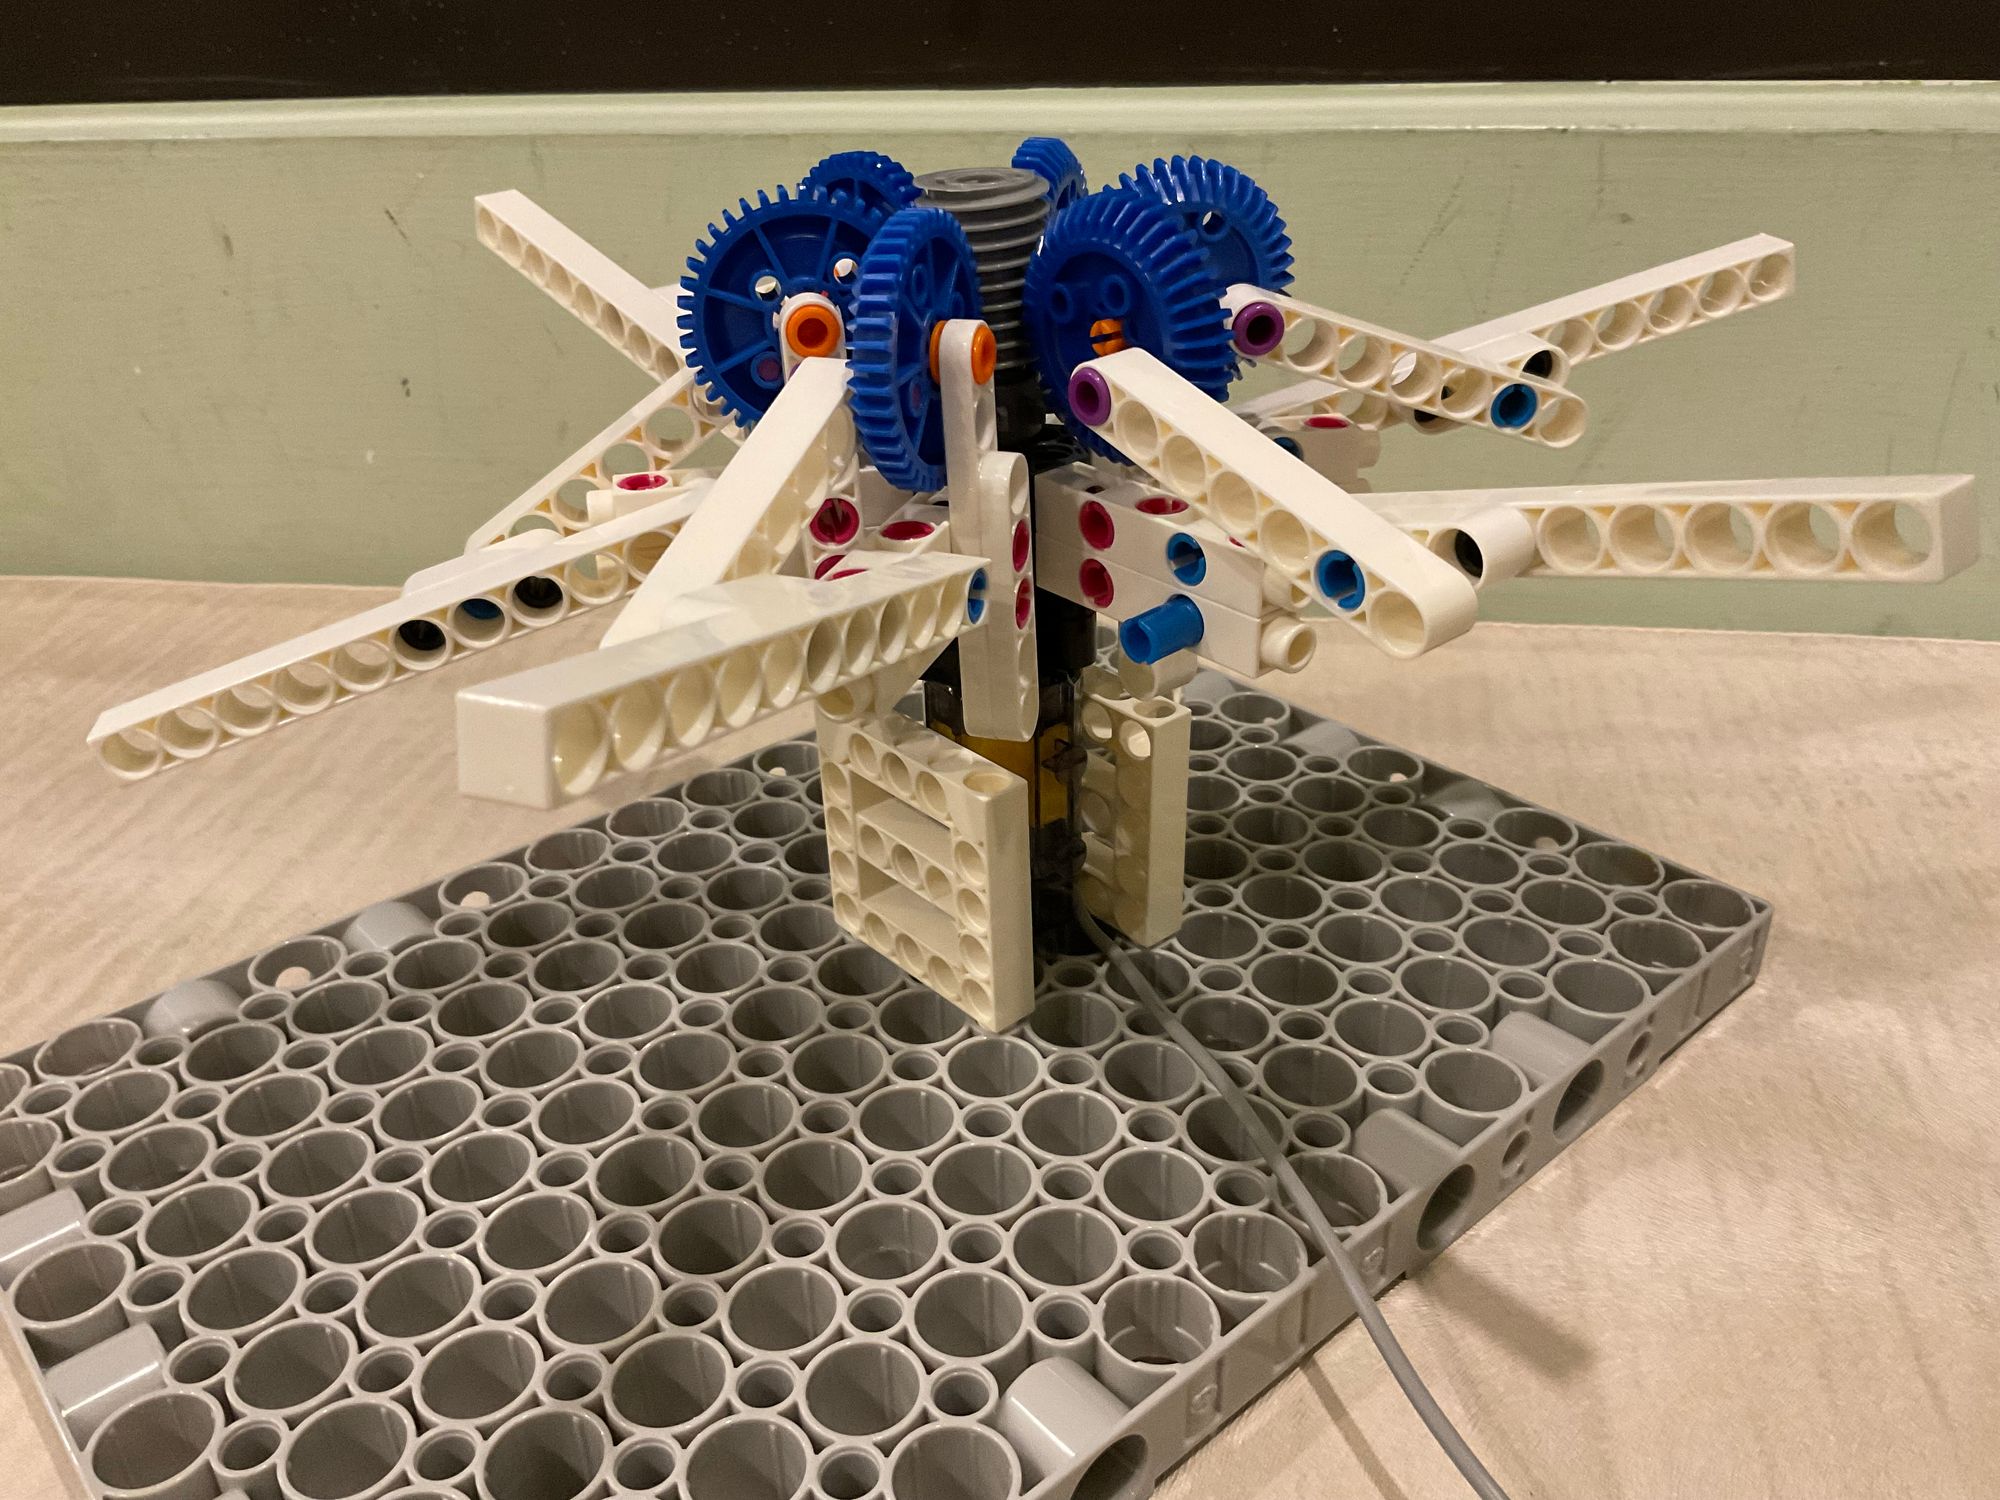
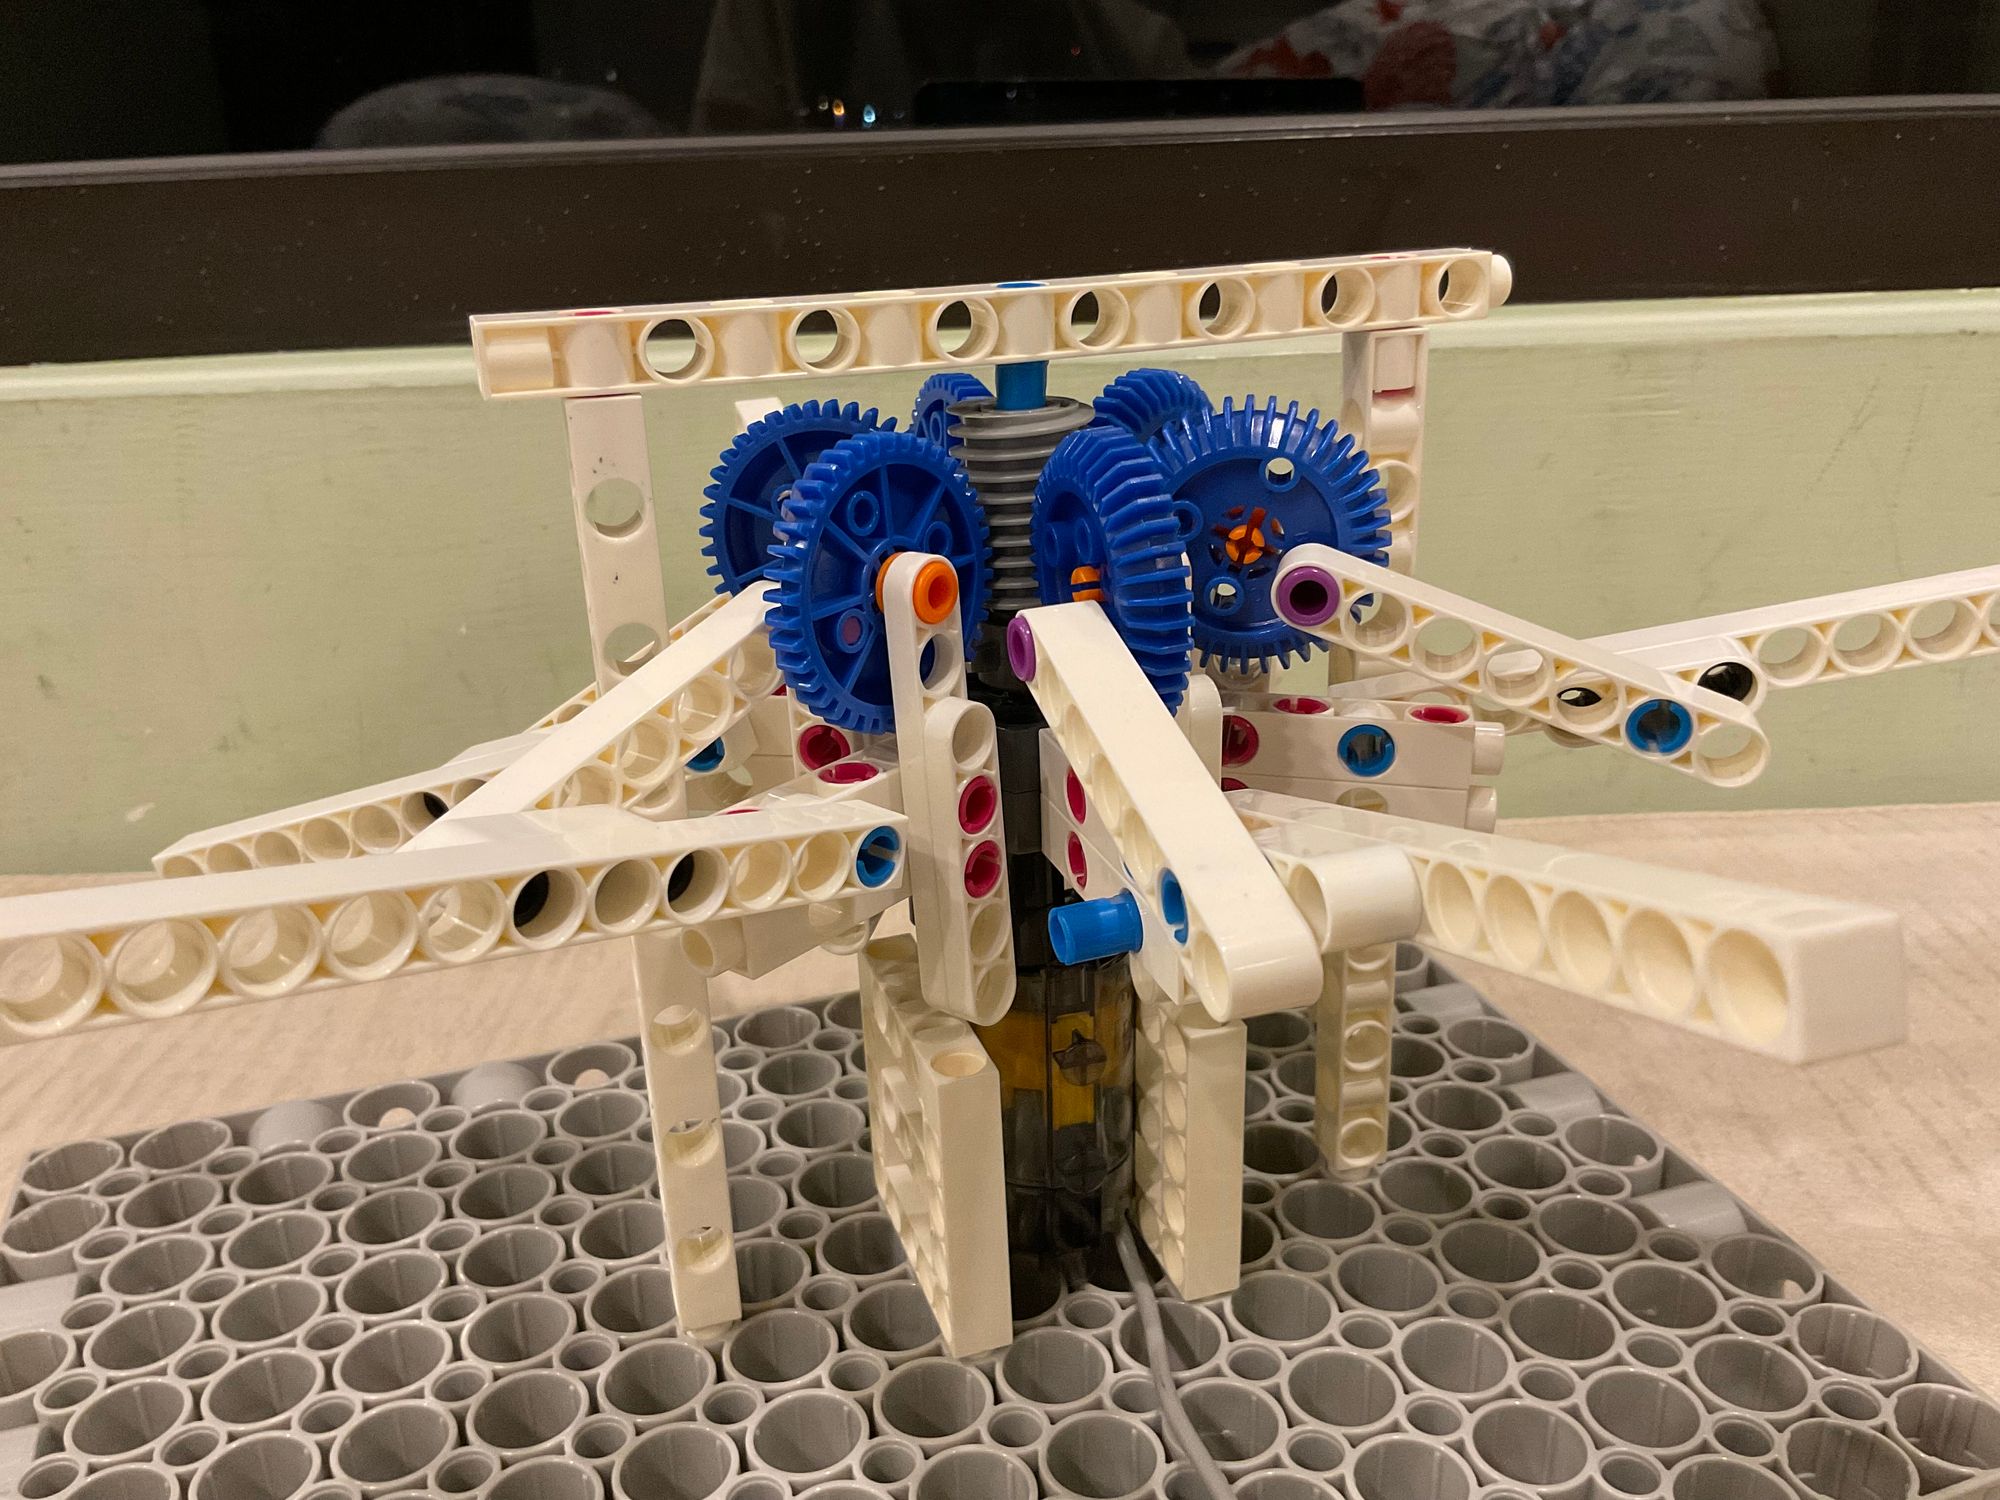
We're almost there ~lastly we need to write some program to get it start moving
Step 4: Write the program
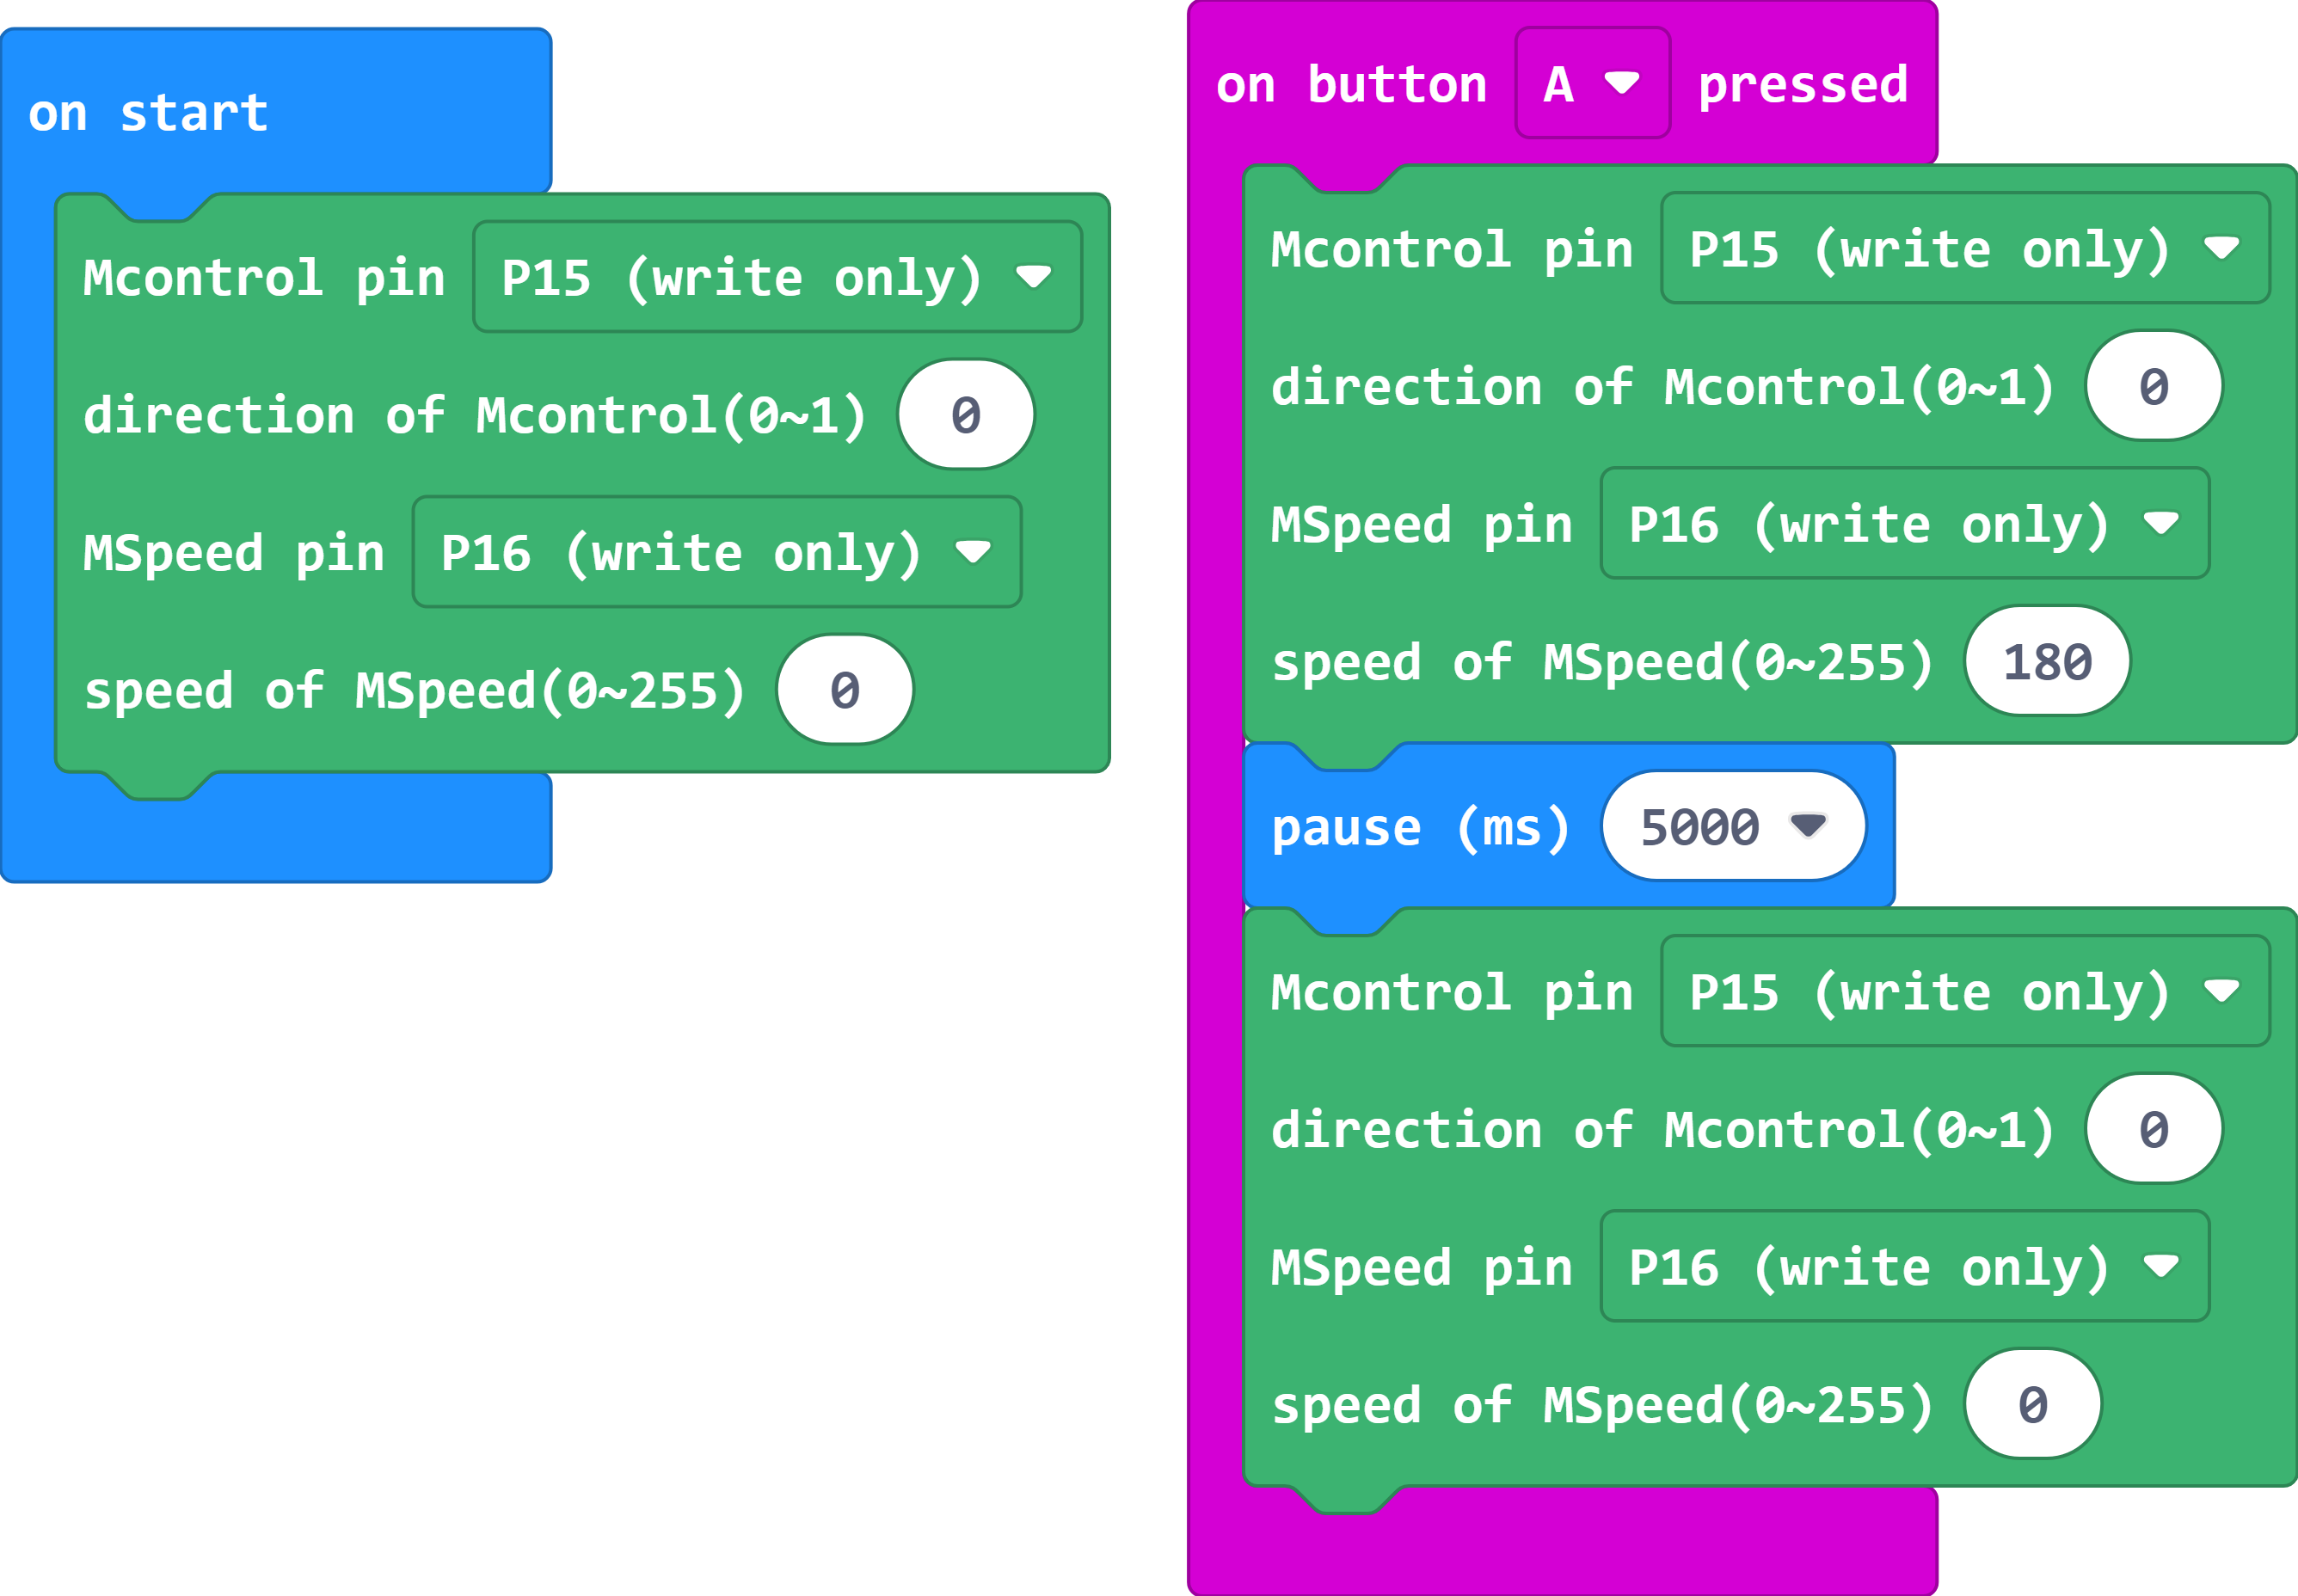
- This is the program I wrote. Here, you need to pay attention to the fact that the Sensors block I used needs to be added from Extensions, the link is here(https://github.com/gigotoys/gigo-block)
Demonstration video:
※Extended Creation - Flower Blooming in Prosperity
After completing the design of the mechanism flower, we will make it have new function and decoration through programming! We want to create a mechanism that allows the petals to bloom in welcome when people approach. Therefore, we need to use the smart controller 2.0, two RGB LED holders and an ultrasonic sensor from #1409.
The new smart controller 2.0 supports two 3.7V lithium batteries, enabling the simultaneous operation of four motors and sensors, providing a highly stable voltage. The RGB LED holder can change colors by program without connecting multiple LED bulbs. The ultrasonic sensor can emit ultrasonic waves and detect the distance between objects through the rebound of ultrasonic waves.

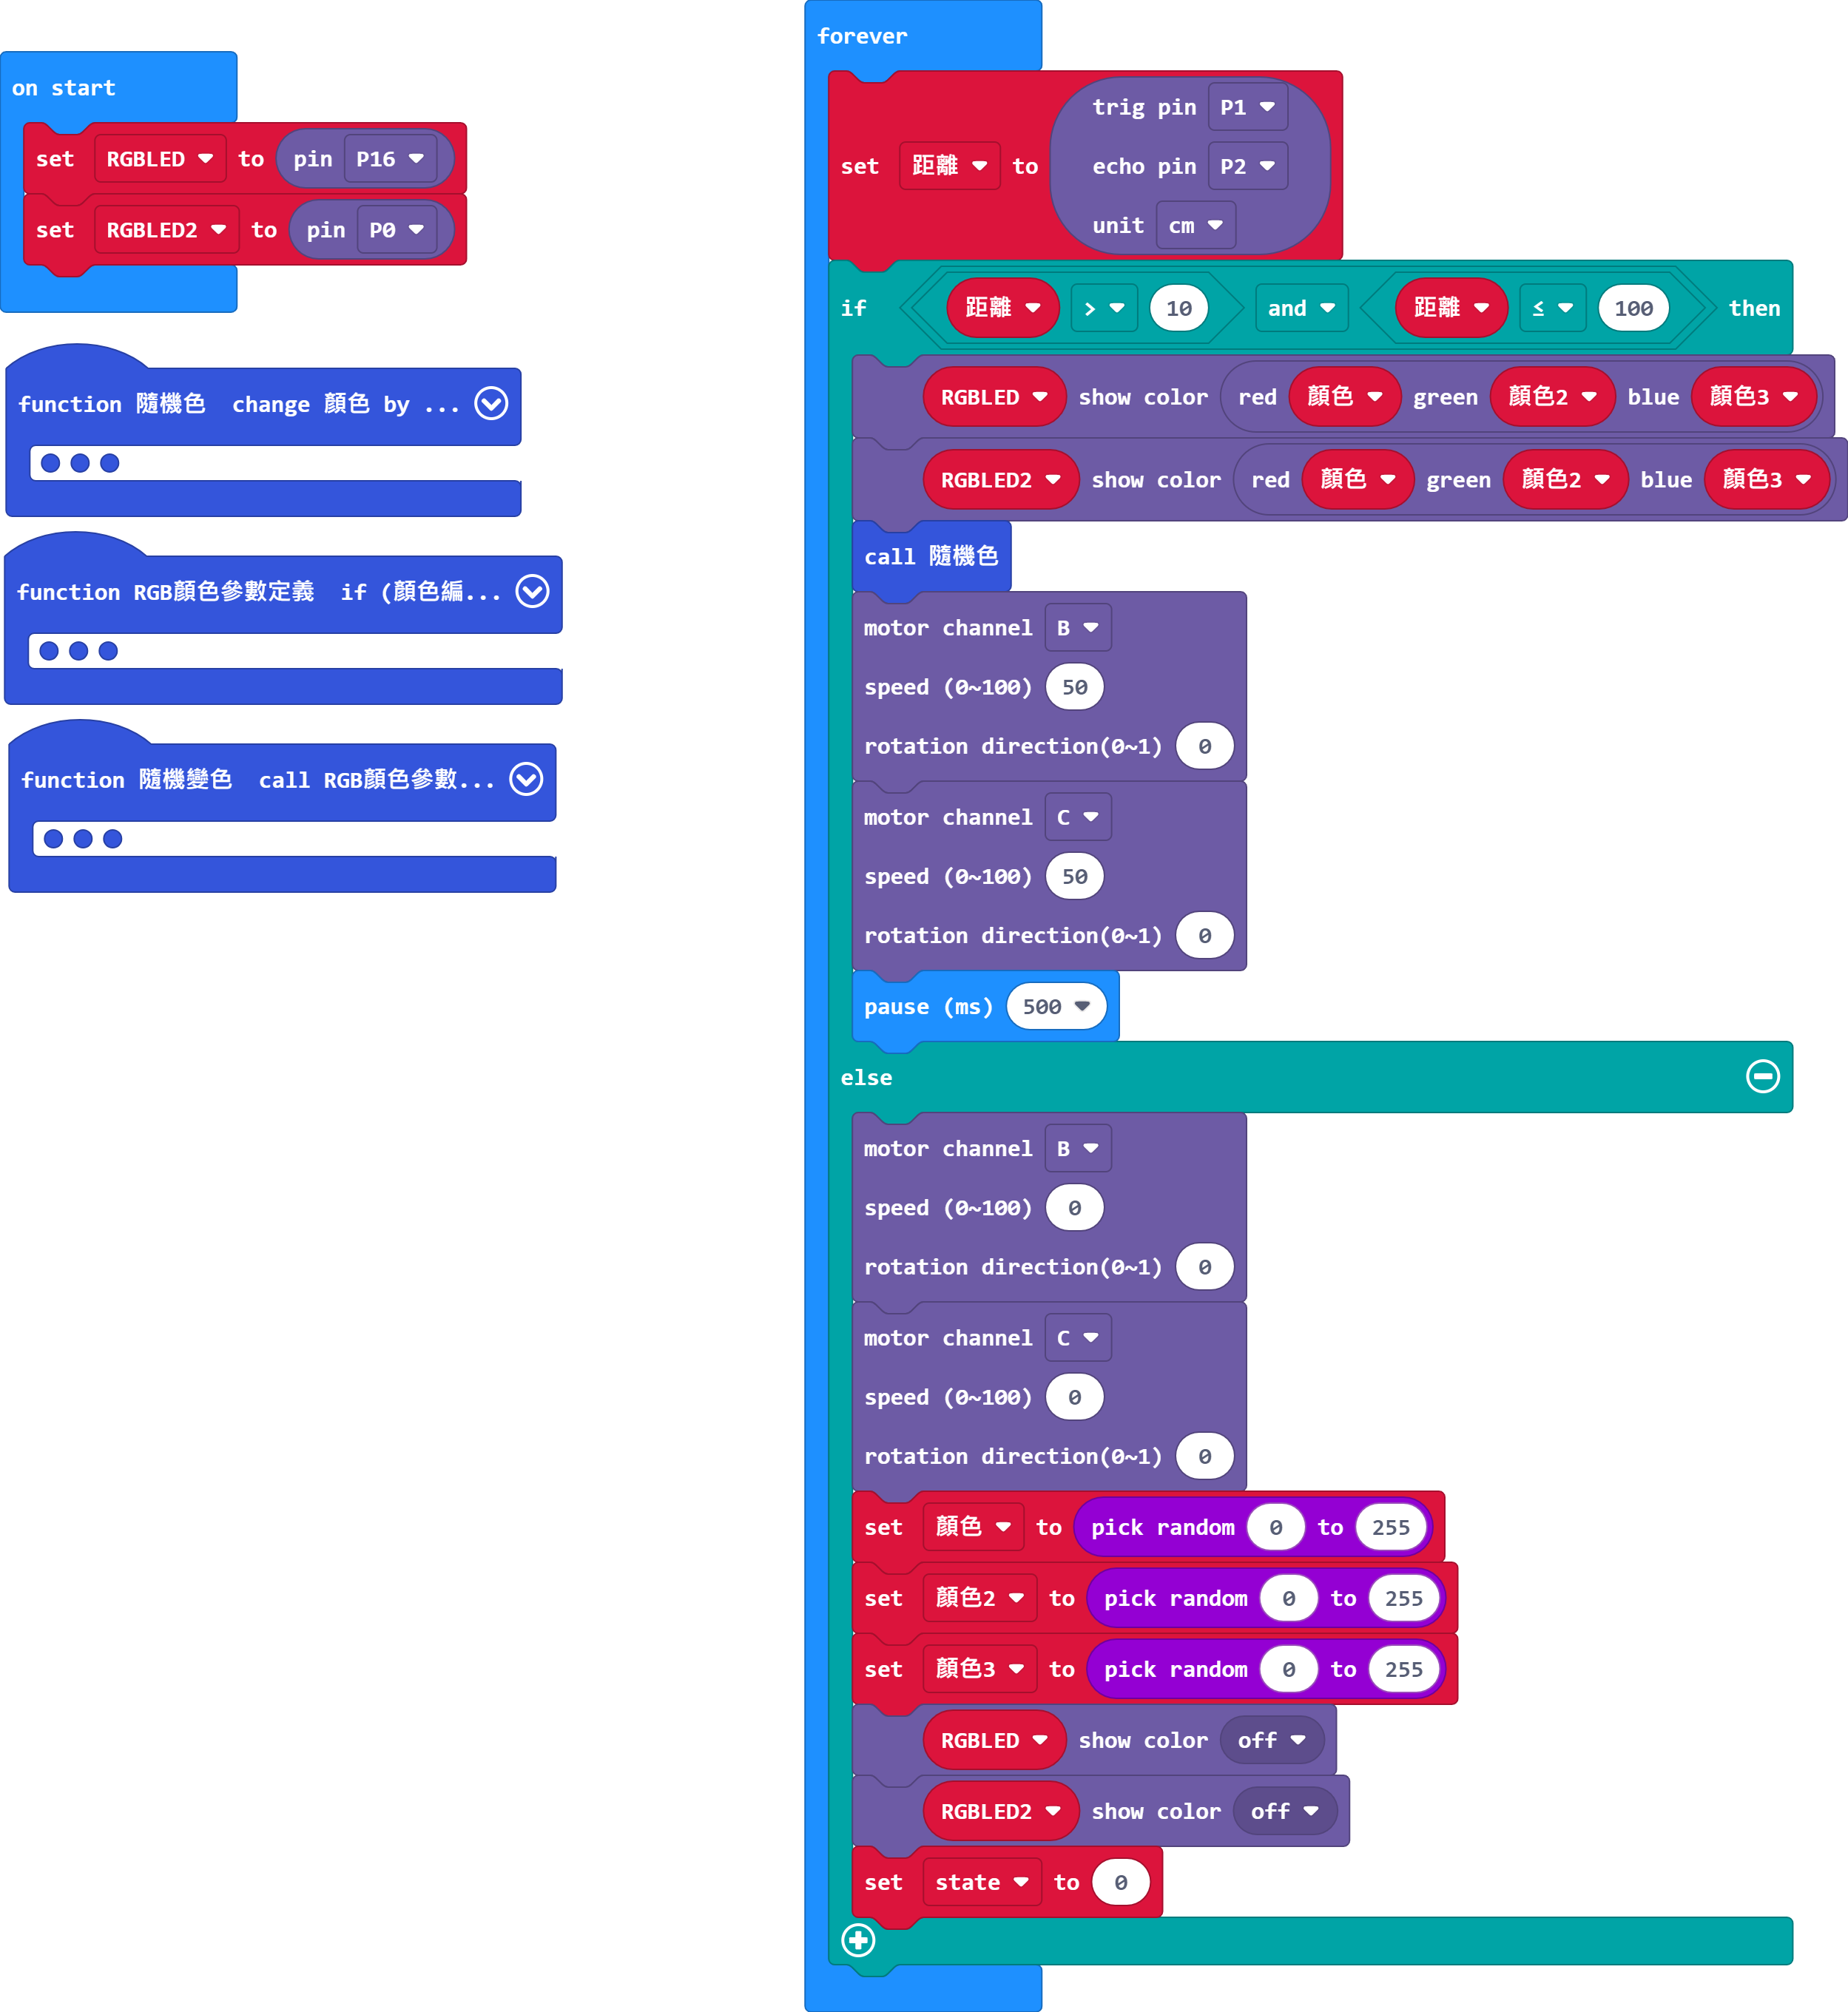
※Program Logic
First, we set the pins of the RGB LED holder, then use the function to make the LED to change colors randomly.
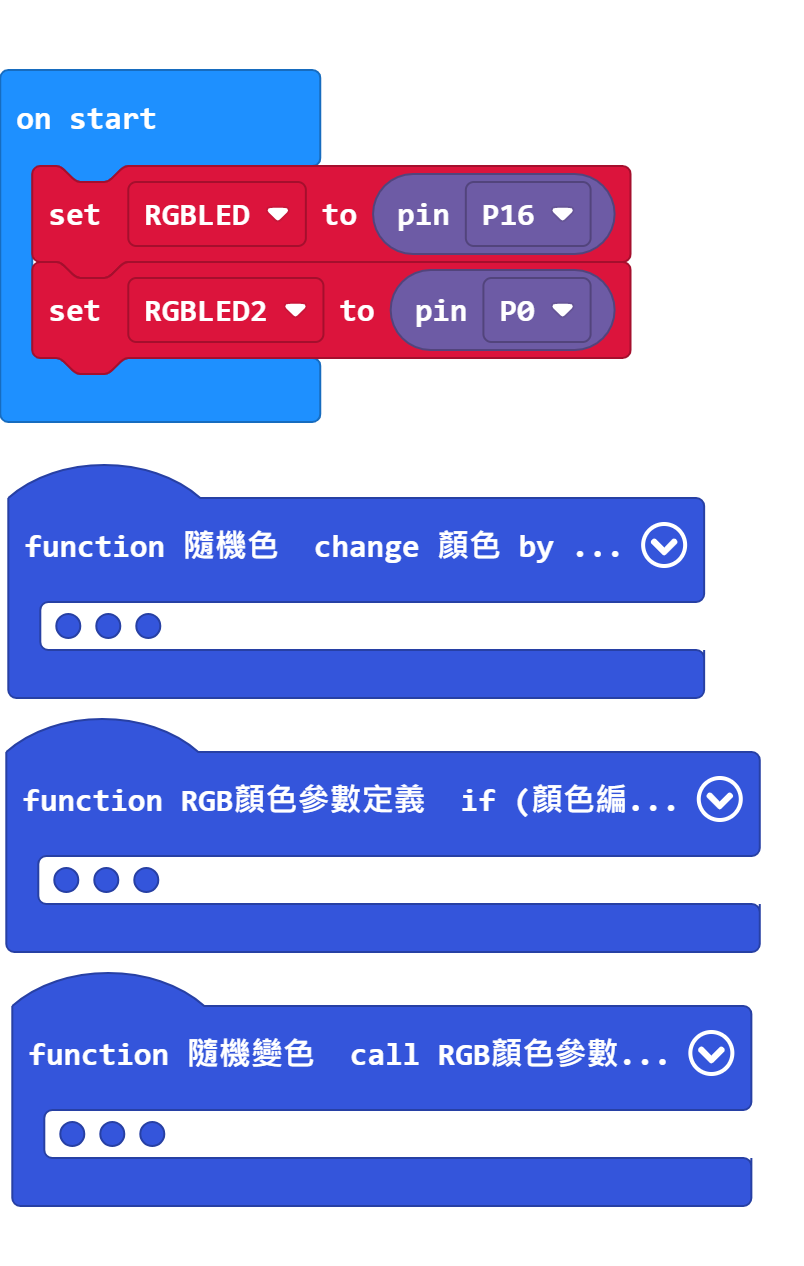
Next, we need to set up the logic for the ultrasonic sensor, which is quite simple. When a guest approaches within a certain distance (<100 cm), the RGB LED holders will change colors and the motors will activate to make the petals bloom. Conversely, if nothing is detected, the RGB LED holders and motors will stop.
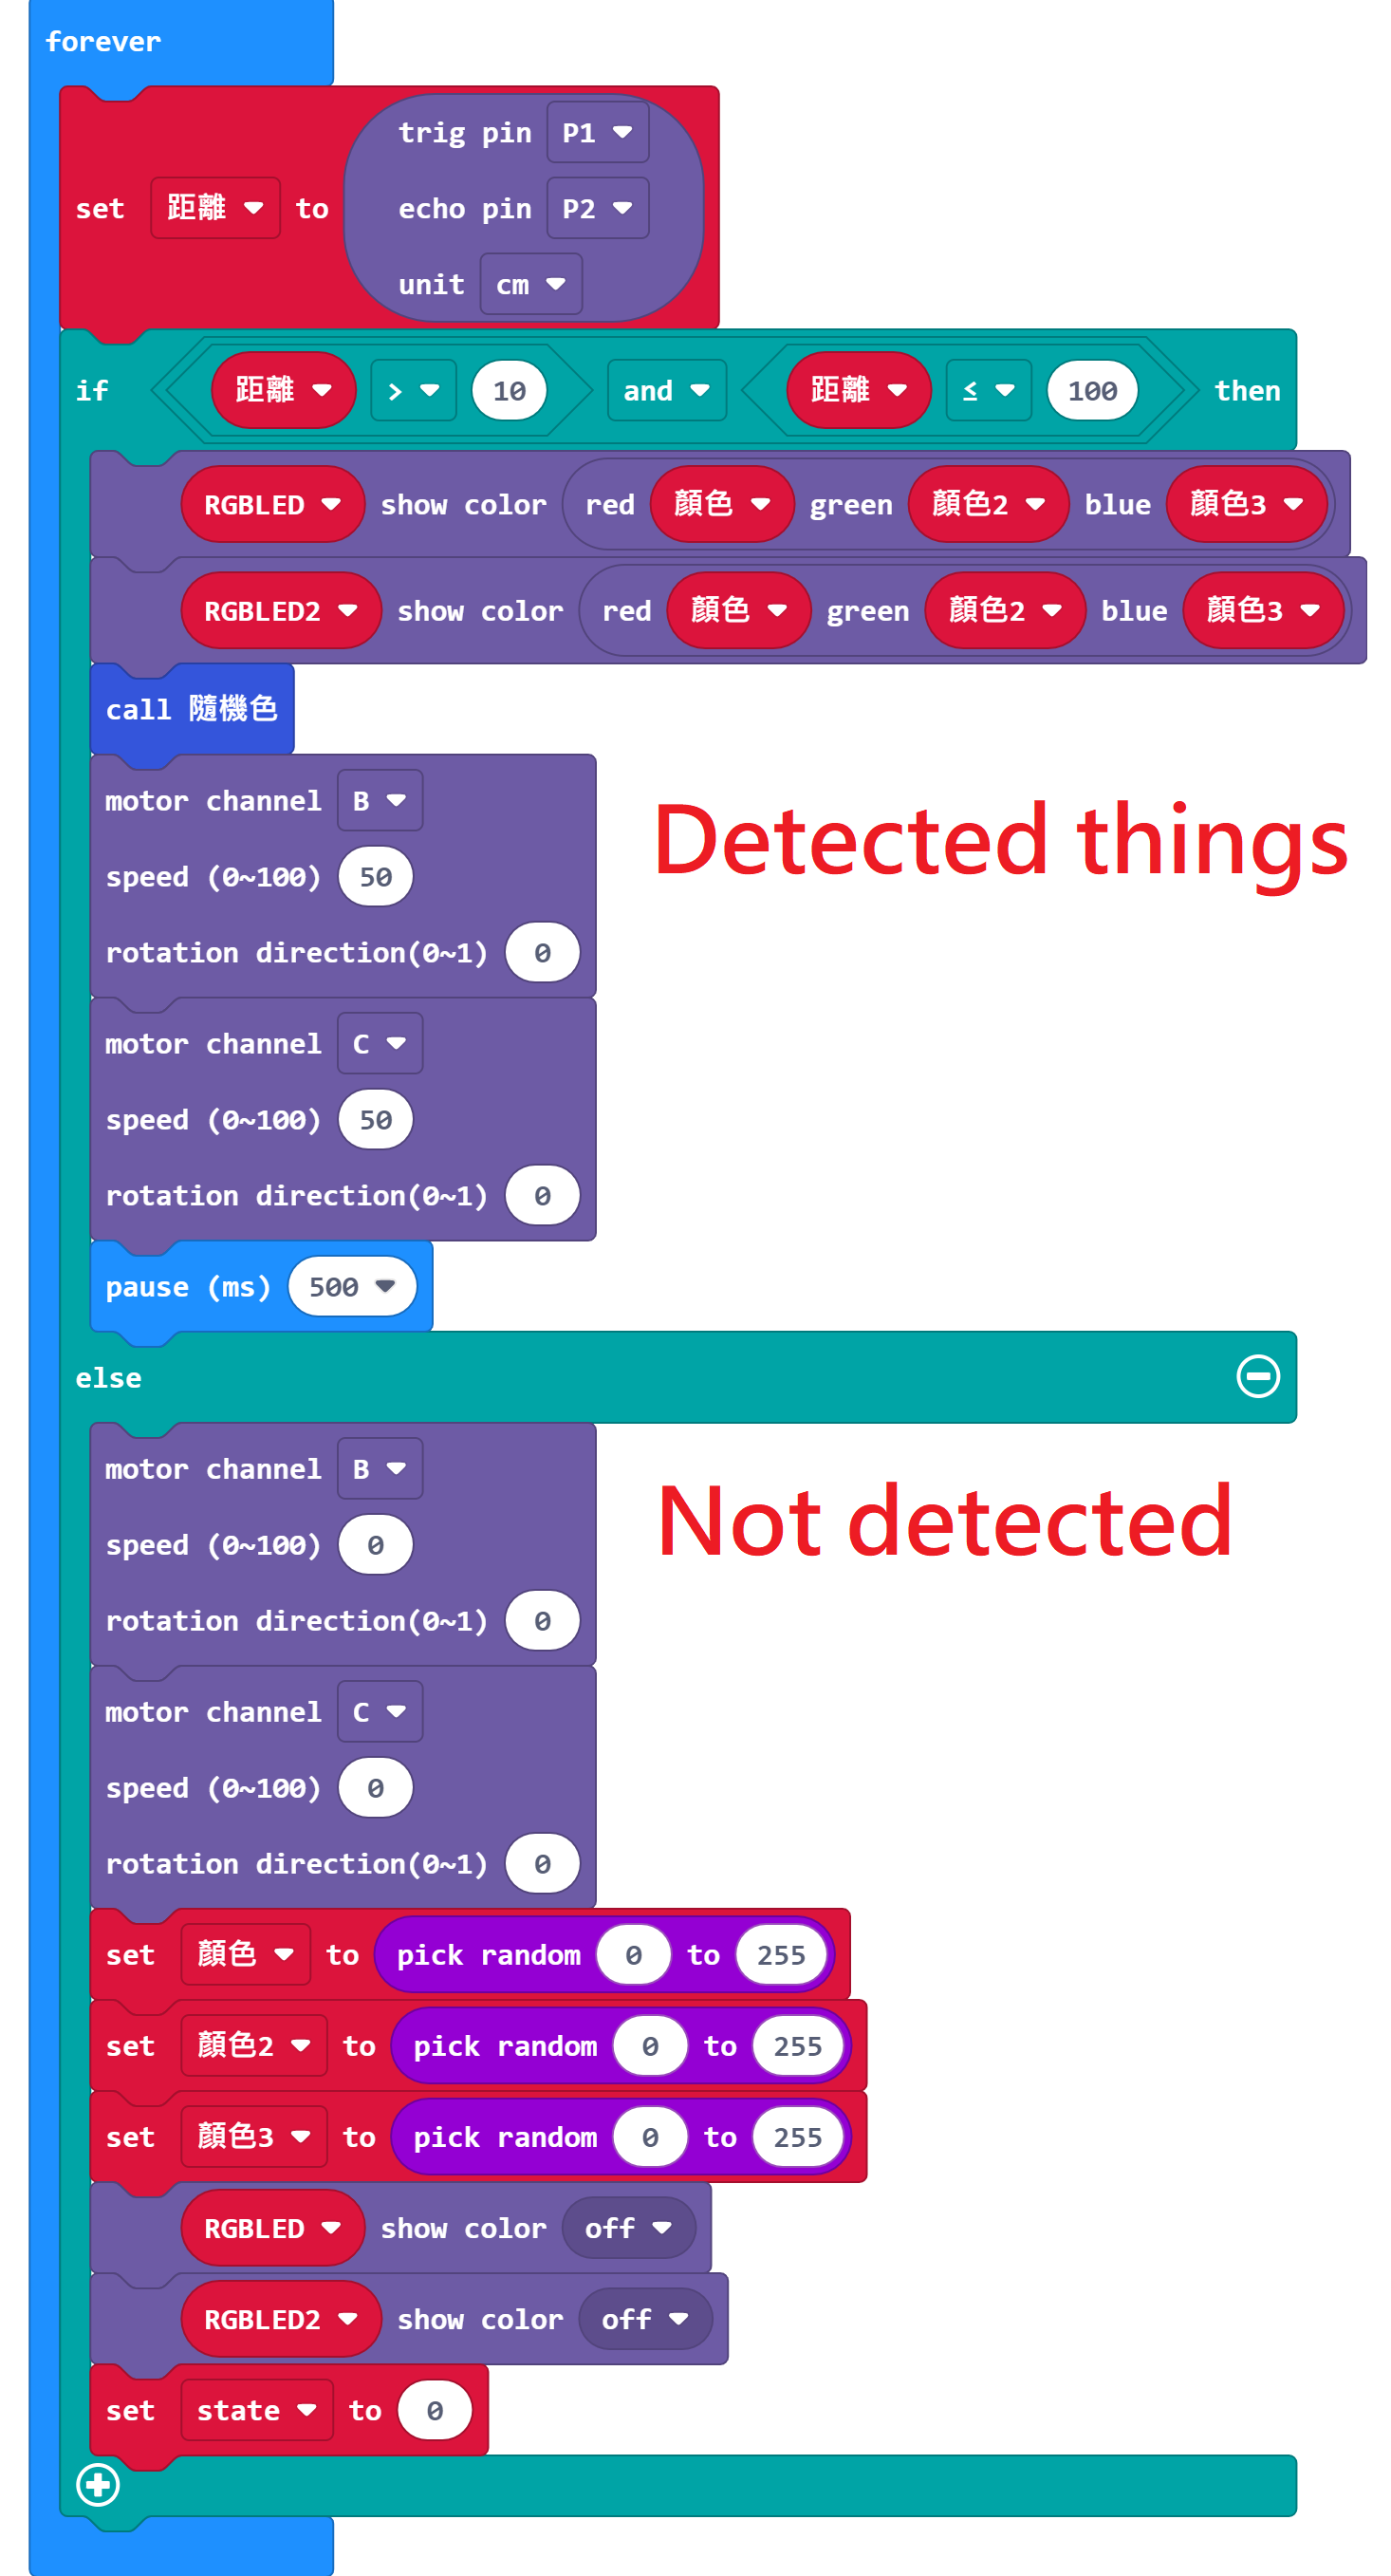
The complete program is as follows:
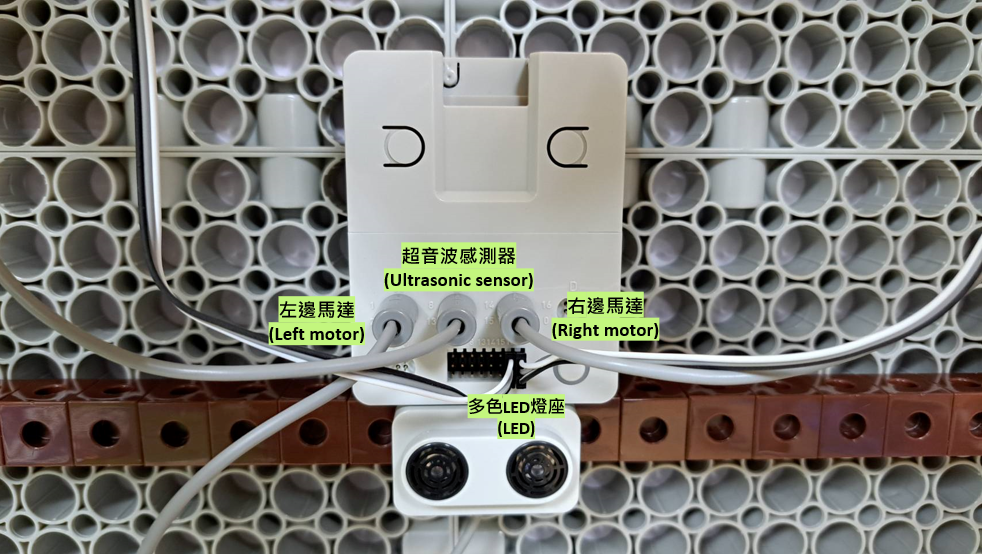
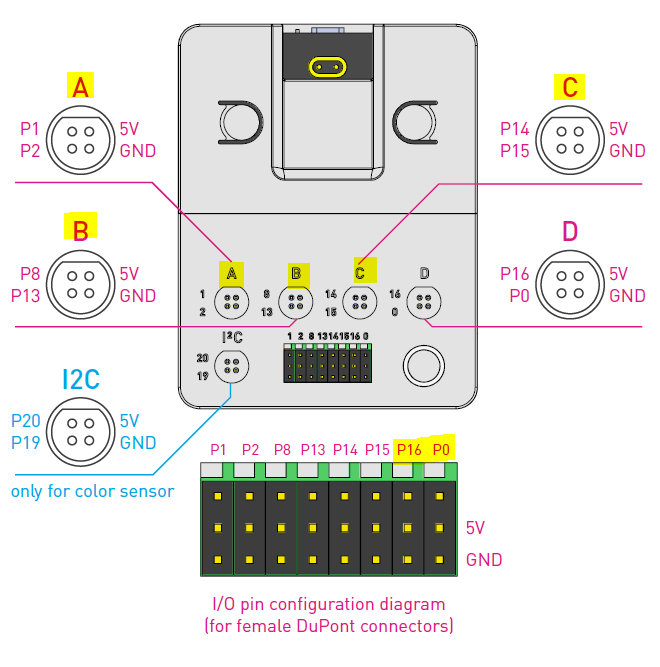
The following is the pin position for the motors and sensors. Remember to place them in the correct positions to function correctly!
※Operation
Now, we use 2 cm building blocks to make "花開富貴", a Chinese New Year greeting used to wish for wealth and prosperity upon the listener . We also created borders, green leaves, and yellow flowers to make the overall design more colorful!
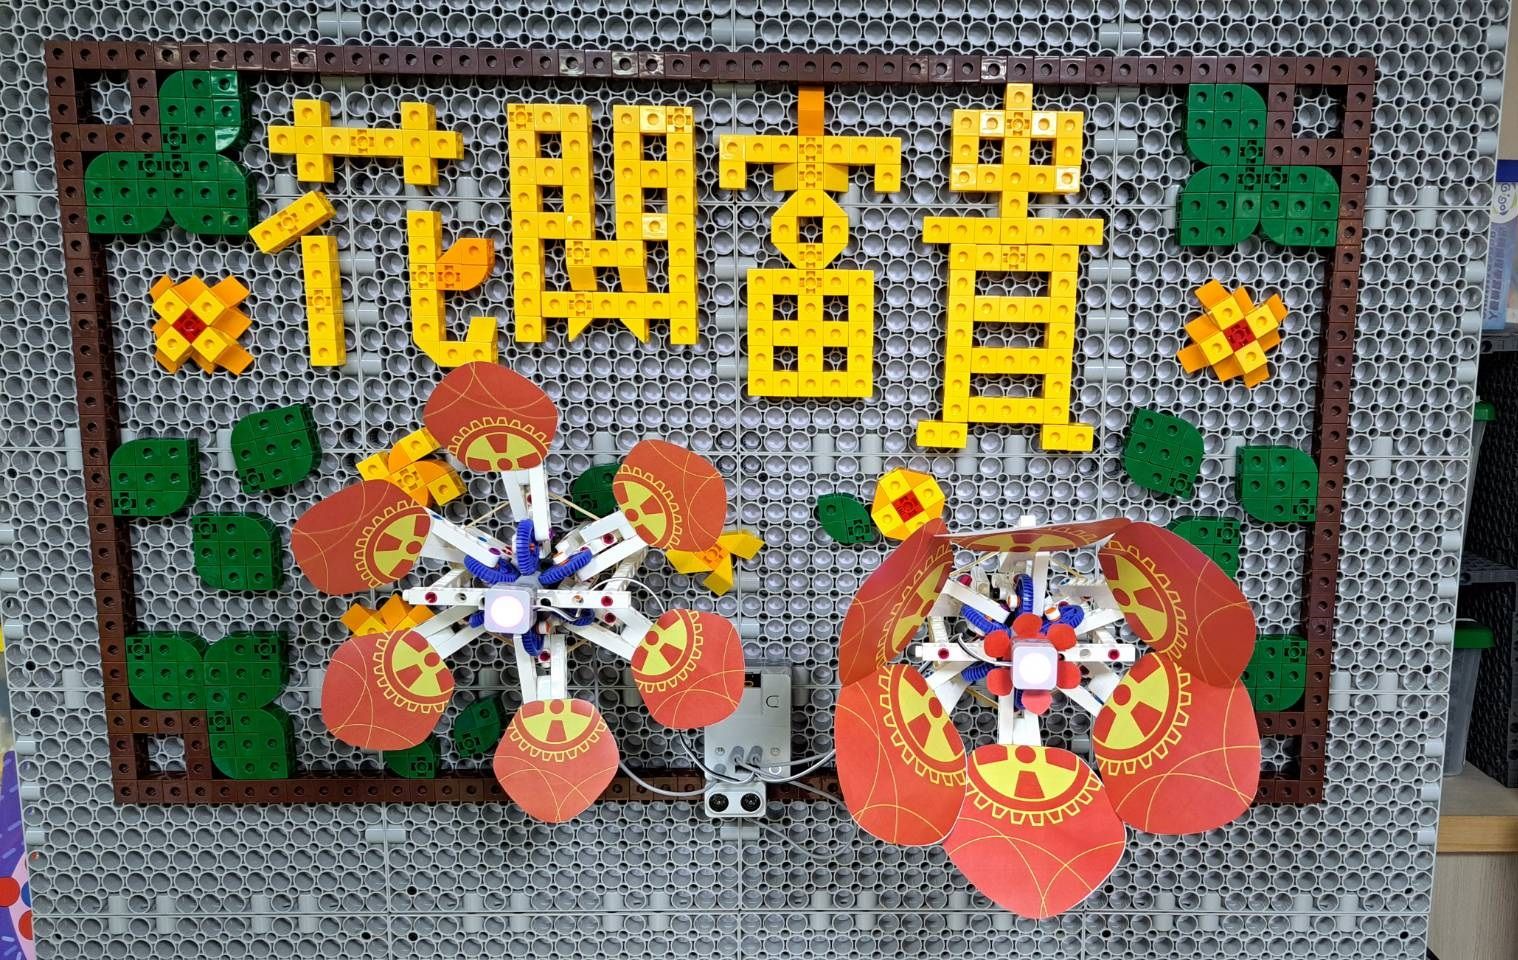
Well done! All we have to do is turn on the power and let the mechanism flower bloom its petals for every guest!
Please sign in to vote.