Science in daily life: EP13 – Bionic Self-Propelled Creatures
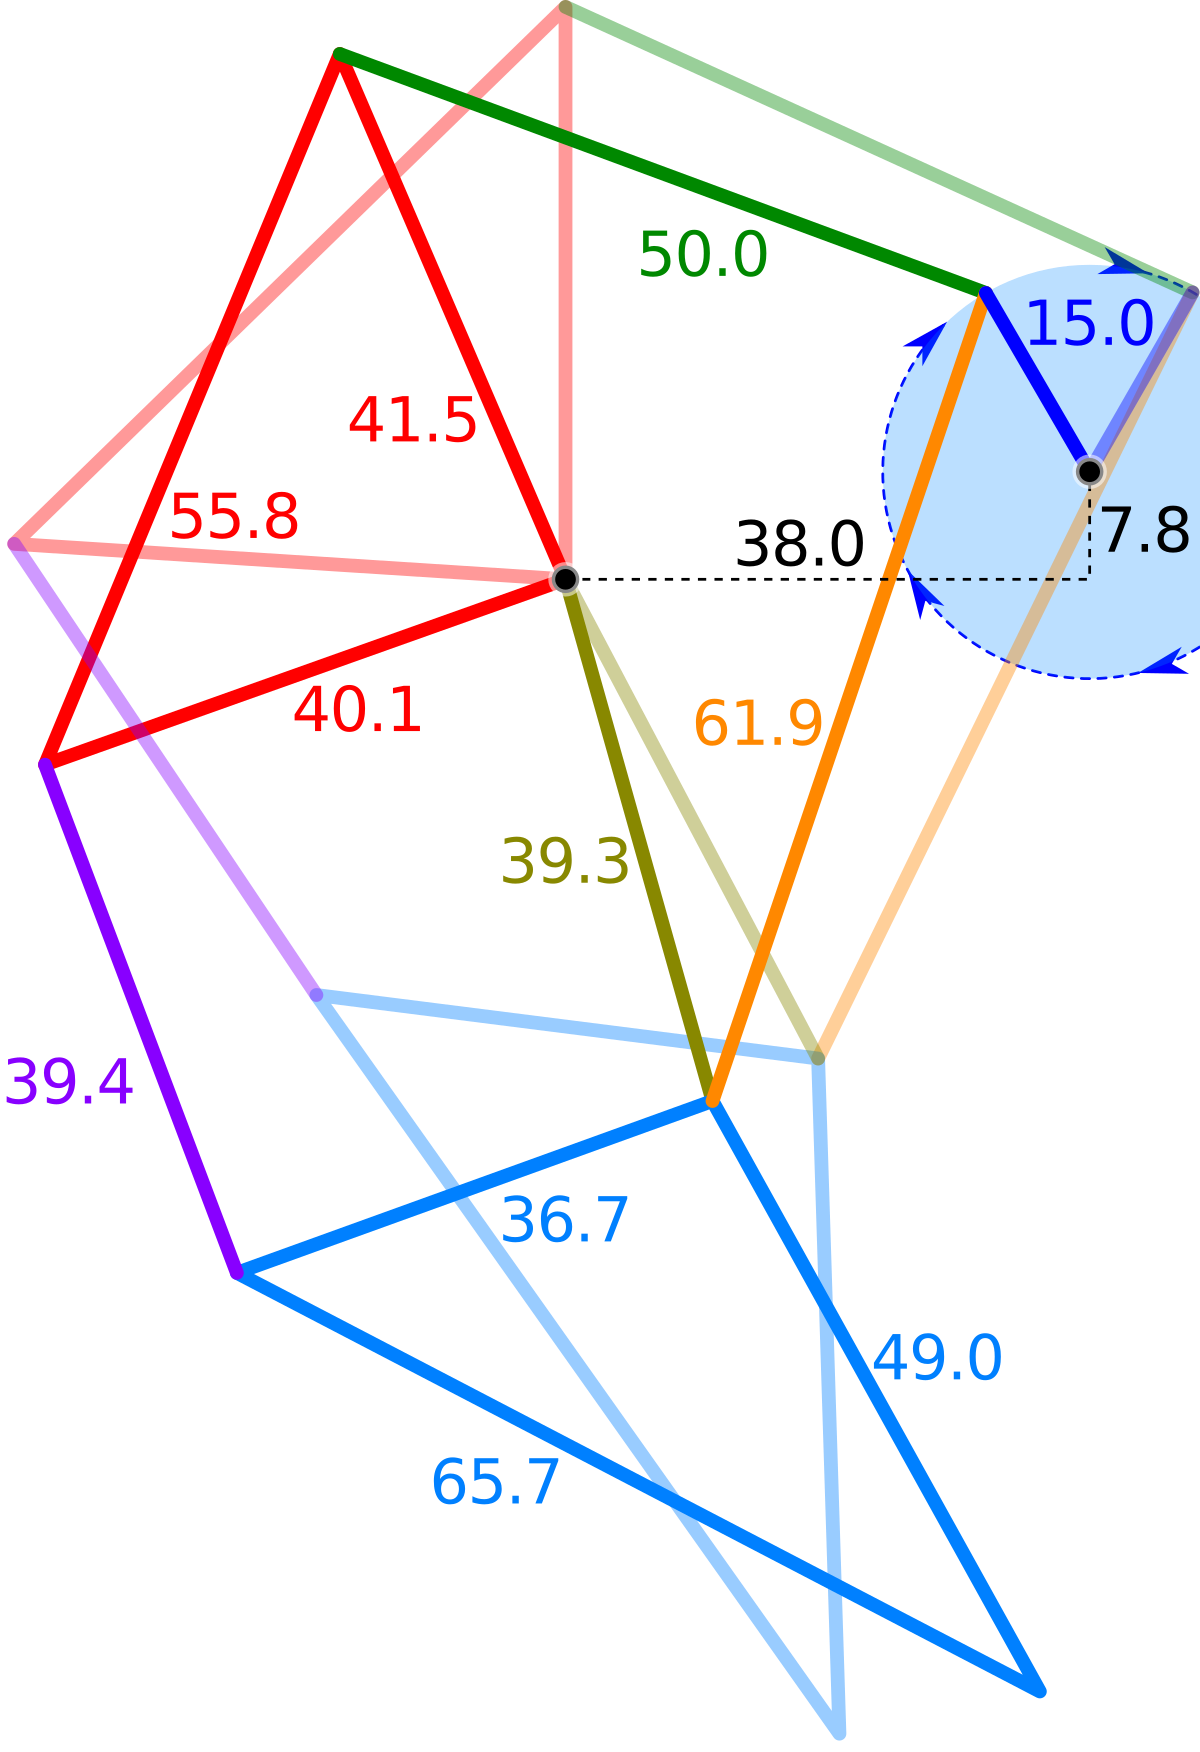
Hello everyone, I’m Teacher Raccoon! Have you ever come across bionic creatures before? These fascinating creations, also known as STRANDBEEST, are robots or mechanical devices inspired by the traits of living organisms. They replicate the structures or movements of animals and insects through mechanical systems, including models of quadrupeds, insects, birds, and other creatures. One of the most iconic examples is the wind-powered bionic creatures designed by Dutch artist Theo Jansen (featured in Video 1), which harness wind energy to mimic the graceful motions of living beings.
Today, I’ll show you how to create a simple bionic creature of your own. This design uses gravity as its power source and is commonly referred to as a slope-walking toy. Let’s dive in and make it step by step together!
◆Assembly Steps
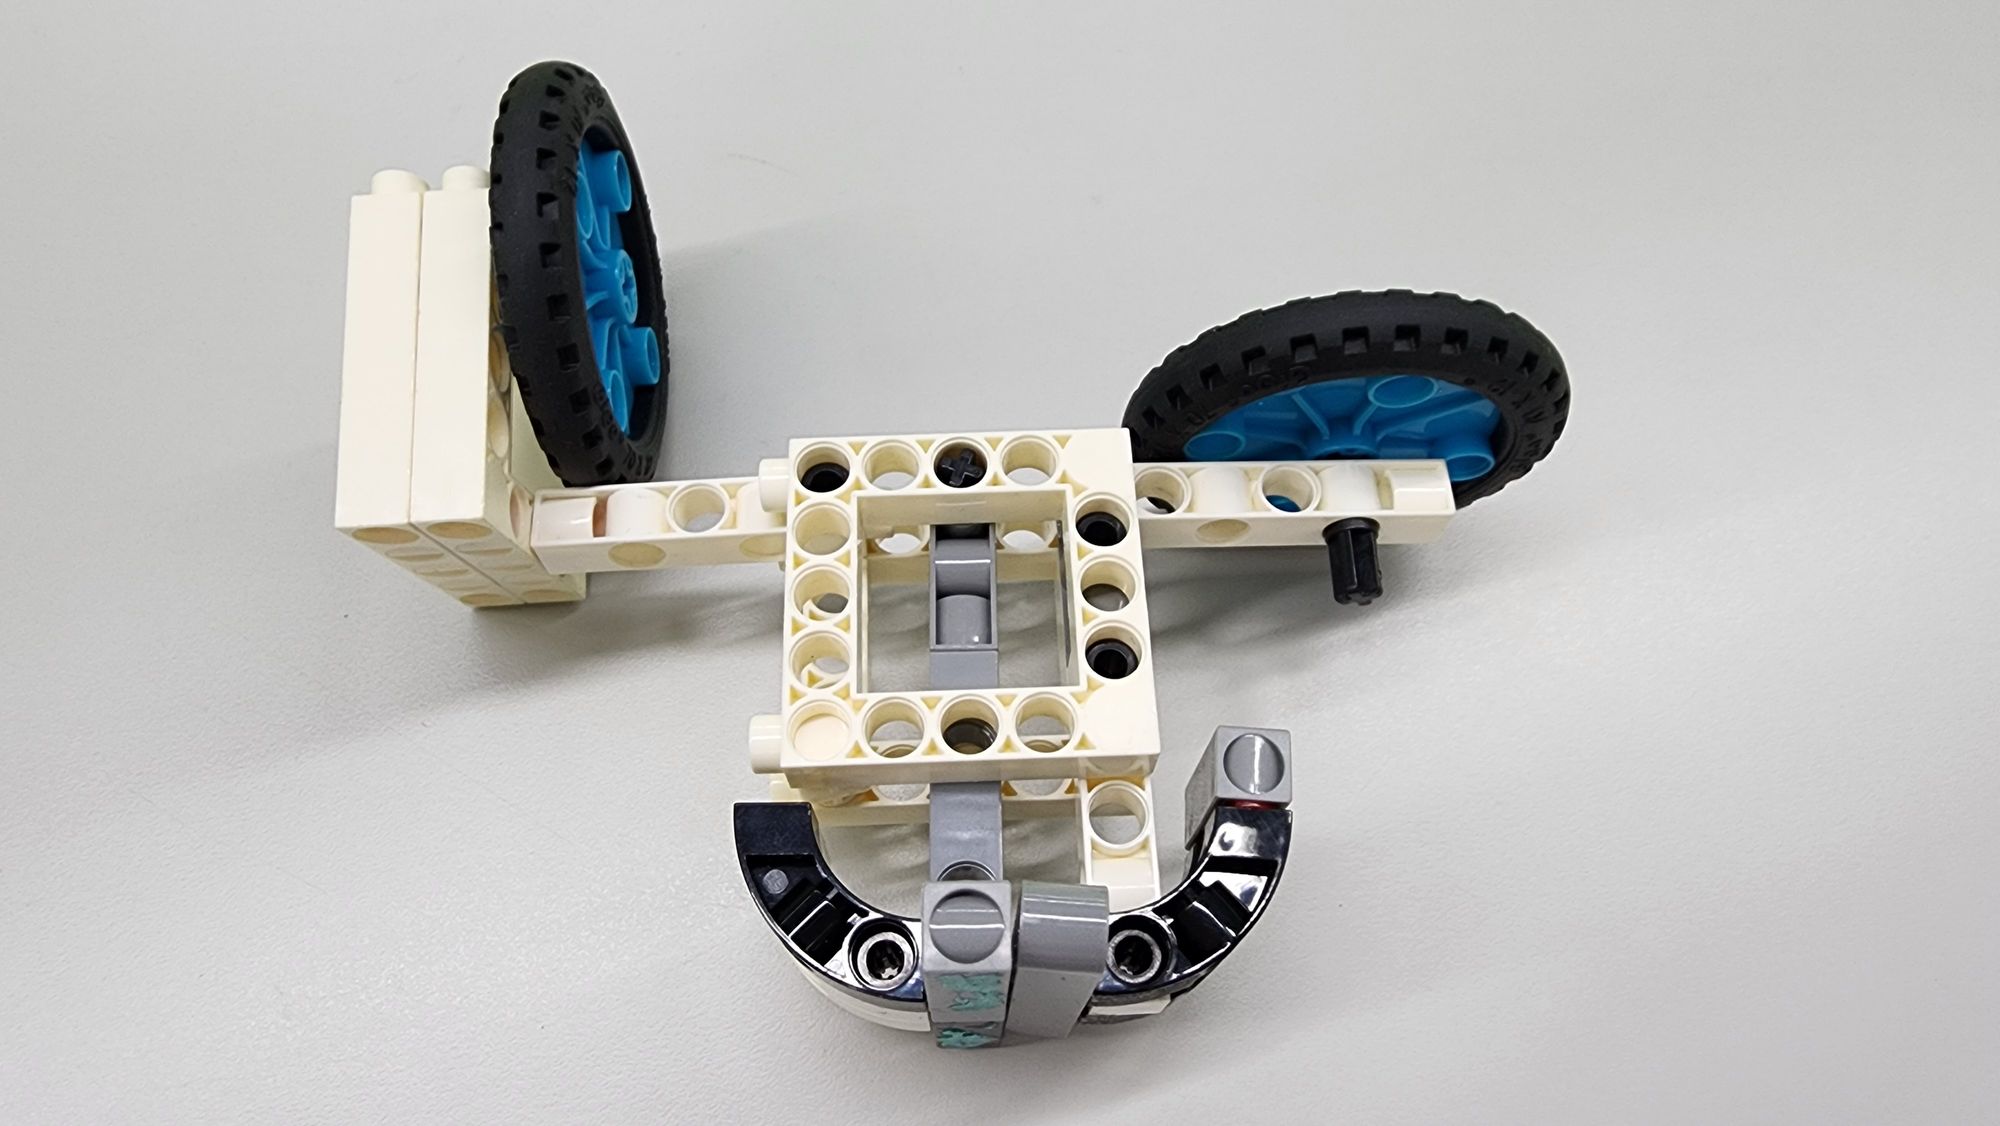
Step 1: We will need the following components: a C-5 HOLE DUAL ROD, a C-5 HOLE DUAL ROD BOTTOM CLOSED, a C-3 HOLE DUAL ROD, a C-30mm AXLE Ⅱ, C-LONG PEG, and B-SHORT PEG (Figure 1). Combine them together accordingly to assemble these into Part A, Part B, and Part C (Figure 2).


Step 2: Next, we’ll construct the main body of the slope-walking toy. For this, you’ll need a C-5×5 FRAME and the C-1 HOLE CONNECTOR (Figure 3).

First, follow the diagram to attach Part A, Part B, and Part C, along with the C-1 HOLE CONNECTOR, to the top of the C-5×5 FRAME (Figure 4). Then, press another C-5×5 FRAME on top to complete the assembly of the main body (Figure 5).


Step 3: Now, let’s assemble the hind legs of the slope-walking toy. You’ll need the C-BENDED ROD, some C-3 HOLE ROD, and B-SHORT PEG (Figure 6). Combine these components into Part D (Figure 7).


Next, follow the diagram to attach Part D to the underside of Part B. This will complete the assembly of the hind legs (Figure 8).

Step 4: Now, let’s assemble the front legs of the slope-walking toy. You’ll need the C-BENDED ROD, C-LONG PEG , and B-SHORT PEG (Figure 9). Combine these components into Part E and Part F (Figure 10).


Next, follow the diagram to attach Part E and Part F to the underside of Part C (Figure 11).

Finally, you will need a C-7 HOLE ROUND ROD and a C-3 HOLE ROD (Figure 12). Connect these components to Part E and Part F (Figure 13).


Step 5: Next, let’s create the front counterweight for the slope-walking toy. We’ll need a C-RACING TIRE, a C-5 HOLE DUAL ROD, and a C-30mm AXLE Ⅱ (Figure 14). Assemble these components into Part G (Figure 15).


Next, attach Part G to the front of the slope-walking toy (Figure 16).

Step 6: We will now create the rear counterweight for the slope-walking toy. You will need a C-RACING TIRE, two C-5×5 FRAME, C-LONG PEG, and a C-30mm AXLE Ⅱ(Figure 17).

First, follow the diagram to assemble the C-5×5 FRAME, C-LONG PEG, and C-30mm AXLE Ⅱ into Part H (Figure 18). Be sure to pay attention to the installation direction of the C-30mm AXLE Ⅱ during assembly.

Next, attach the C-RACING TIRE to the C-30mm AXLE Ⅱ on top of Part H, then install Part H at the rear of Part A (Figure 19). With this step, the slope-walking toy model is almost complete!

Before operating the model, flip it over to reveal the bottom (Figure 20) and apply a small amount of clay to the underside (Figure 21). This step increases friction between the model's base and the slope, helping the slope-walking toy move more smoothly.
If too much clay is used, the model will stick to the slope; if too little clay is used, the model will slide down the slope. Experiment to find the optimal amount of clay for the best performance. You can also replace the clay with sandpaper or a non-slip mat and test which material provides the best walking effect!


◆ Model Operation
Before operating the model, we need to prepare a slope suitable for the slope-walking toy to walk on. Here, Teacher Raccoon is using a polystyrene foam board, but you can also try using wooden boards or other surfaces with a rough texture. Use objects to prop up the board, and you’ll have a simple slope ready to use (Figure 22).

Let’s operate the bionic self-propelled creature now!
Place the bionic self-propelled creature at the top of the slope, then gently push it and give it a slight wobble. If everything is functioning correctly, the bionic creature will start walking down the slope step by step (Video 2).
◆ Troubleshooting
If your bionic self-propelled creature isn’t moving smoothly, try the following solutions:
- Adjust the clay: Modify the amount of clay used or press it more firmly to ensure better contact.
- Adjust the pivot connectors: Rotate the C-1 HOLE CONNECTOR to fine-tune their angle, as this affects the stride of the slope-walking toy.
- Check for loose or misaligned parts: Inspect the components used for the front and hind legs to ensure none are loose or crooked, as this could impact their movement.
- Adjust the angle of the C-BENDED ROD: Make sure the C-7 HOLE ROUND ROD is fully aligned with the horizontal surface for optimal performance.
◆ Conclusion
Through the creation of this bionic self-propelled model, we’ve demonstrated how simple structures can mimic the walking motion of living organisms. Many inventions in our daily lives are inspired by nature’s designs. For example, the shape of airplane wings and winglets draws inspiration from the way birds fly, while the strength and elasticity of spider silk have influenced the development of high-strength synthetic fibers. It’s exciting to imagine what other surprises nature will inspire in the future!
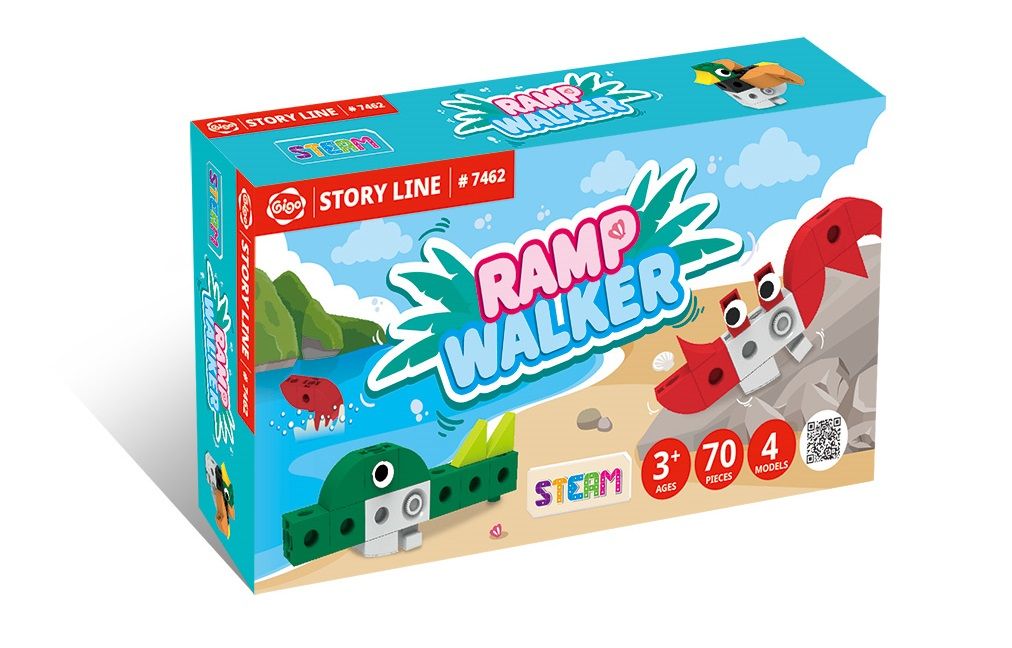
If you’d like to create more slope-walking models in different designs, you can check out Gigo’s #7462 RAMP WALKER. Join friends like Fiddler Crab Fiddy and Alligator Oliver for an adventurous journey full of fun!
That’s all for today’s sharing. If you enjoyed this article, don’t forget to share it with others. See you next time—bye-bye!
◆ Scientific Principles
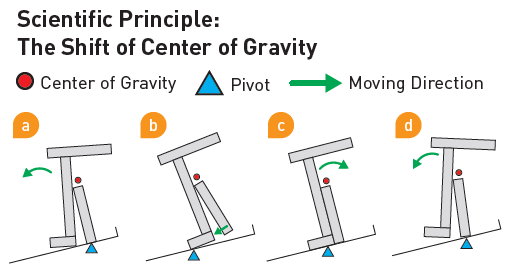
The slope-walking toy model incorporates the scientific principles of center of gravity and friction. When we gently push the model, it begins to sway side to side, causing a shift in its center of gravity (Figure 23).
- Center of Gravity:
When the center of gravity shifts backward, the front legs swing forward, mimicking the motion of taking a step. As the center of gravity moves forward, the hind legs catch up to the front legs, advancing the model step by step (Video 3). - Friction:
Friction acts between the front and hind legs of the model and the surface of the polystyrene board. The clay applied to the feet functions like the tread on shoes or tires, enhancing grip and preventing the model from slipping as it moves forward.
◆ Curriculum Reference:
ETS1-4: Develop a model to illustrate that a device can be constructed to solve a specific problem.
PS2-2: Plan and conduct an investigation to provide evidence of the effects of balanced and unbalanced forces on the motion of an object.
PS3.A: Definitions of Energy—Energy can be transferred from one object to another.
PS2.A: Forces and Motion—Understanding how simple machines can reduce the effort needed to move an object by changing the direction or magnitude of the force.
◆ References

Please sign in to vote.

