[Creative Treasure Box EP8] Shell Yeah! Satisfy Your Peanut Cravings with Ease

![[Creative Treasure Box EP8] Shell Yeah! Satisfy Your Peanut Cravings with Ease](/content/images/size/w2000/2025/03/414625_0.jpg)
Hello everyone, I'm Teacher Sloth! In this series, Teacher Sloth will share some block creations, some may be complex mechanical designs, while others may be simple model creations, so that every time you click on an article, it's like opening a "Creative Treasure Box," always full of unexpected surprises!
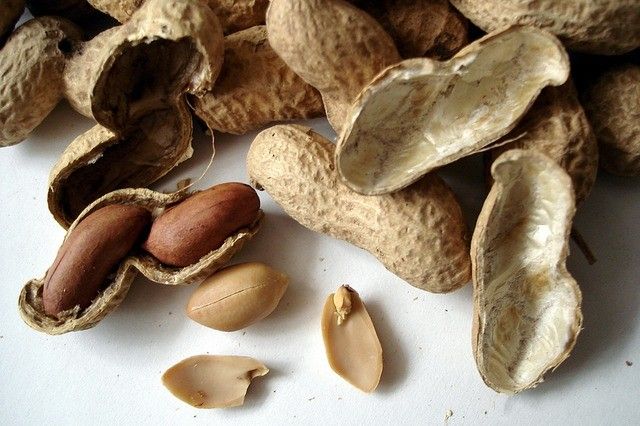
During work breaks, afternoon tea, or while watching your favorite TV shows or movies at home, do you ever find yourself craving a snack? Today, there are countless options to satisfy those cravings—potato chips, popcorn, peanuts, and more.
However, nuts like peanuts and pistachios require shelling before you can enjoy their delicious kernels. For some, especially young children with less hand strength, opening the shells can be challenging, making these tasty treats difficult to enjoy.
Today, let's get creative with Chicco’s A-series building blocks and build a peanut shelling machine! By applying the lever principle, you can effortlessly crack open peanuts and enjoy your snack with ease.
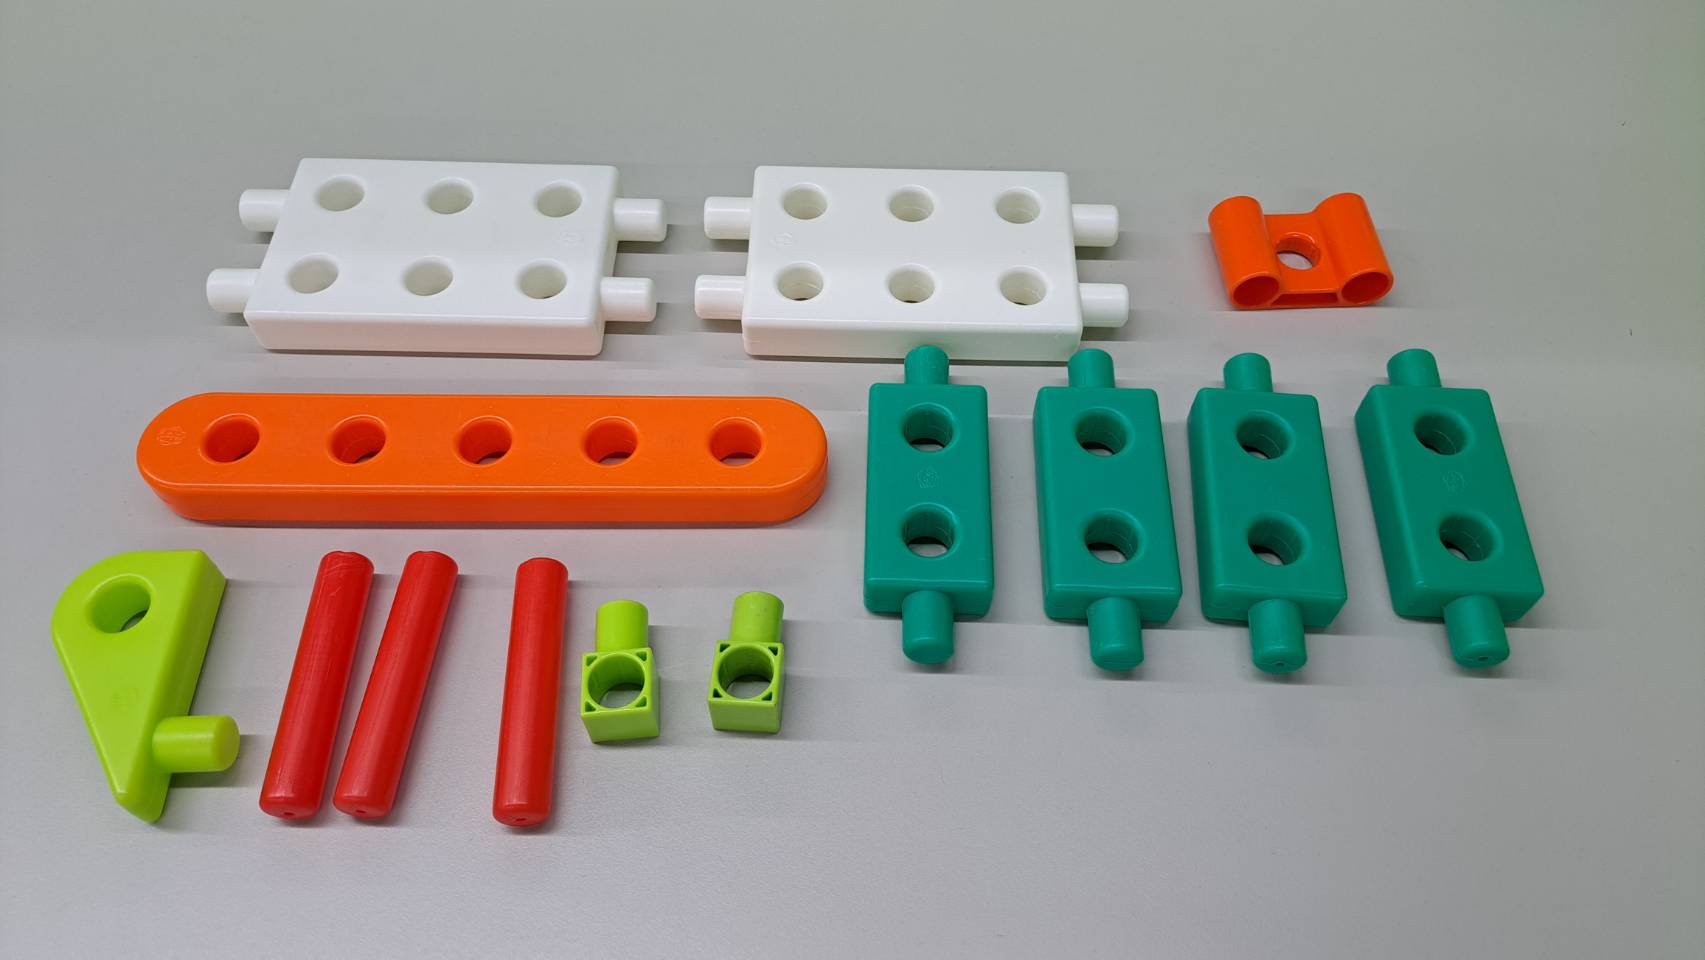
★Parts Preparation
Here are the components you'll need for this model. Feel free to choose the colors according to your preference!
★Assembly Steps
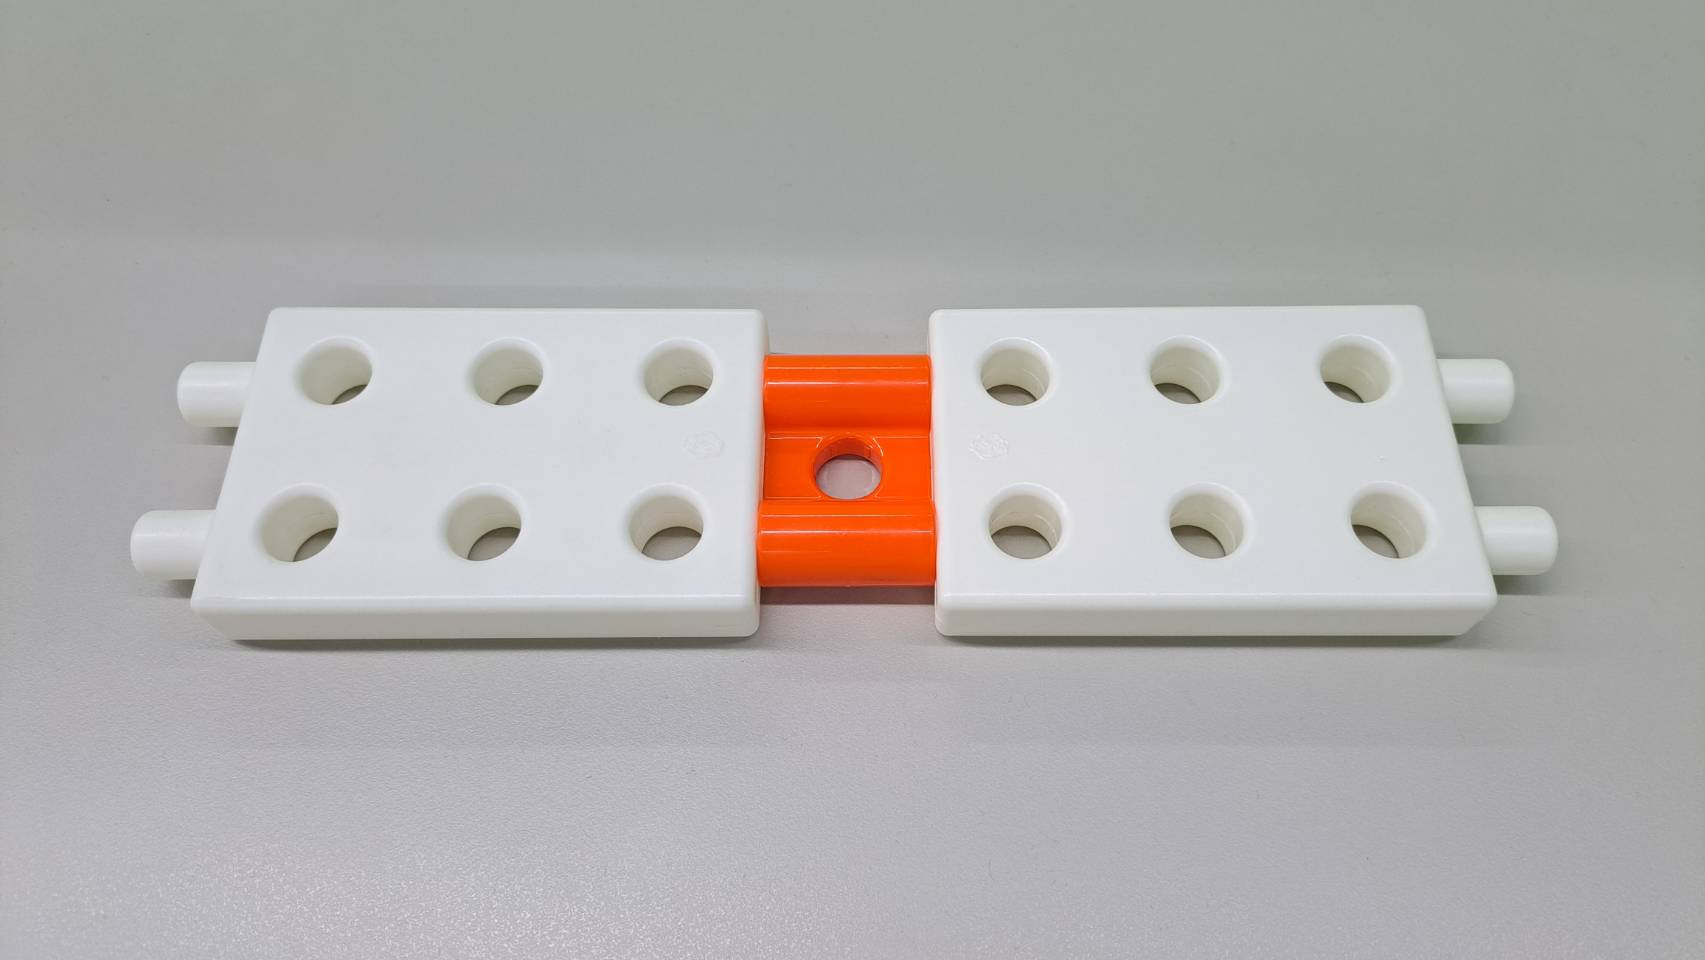
Base
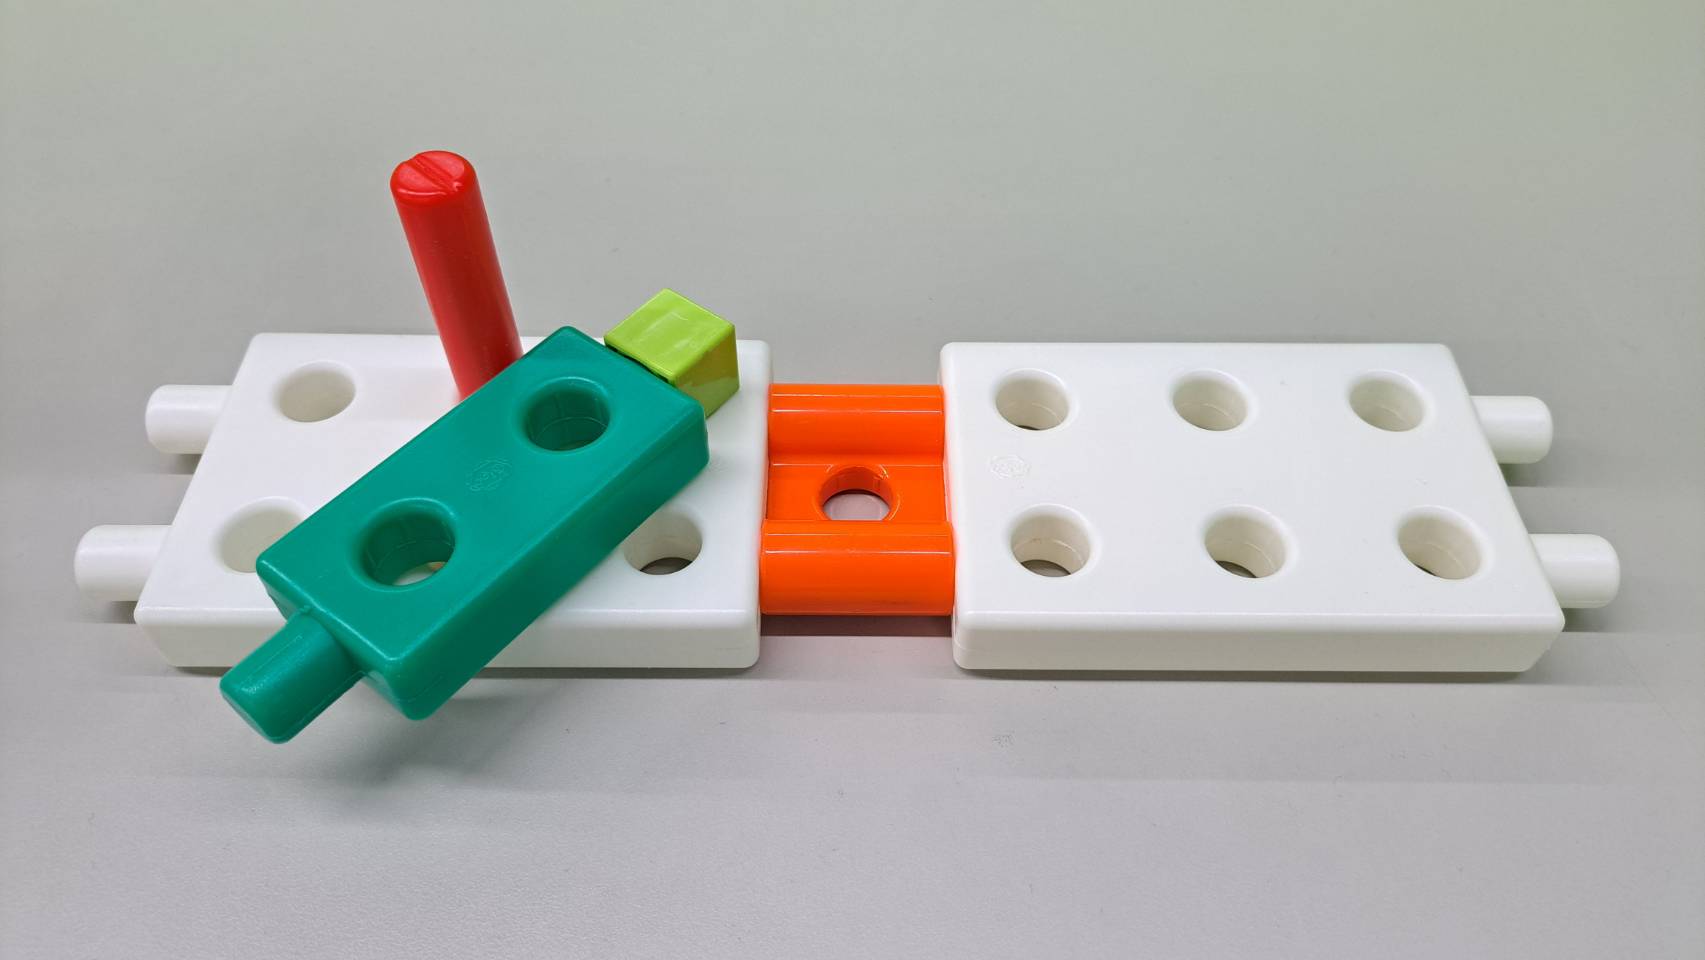
Start by taking two A-2×3 HOLE BASE and connecting them with one A-TRACK CONNECTOR in the center to form the base.
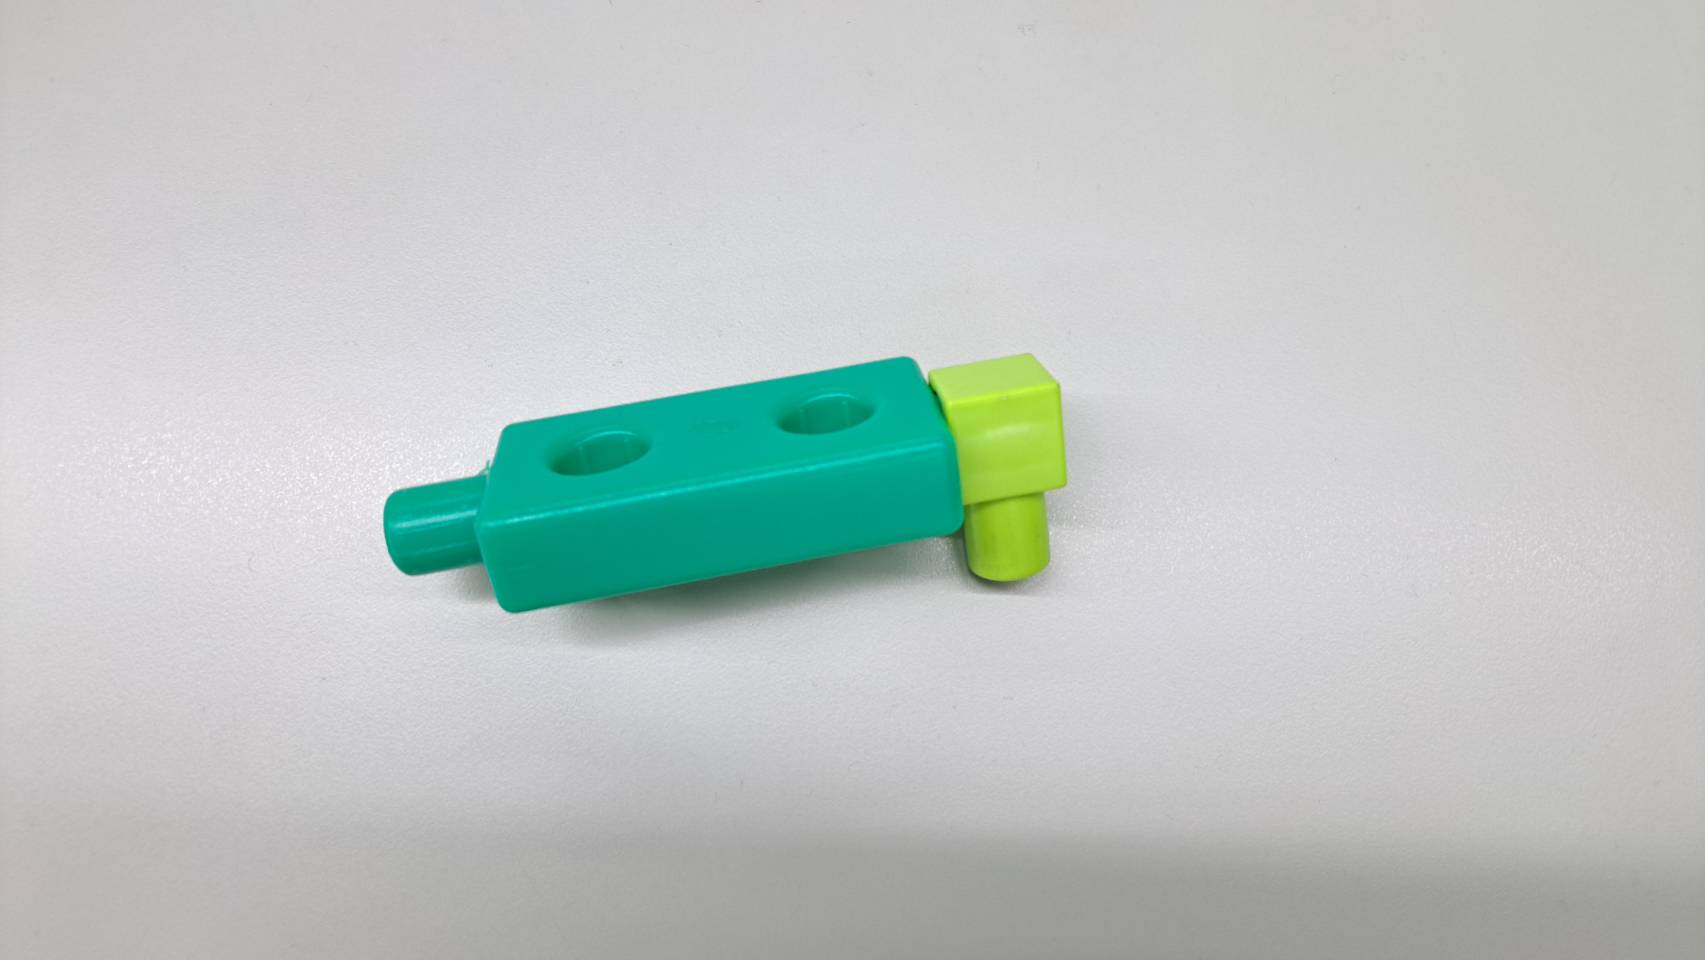
Peanut Rack
1. Once the base is complete, it's time to position the peanuts! Use the A-LATERAL PEG to adjust the orientation of the A-2 HOLE ROD, allowing it to lay flat on the base.
2. Now for the key step! Position the rack at an angle and place the A-80mm CONNECTOR beside it. This design allows the peanuts to be easily removed by rotating the connector after shelling.
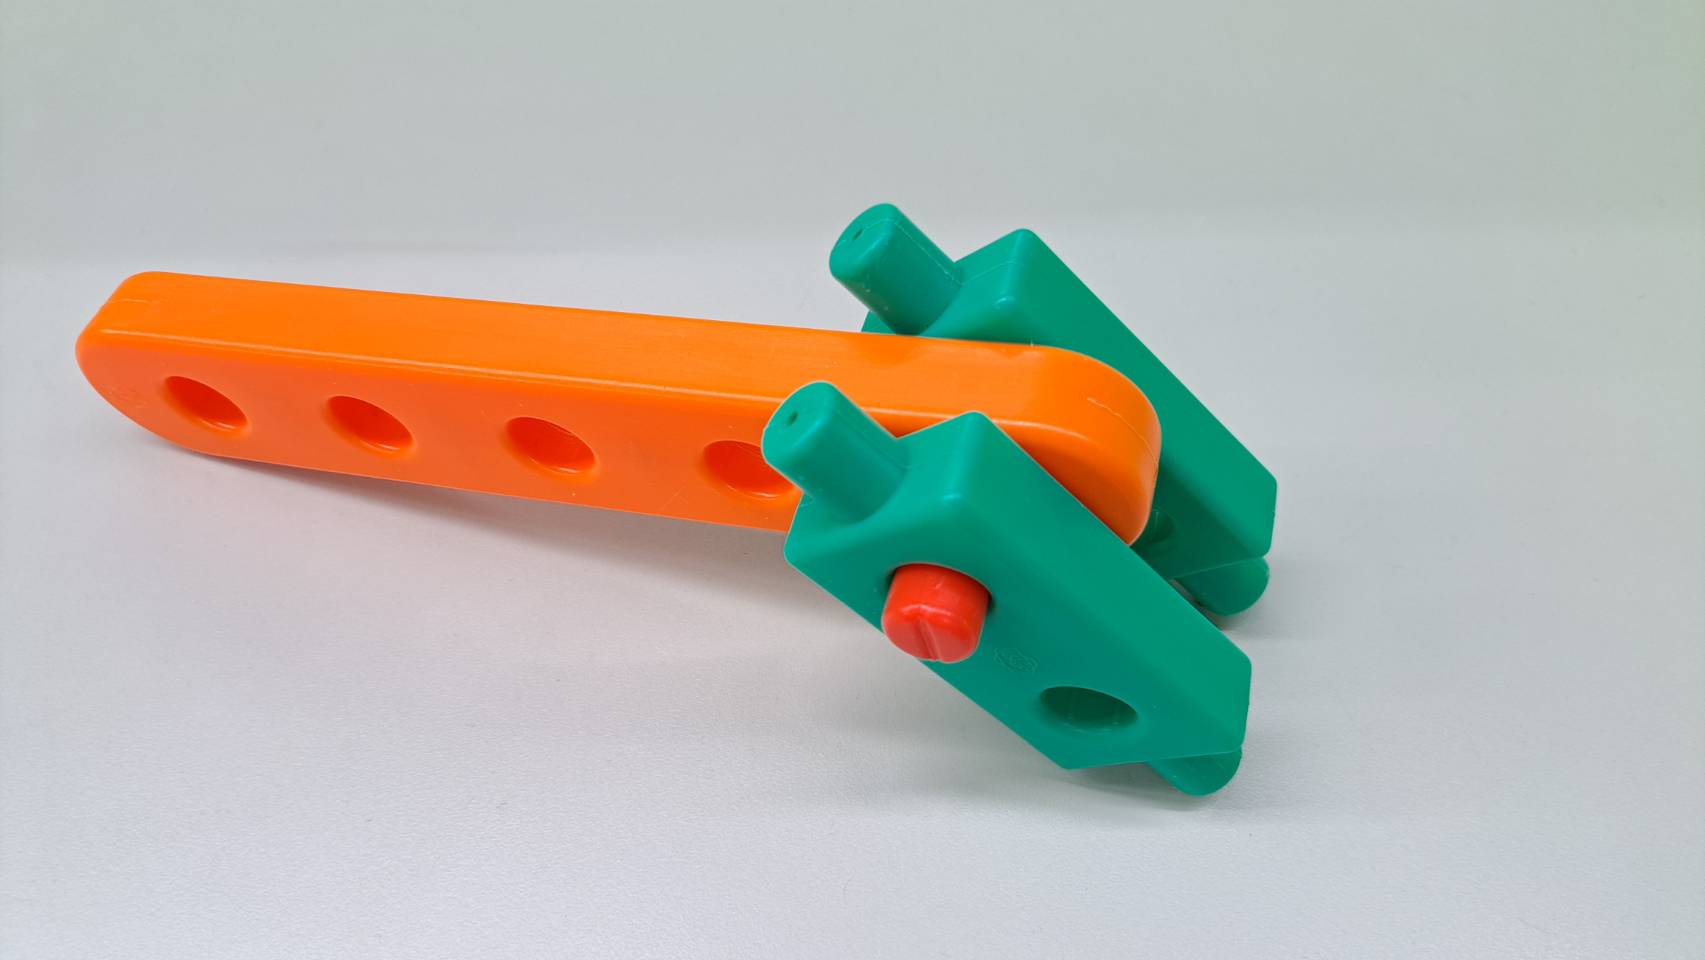
Press Lever
- Use one A-80mm CONNECTOR to sandwich one A-5 HOLE ROUND ROD between two A-2 HOLE ROD, creating a small lever.
Make sure to attach it to either the leftmost or rightmost hole to maximize leverage and make pressing effortless!
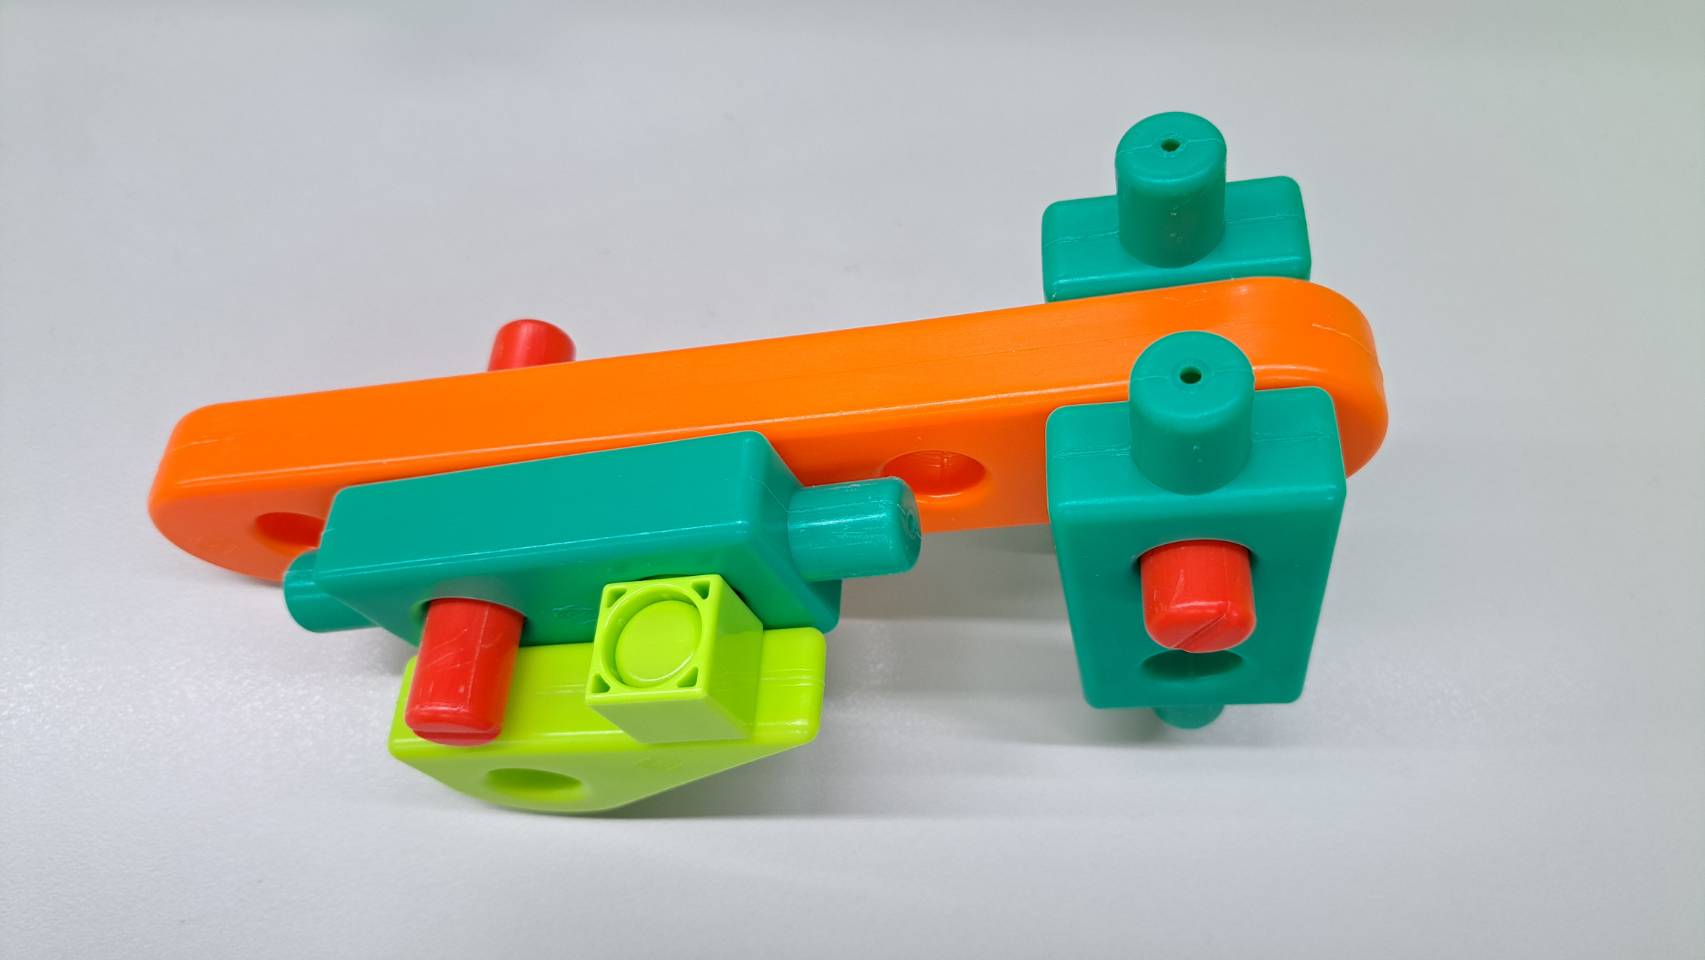
2. To expand the area for the peanuts, connect one A-ARC TRIANGLE FLAT PEG to the A-2 HOLE ROD using the A-LATERAL PEG, as shown.

3. Once assembled, secure it to the second hole of the A-5 HOLE ROUND ROD.
4. Finally, place the pressing lever onto the base, and your simple yet practical peanut shelling machine is complete!
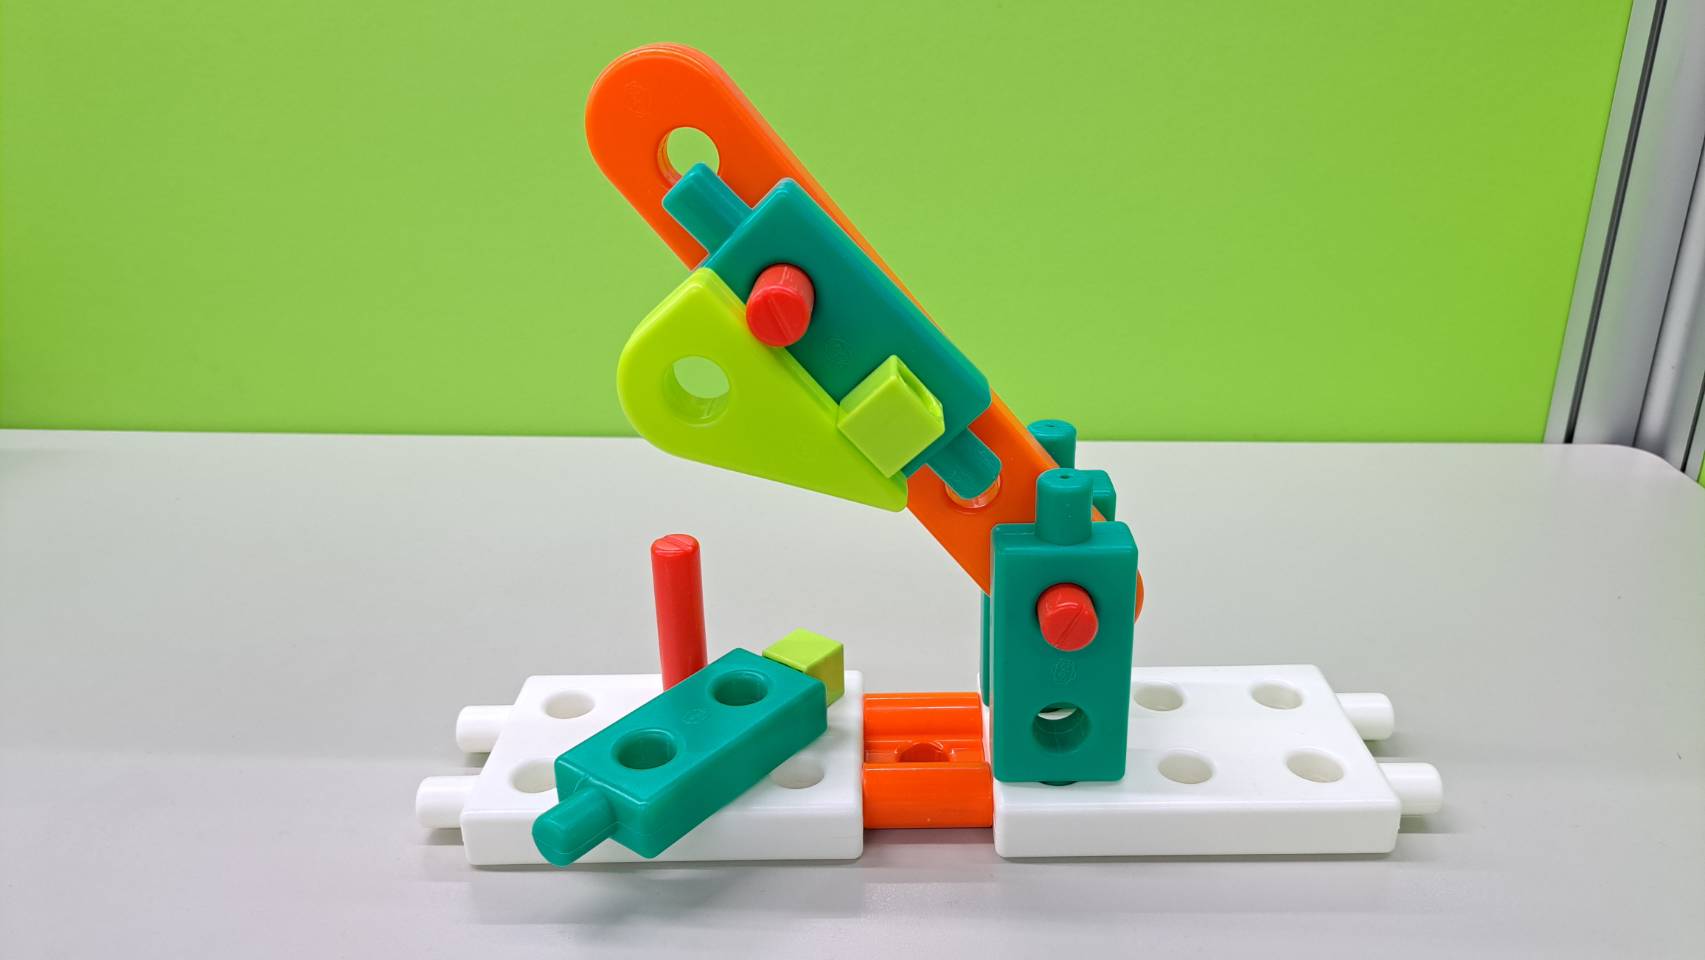
★ How to Play
Place the peanuts in the peanut rack at the bottom, align them properly, and press the lever firmly to crack the shells effortlessly!
To keep things tidy, place a piece of tissue paper underneath to catch the shells.
You can also experiment with other nuts, such as almonds or pistachios, and discover what else this peanut shelling machine can handle!
★Scientific Principles
This project utilizes the concept of second-class levers.
A second-class lever is a type of lever where the resistance (load) is positioned between the fulcrum and the applied force. One key advantage of this design is that the force is applied farther from the fulcrum, making the task significantly easier.
In everyday life, you can find examples of second-class levers in tools like wheelbarrows, bottle openers, and screwdrivers. These tools help reduce the effort needed to lift, push, or open objects that would otherwise be difficult to handle with bare hands. Similarly, in our peanut shelling machine, the second-class lever design ensures that peanuts can be cracked open with minimal effort!
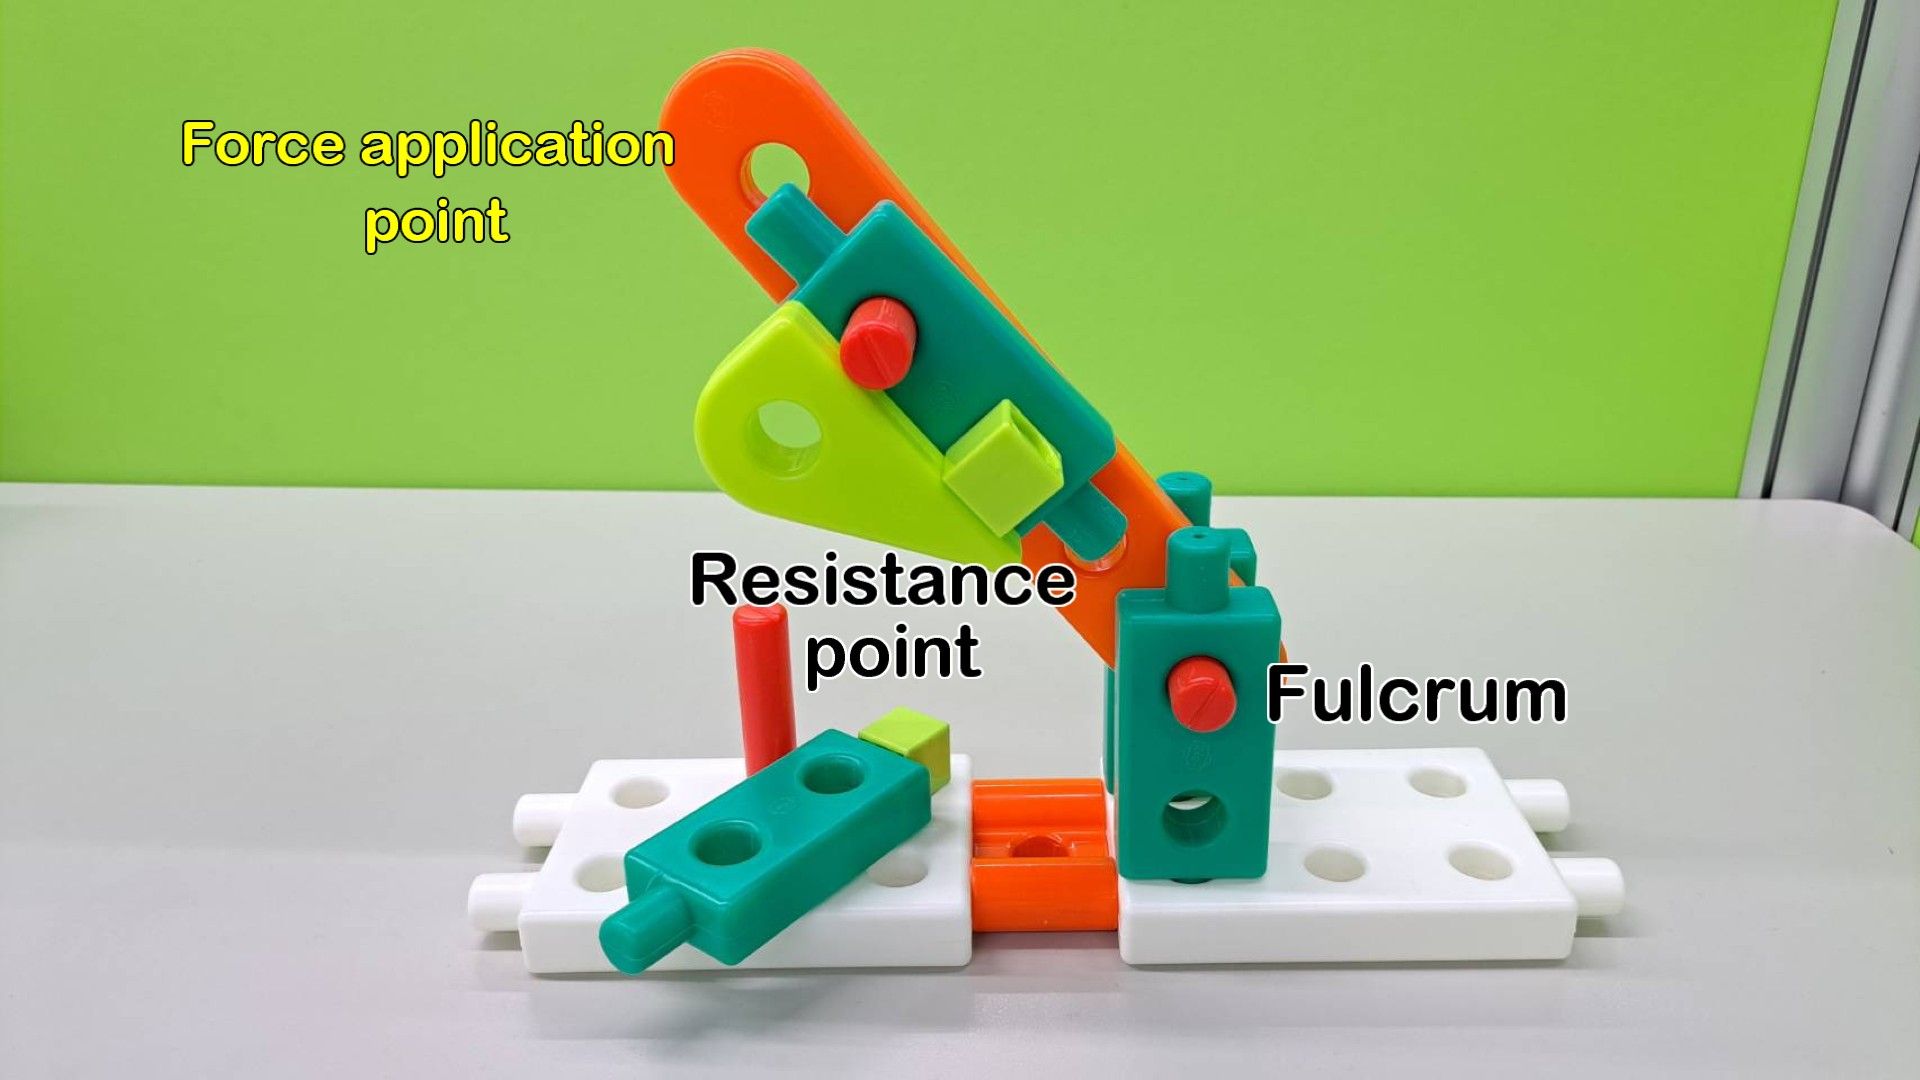
In this model, the fulcrum is positioned on the far right, the force application point is on the far left, and the resistance point—where the peanuts are pressed—is in the middle. Since the force application arm is always longer than the resistance arm, the lever maximizes efficiency, making peanut shelling effortless!
★Postscript
Cravings for food are a natural part of modern life. They can be triggered by emotions—such as stress—or by habits, like reaching for popcorn during a movie. No matter the reason, having a machine that makes opening food easier can add both convenience and enjoyment to our daily routines.
This model was born from that very idea—TeacherSloth came up with it while peeling peanuts and watching his favorite TV series!
Reference:
Exploring the Three Types of Levers:
https://en.wikipedia.org/wiki/Lever#Types_of_levers
NGSS Curriculum:
MS-PS1-1 Develop models to describe the atomic composition of simple molecules and extended structures.
K-2-ETS1-1 Ask questions, make observations, and gather information to define a simple problem.
K-PS3-1 Make observations to determine the effect of sunlight on Earth’s surface.
3-PS2-4 Define a simple design problem that can be solved by applying scientific ideas about magnets.
2-LS4-1 Make observations of plants and animals to compare the diversity of life in different habitats.
Please sign in to vote.